Set up
Expert
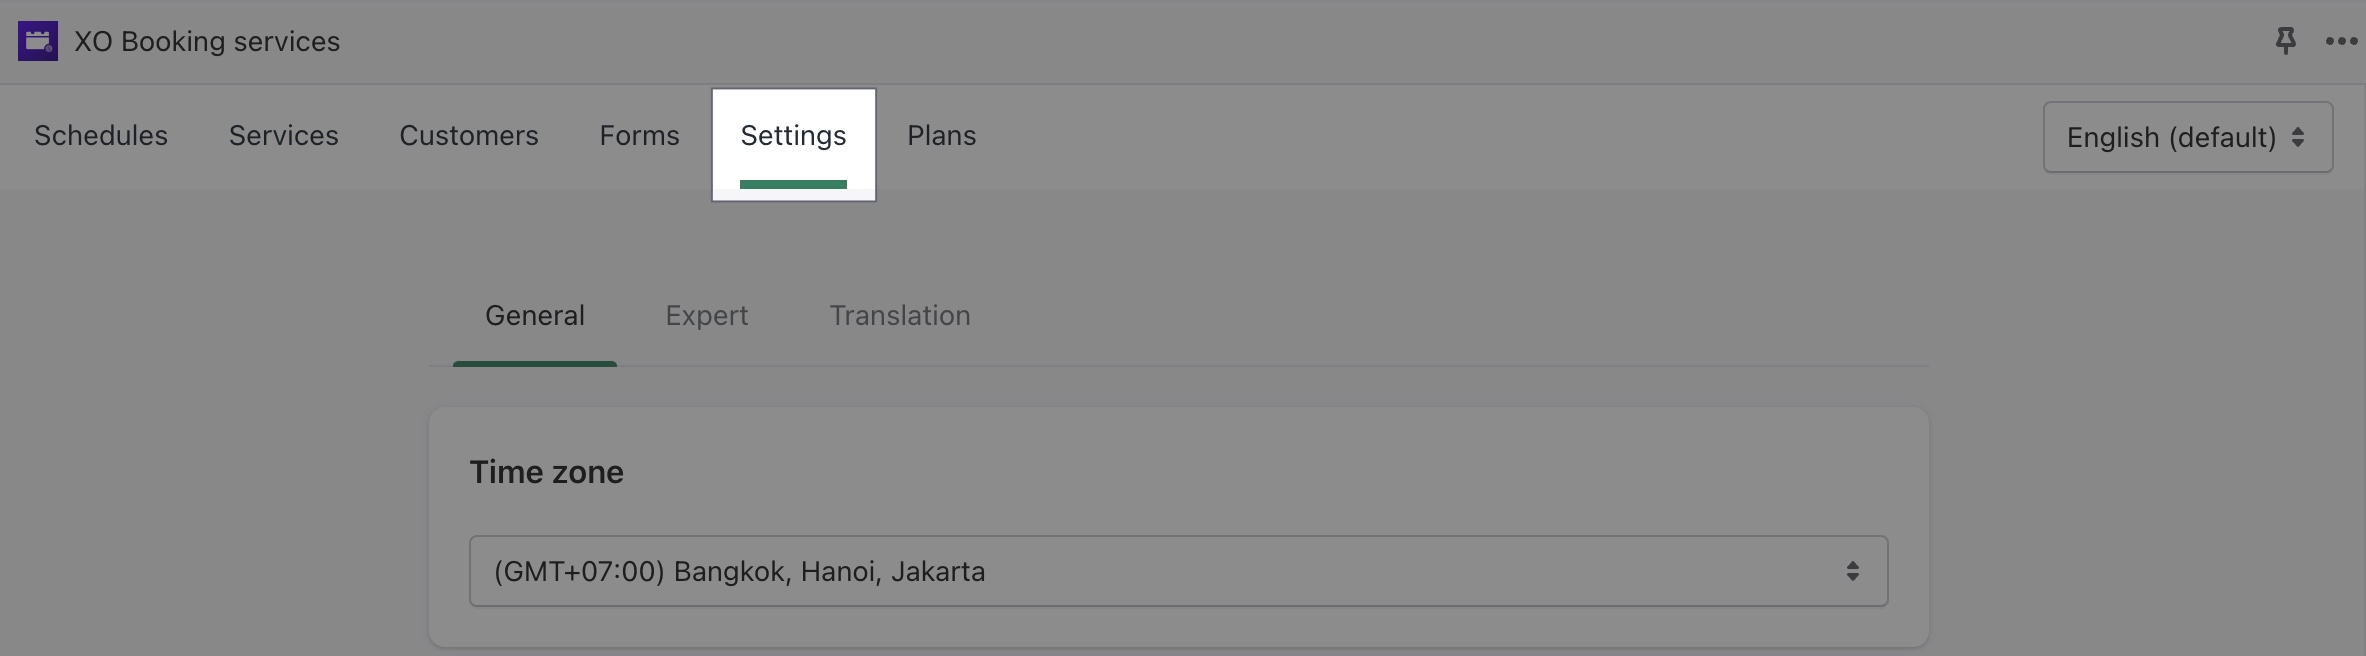
When you just installed XO Booking, you should first head to the Settings tab to set up your store's information.
-
In Expert, you can set up your business' information, as well as uploading an avatar for yourself.
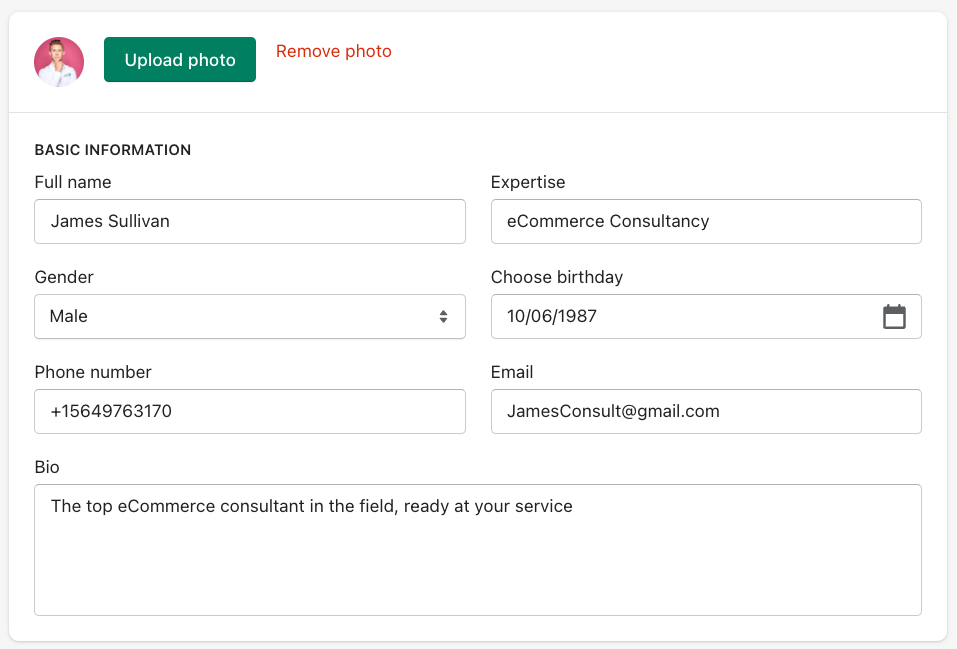
-
With Work time, you can set up your service's working time. Customers won't be able to book an appointment outside of these times.
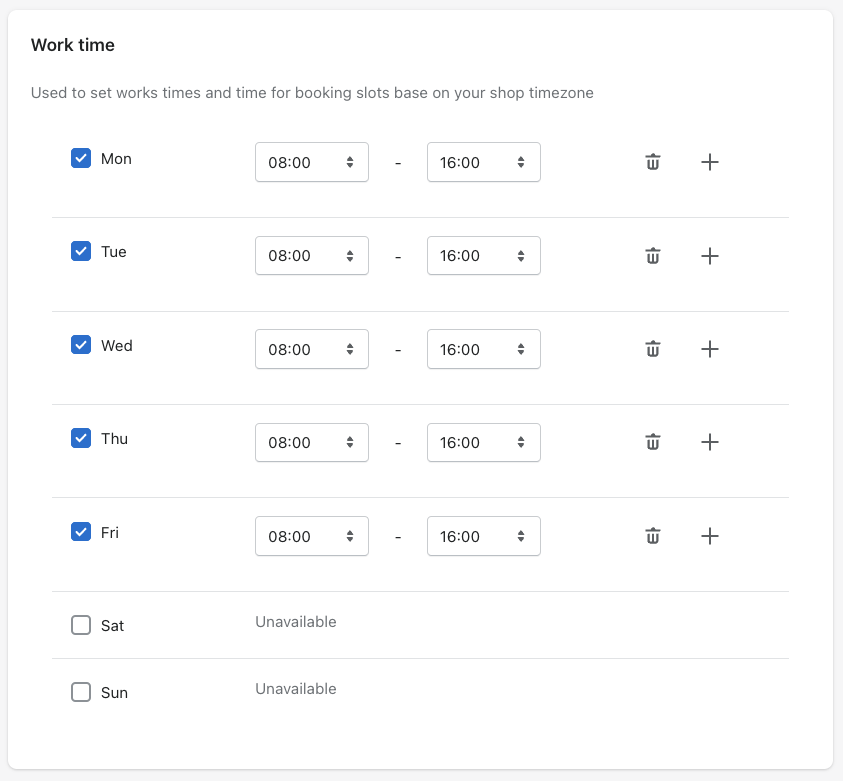
Click on the Save button once you are done, or click Cancel to discard all changes.
General settings
In the General, you can change the following information
1. Timezone

Here you select your business's timezone, which will automatically update on all of your services, including the homepage.
If your customer in a different timezone, their booking time will also update to appear based on your business' timezone.
2. Book before

Here you can choose the number of days that a customer can book their appointment before.
For example: If you set 14 days, customers can only book their appointments maximum 14 days in advance from the current day.
3. Email config
By default, XO Booking will send your emails via the domain of @xopify. If you want to send emails by your own email domain, you need to set up SMTP by enable SMTP through the box of Using own SMTP mail server.
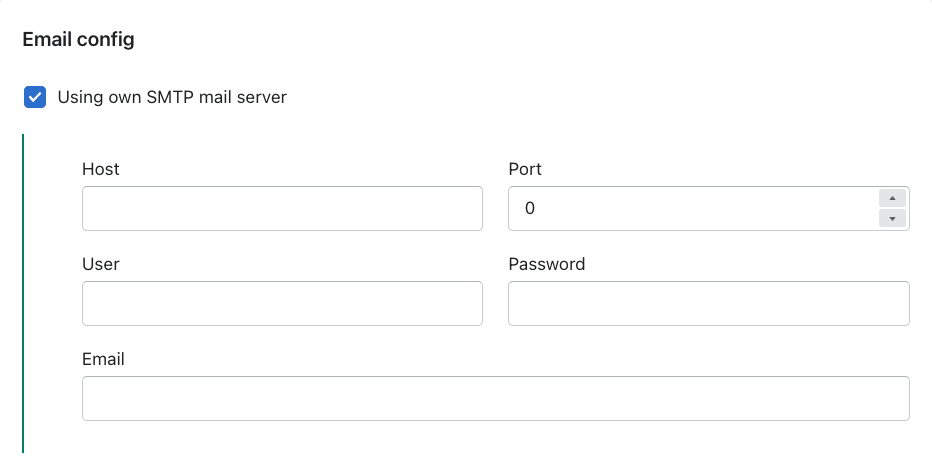
Here you can set up you own SMTP mail server - which is a safe and secured way to send emails across the internet. Just check the blank and fill in the information to start using SMTP

For the Shop name field, write in the name of your store to appear in emails sending to customers. If you leave this blank, it will be replaced by your Shopify name instead.
4. Customize email notification response.
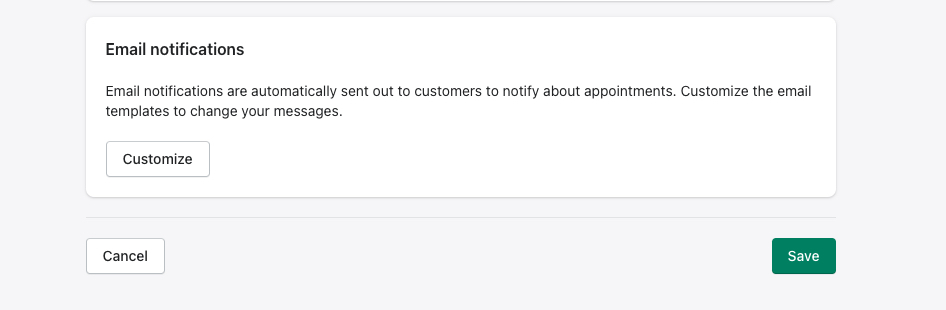
In the Edit notification response box, click on the Customize button to start editing.
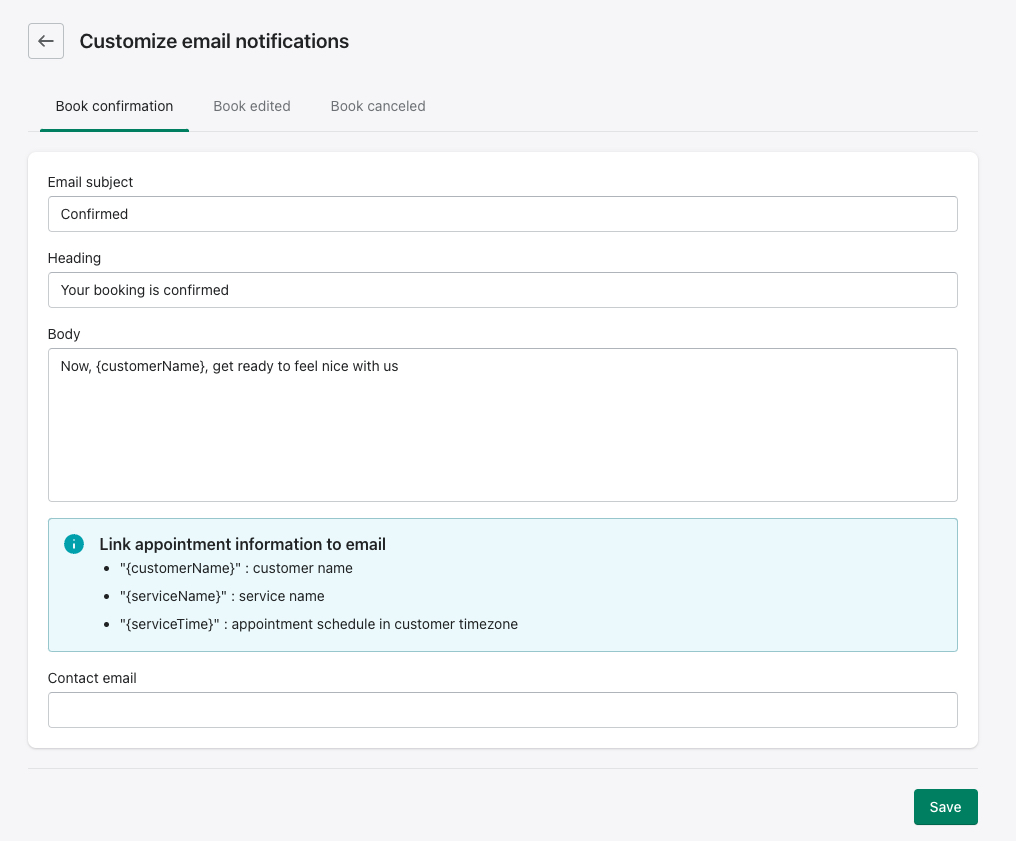
Here, you can edit the email details that your store will send to customers with each booking's event. Once you're done editing, click on the Save button.
The events for your appointments include:
- Book confirmation: Notify when customers successfully book an appointment
- Book edited: Notify when the appointment's information is changed
- Book cancelled: Notify when the appointment is canceled
To personalize your email, XO Booking lets you enter custom field like
{customerName}: Automatically fill in your customer's email name ;
{serviceName}: Automatically fill in the name of the service ;
{serviceTime}: Automatically fill in the time of the appointment;
{customerForm}: The details of the form that customers filled in.
5. Translate the labels of the steps
Go to Settings -> Store label to customize the title and substitle of each step for each language of your store.
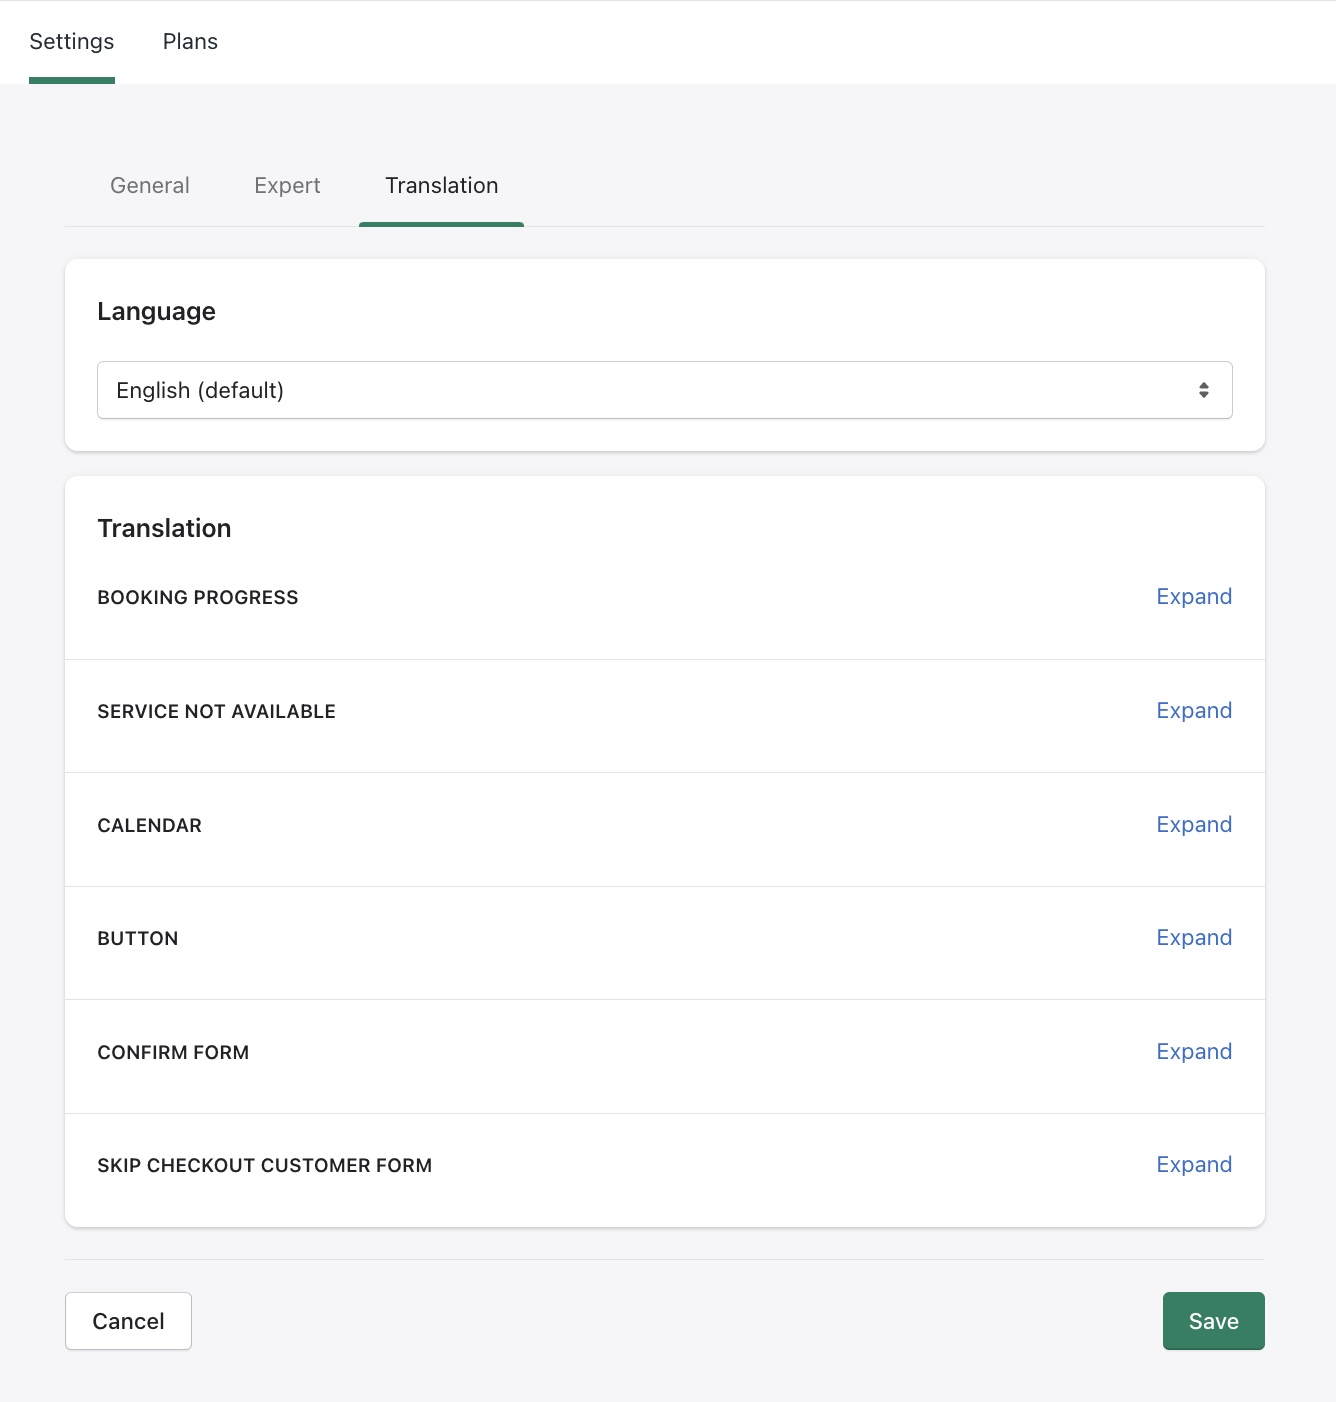
Select the language you wan to customize, then change the naming labels of:
- Booking progress
- Service not availalbe
- Calendar
- Button
- Confirm form
- Skip checkout customer form (This form shows when you enable Skip checkout with a service)
- Skip checkout notification (A toast nofication that shows up when customers book a Skip checkout service)
Click on the Save button. Then go to your homepage to view your new labels. Each language setting will show a different lable's language.