Services
Add and edit services
Add a new service
- From the
Servicestab, click on the Add service button
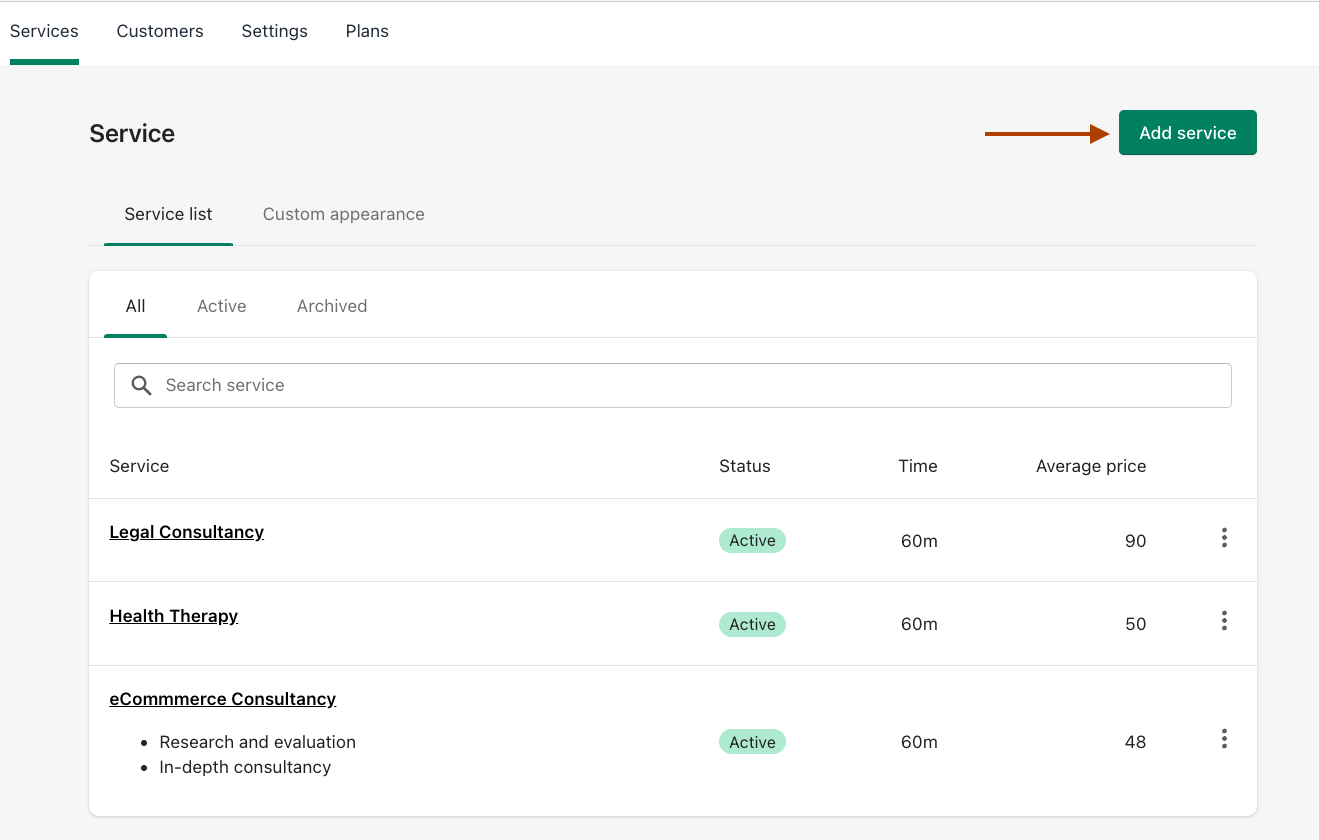
- Here, you can writie in the name of the service, configure its custom description and image, as well as set the length of the service's time. This will be incredibly useful for your customers when booking an appointment
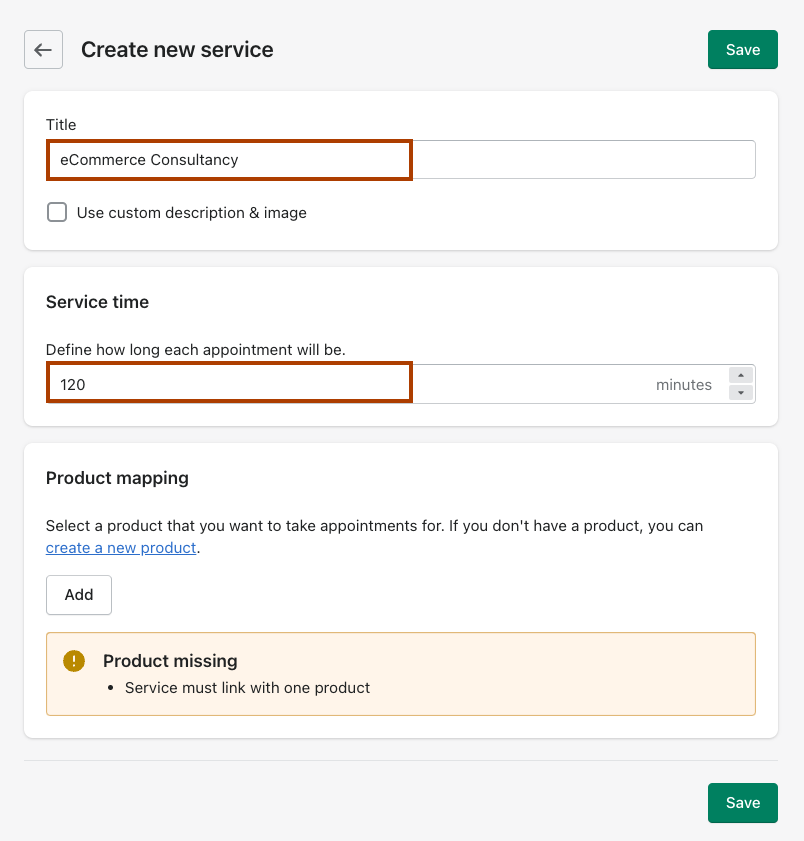
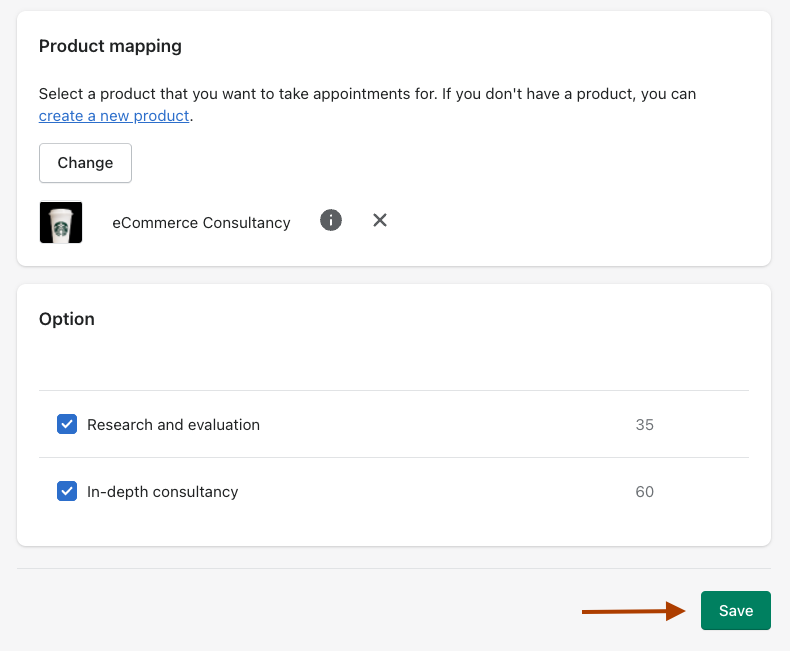
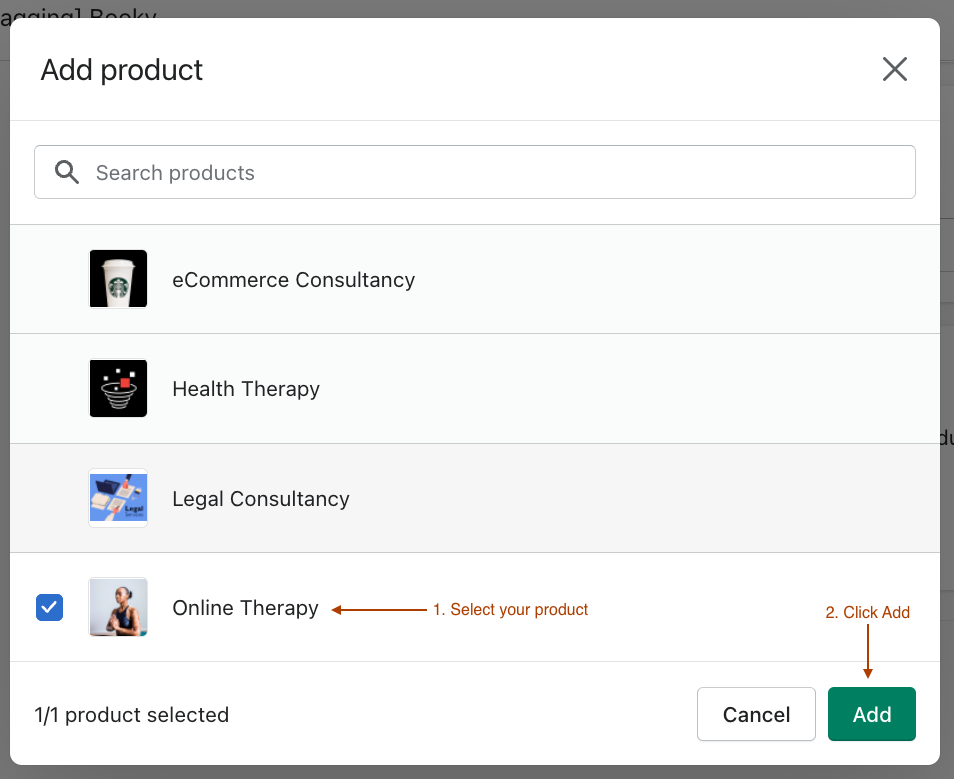
- Link your service with its product. If you don't have one yet, you can create a new one. If the linked product has many variants, the service in XO Booking will also show that.
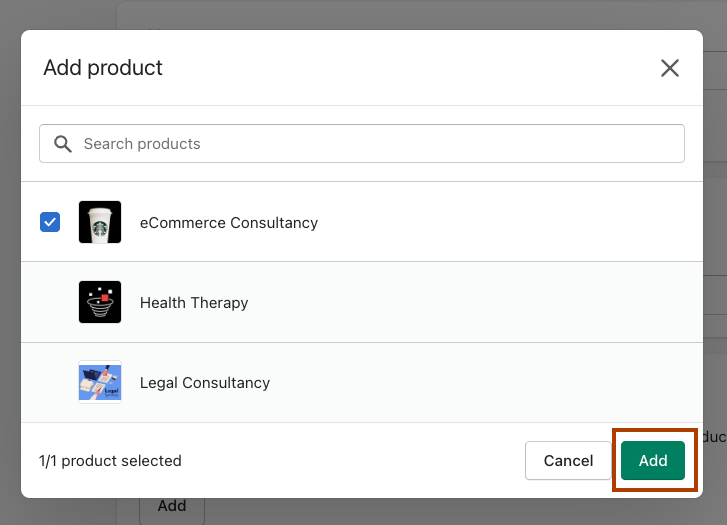
- Select the variants (if you have) to add into your product. Then click on Save to finish creating the new service
You will then find your newly created service in the Services tab.
The Free plan offers 3 services, and the Basic plan of XO Booking offers unlimited services.
Edit an existing service
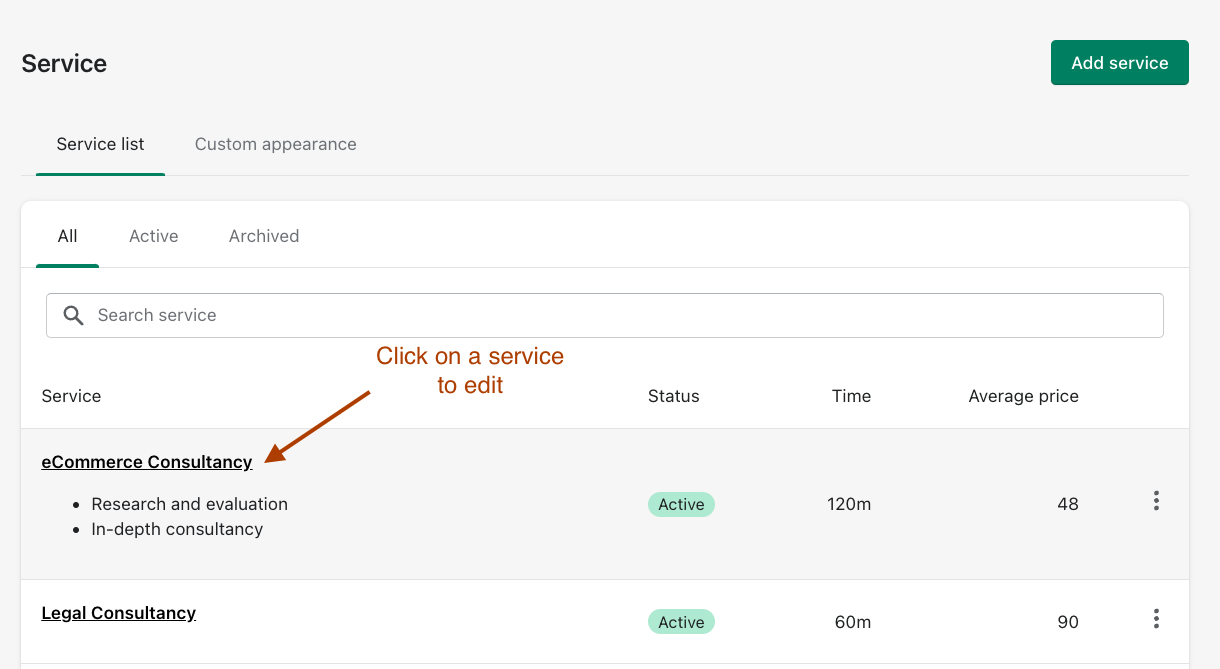
- From the
Servicestab, click on any service you would like to edit
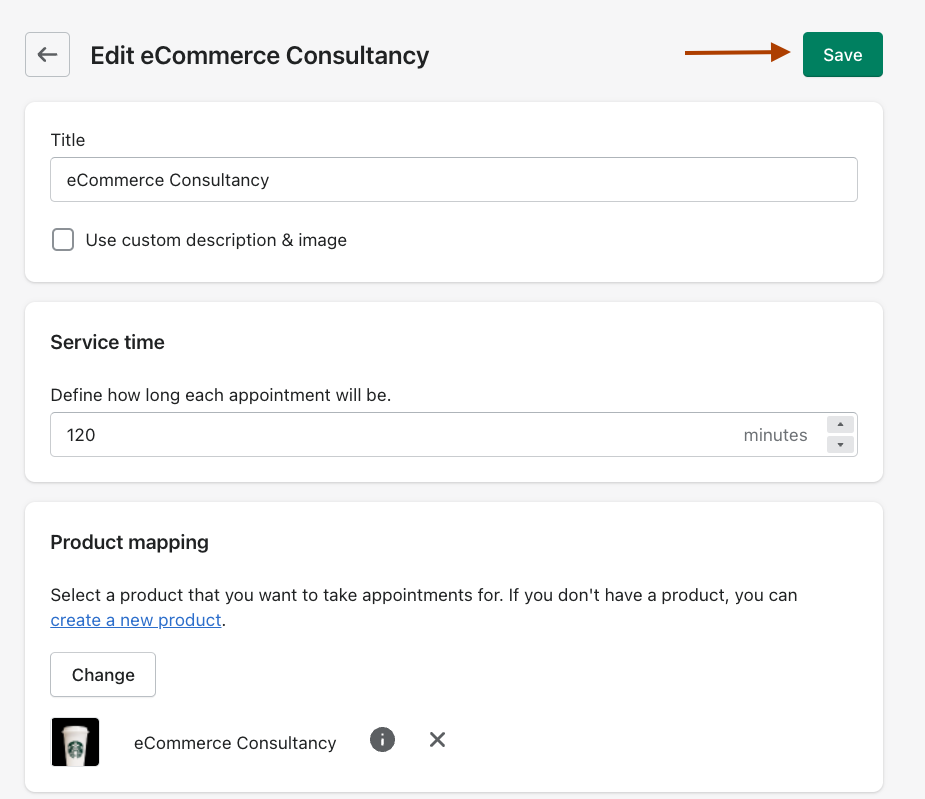
- Change the information you want with the service, such as changing title, service time, linked product, etc.
- Then click on Save to finish editing.
Delete an existing service
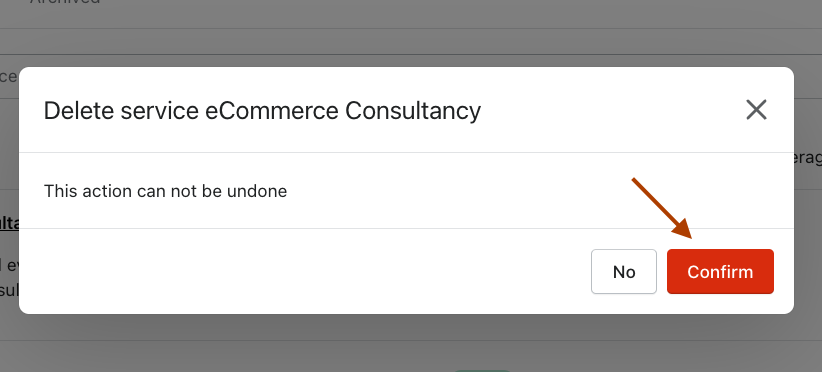
- Next to an existing service, click on the three dot button, then select Delete.
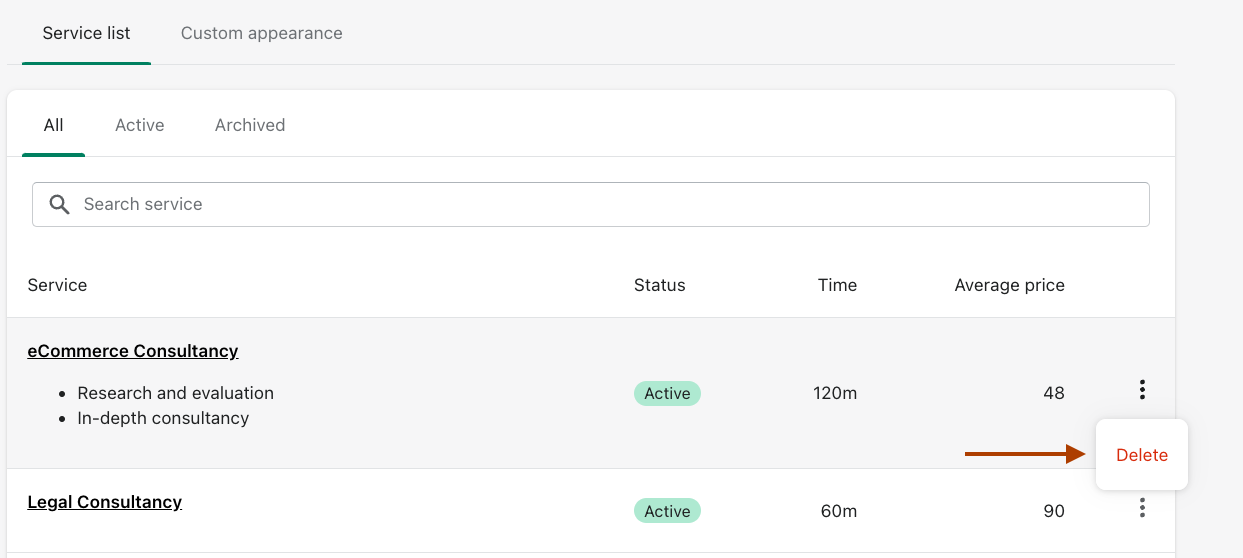
- This action can't be undone, so be sure with your decision. If you are certain, click on the Confirm button to delete the service.
Create a product as a service
In order to offer services and recieve payment through XO Booking, you must first create a product as a service. Here are the steps.
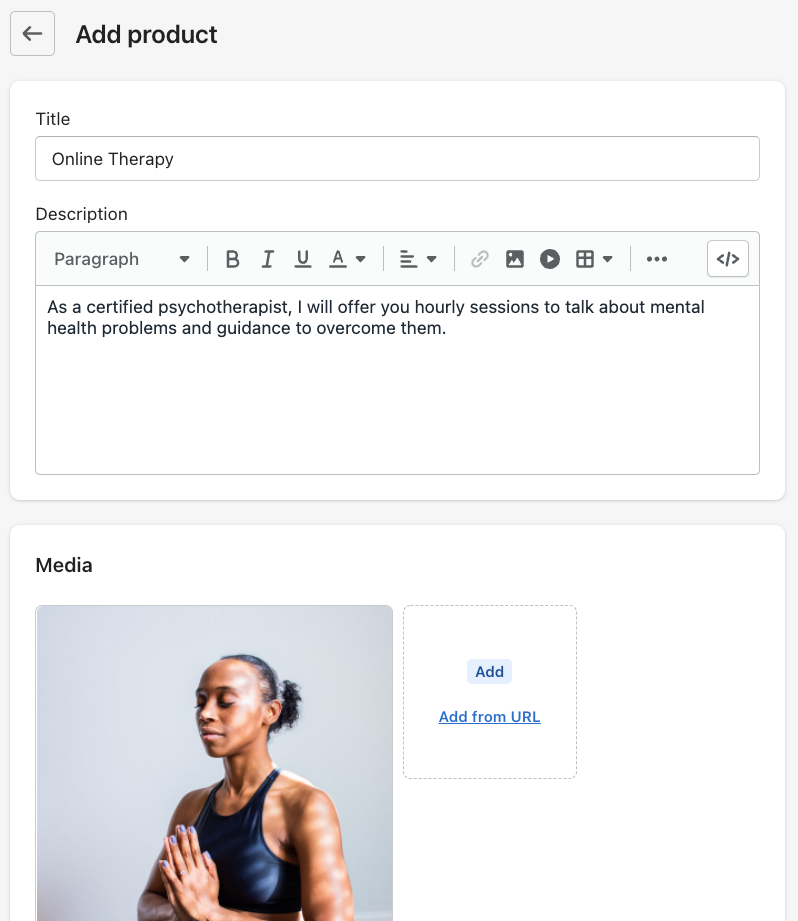
1. From your Shopify homepage, select Products, then click on the Add product button.

2. Then, fill in the general information just like a normal product.
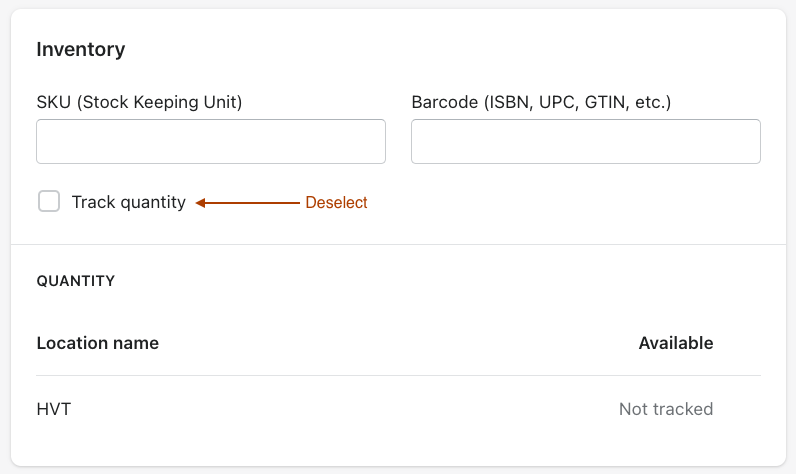
3. Remember to deselect the Track quantity option.
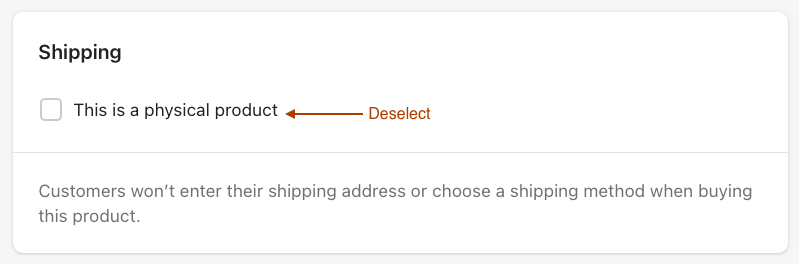
And also deselect the This is a physical product option.
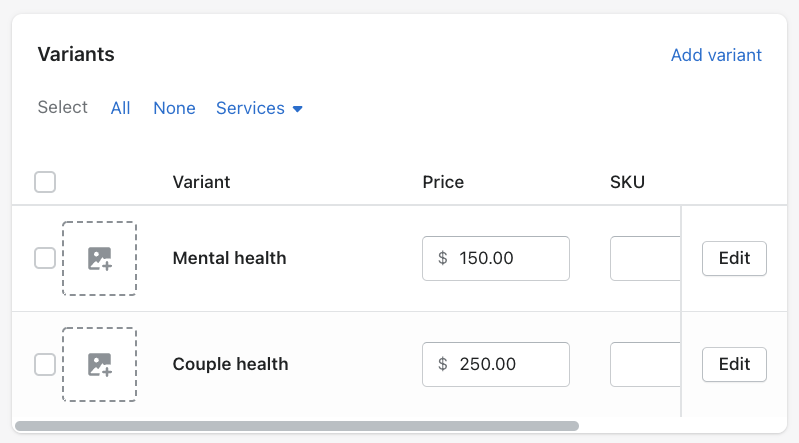
4. (Optional) If your service has more in-depth option, add them through the option box. Name the options and your customers will be able to see them if you set them to appear on the homepage.
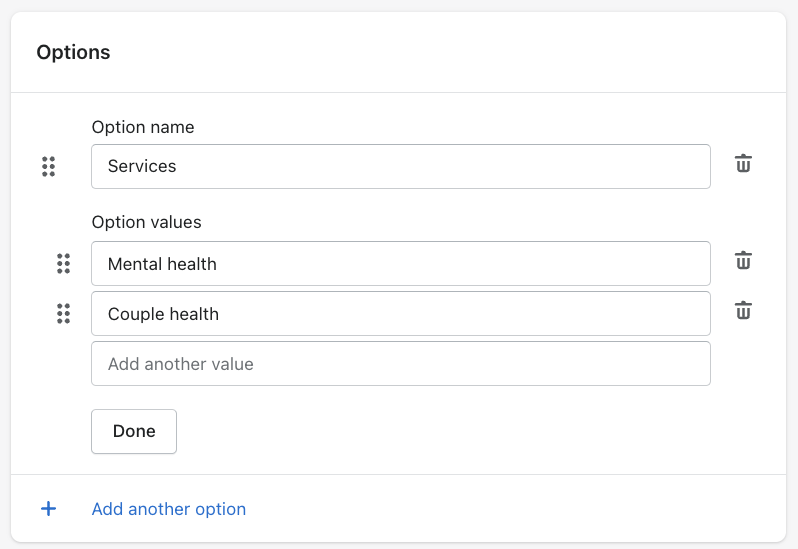
You can set your product variant's pricing in the Variants box.
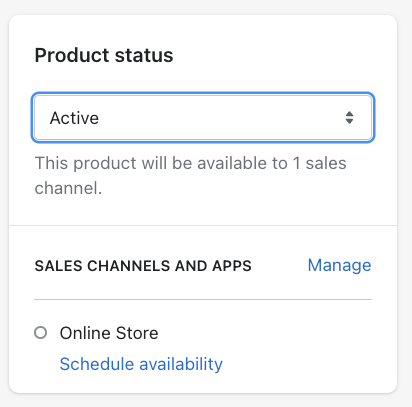
5. Remember to set your product status to Active.
6. Then you should be able to add the product as a service in the Services tab of the XO Booking app. Click on the Add service button then repeat the steps of the Add a new service guide.
Customize the service appearance on the hompage
- From the
Servicestab, select Custom appearance. Here you can pick the type of display for your service.

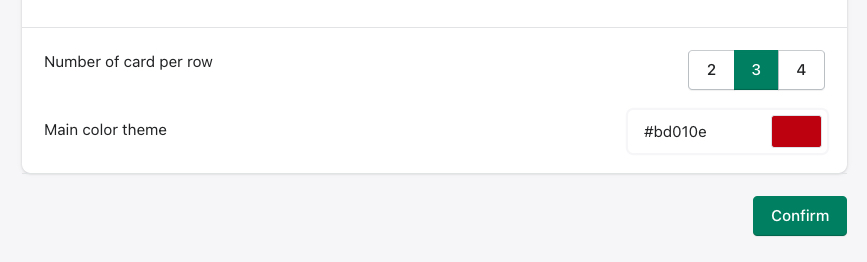
- You can also configure more with the number of card per row (applied for card type appearance), or change the main color of the theme. Make changes as you like, then click on Confirm to save the appearance.
Then go to your homepage to view your save changes with the services.
Service features
THese are the features to make a service more managable and accessible to different groups of customers. Click on a service to change as you like, then click on the Save button.
Custom description and image
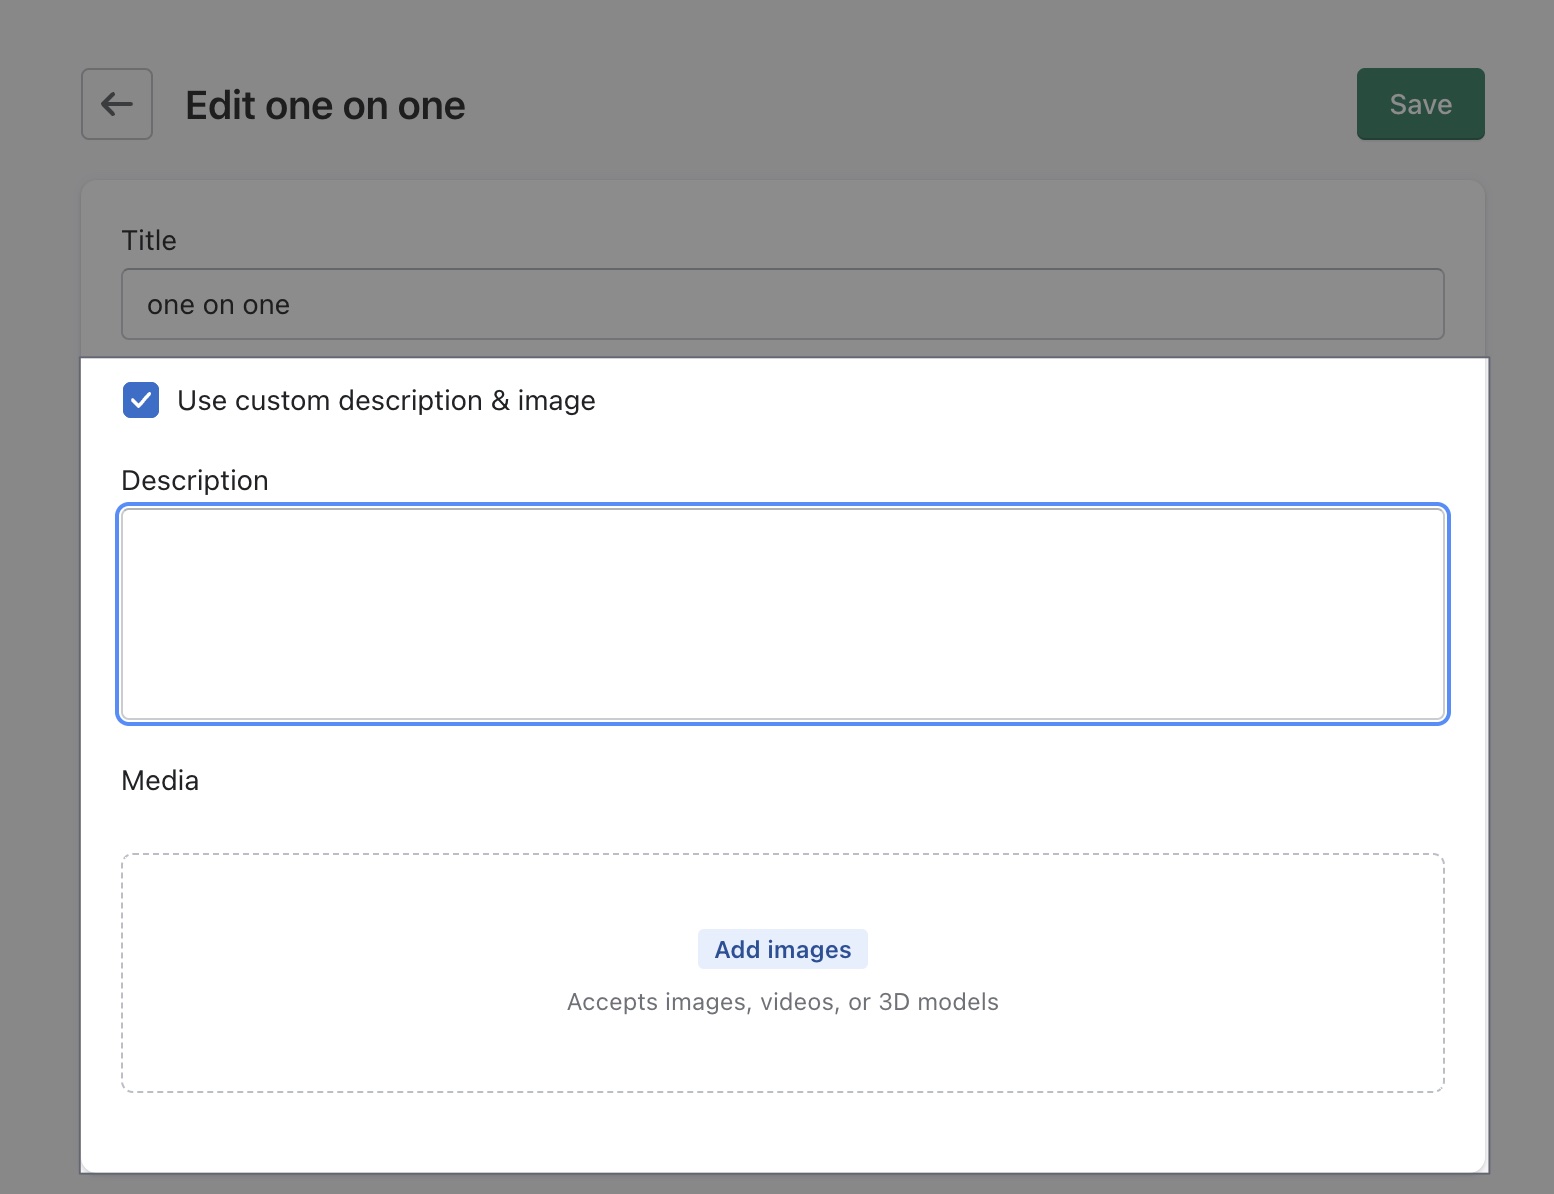
Click on Use custom description & image to edit the description and image of the service. By default, XO Booking services use your Shopify product's information for this.
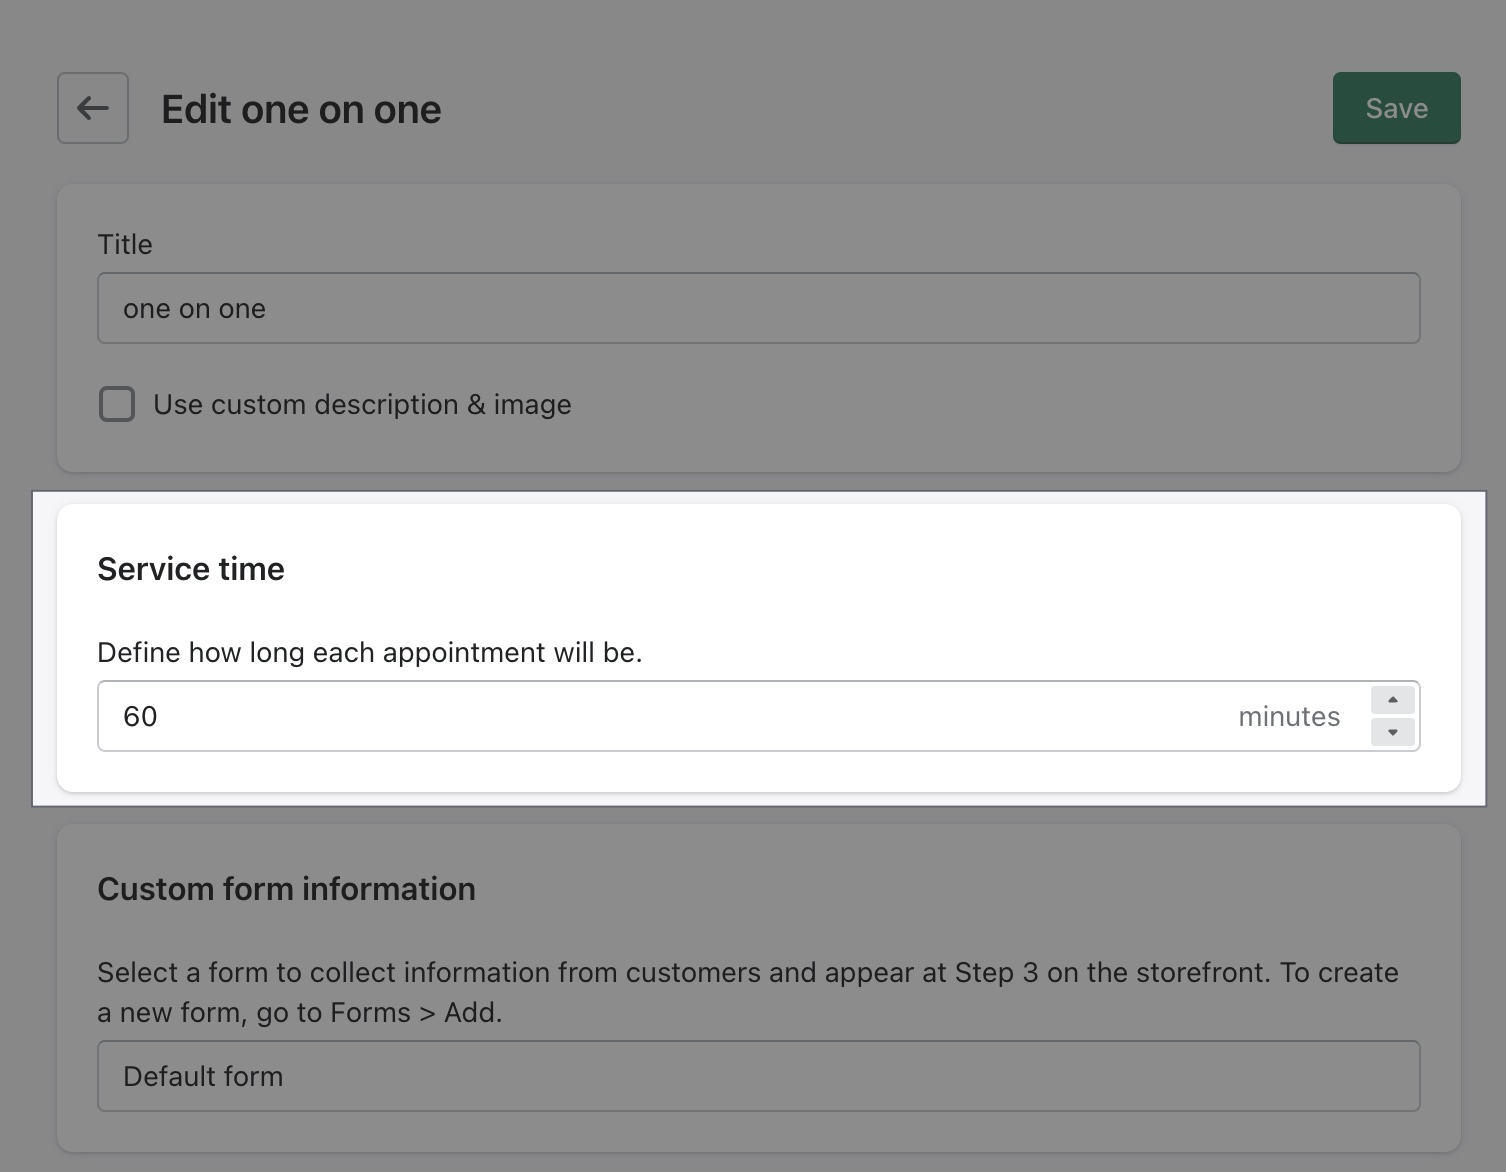
Service time
Define how long your service's appointment will last in minutes.
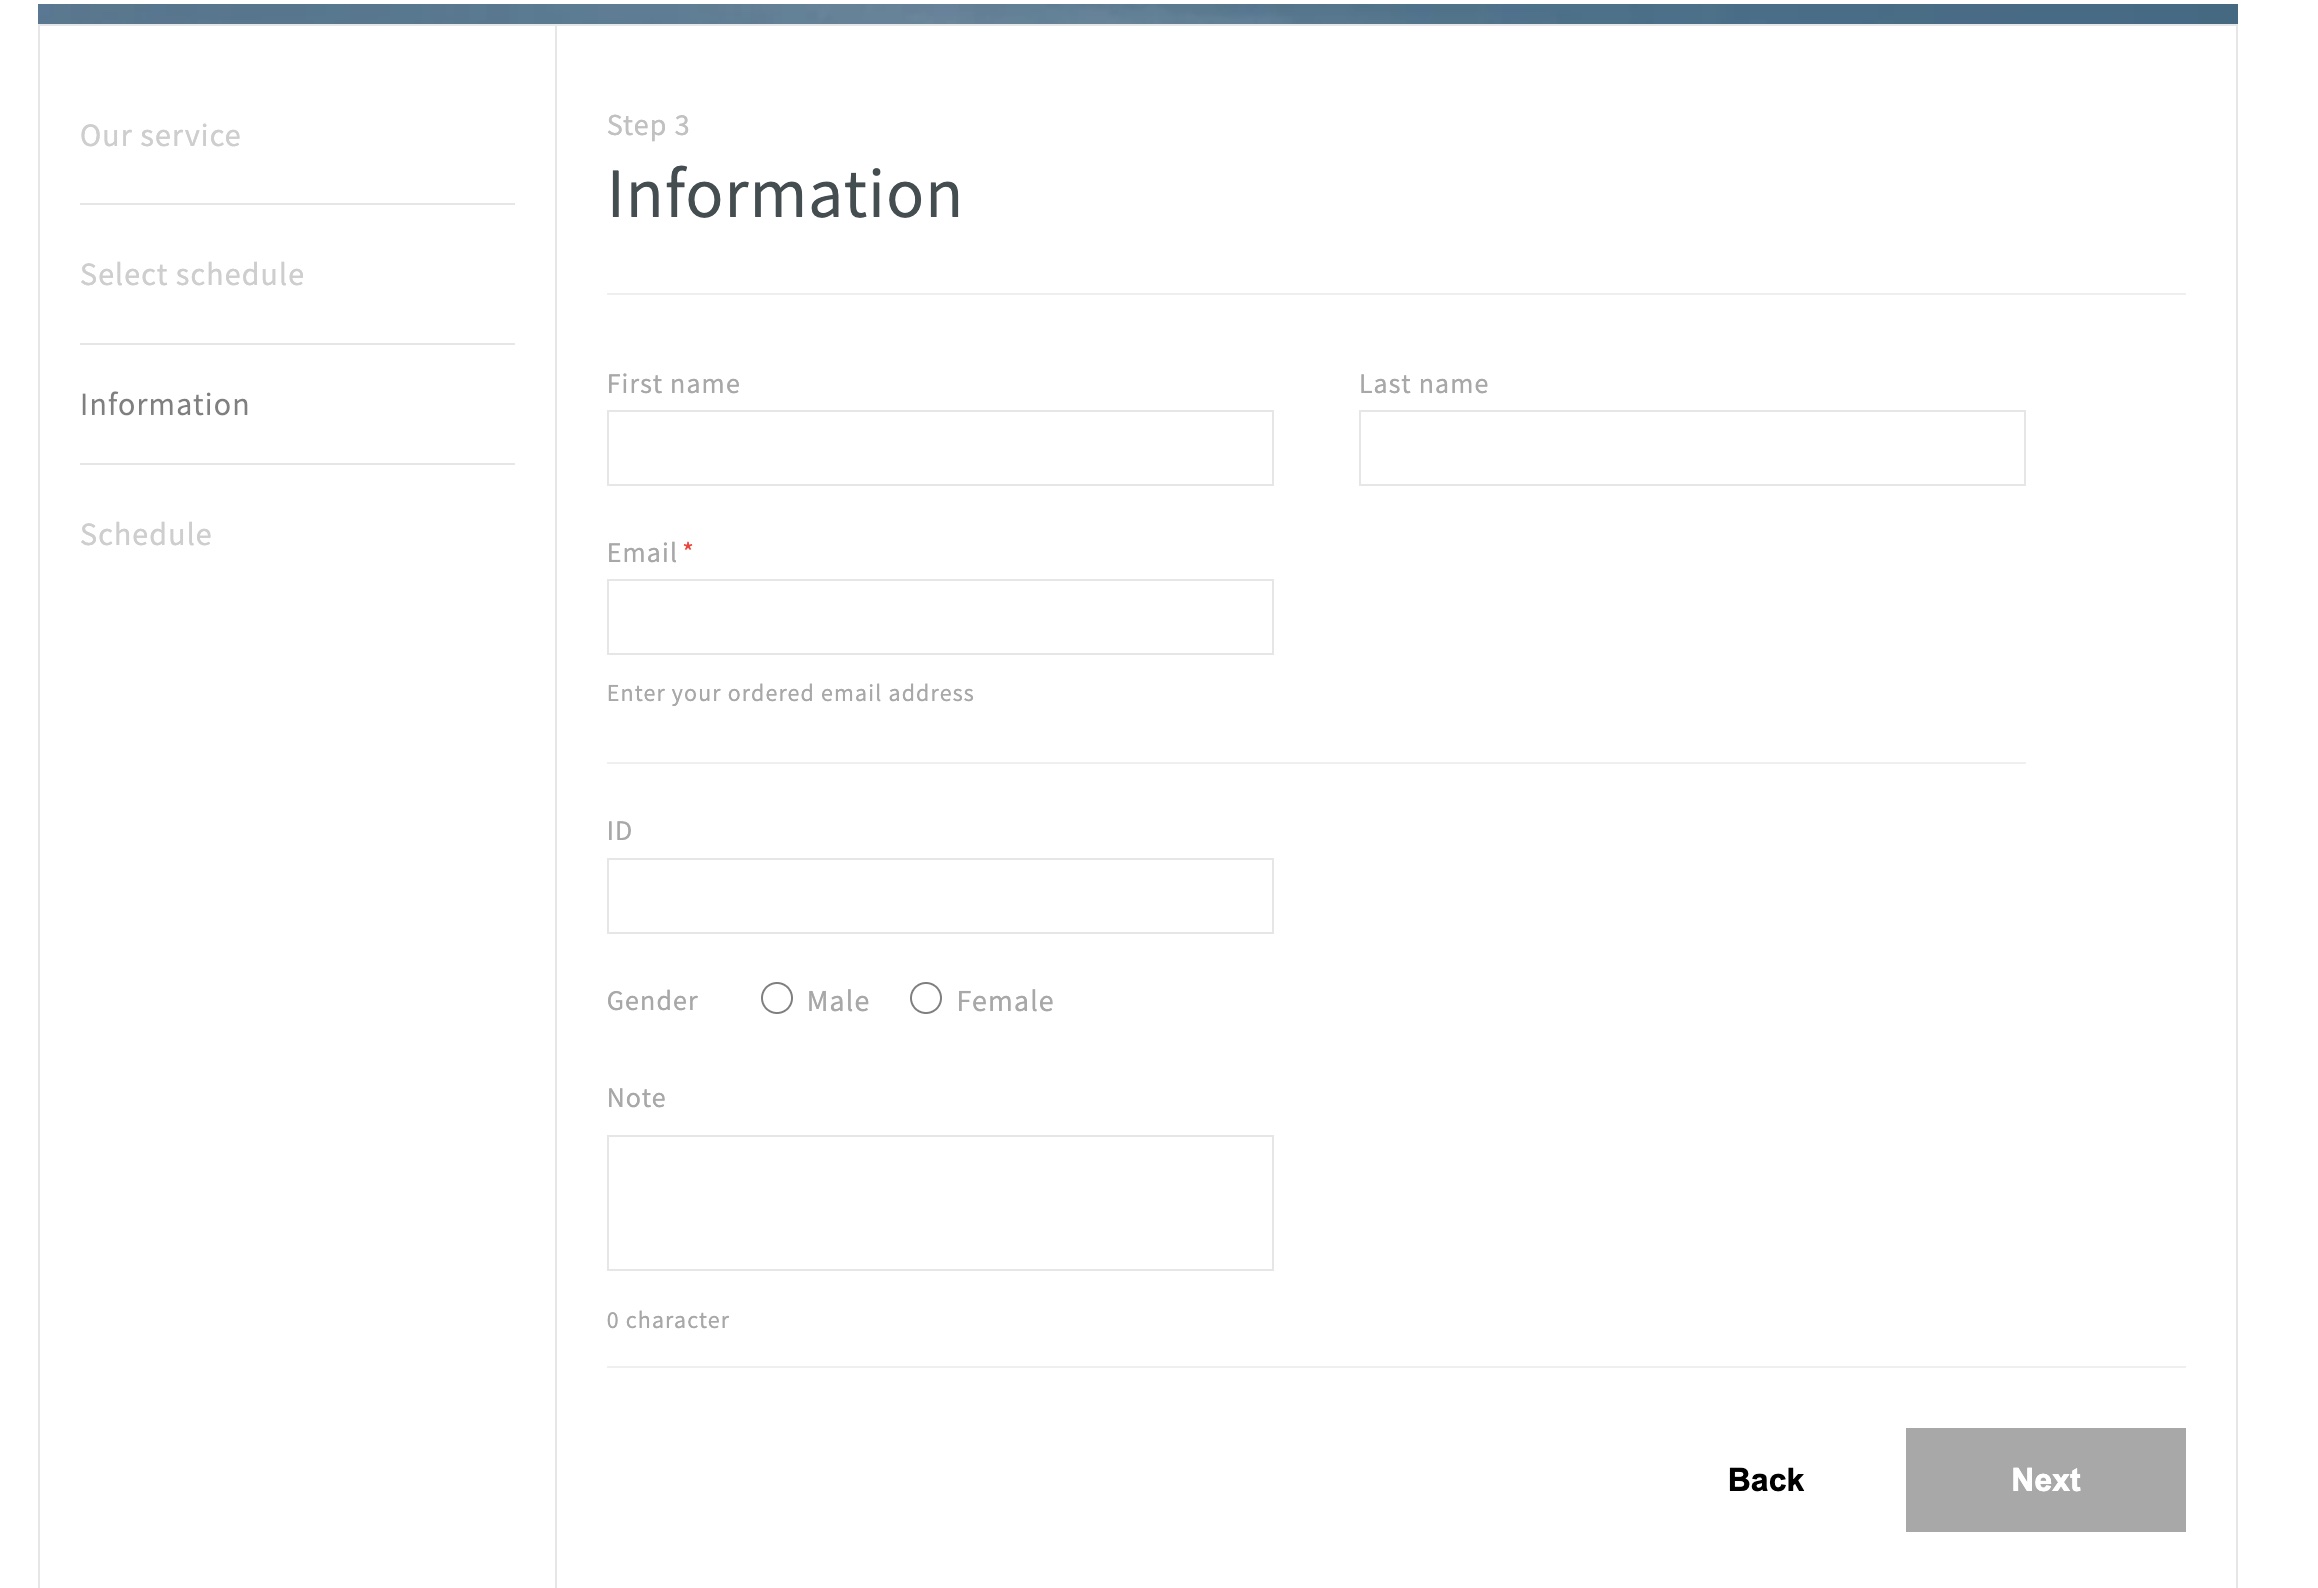
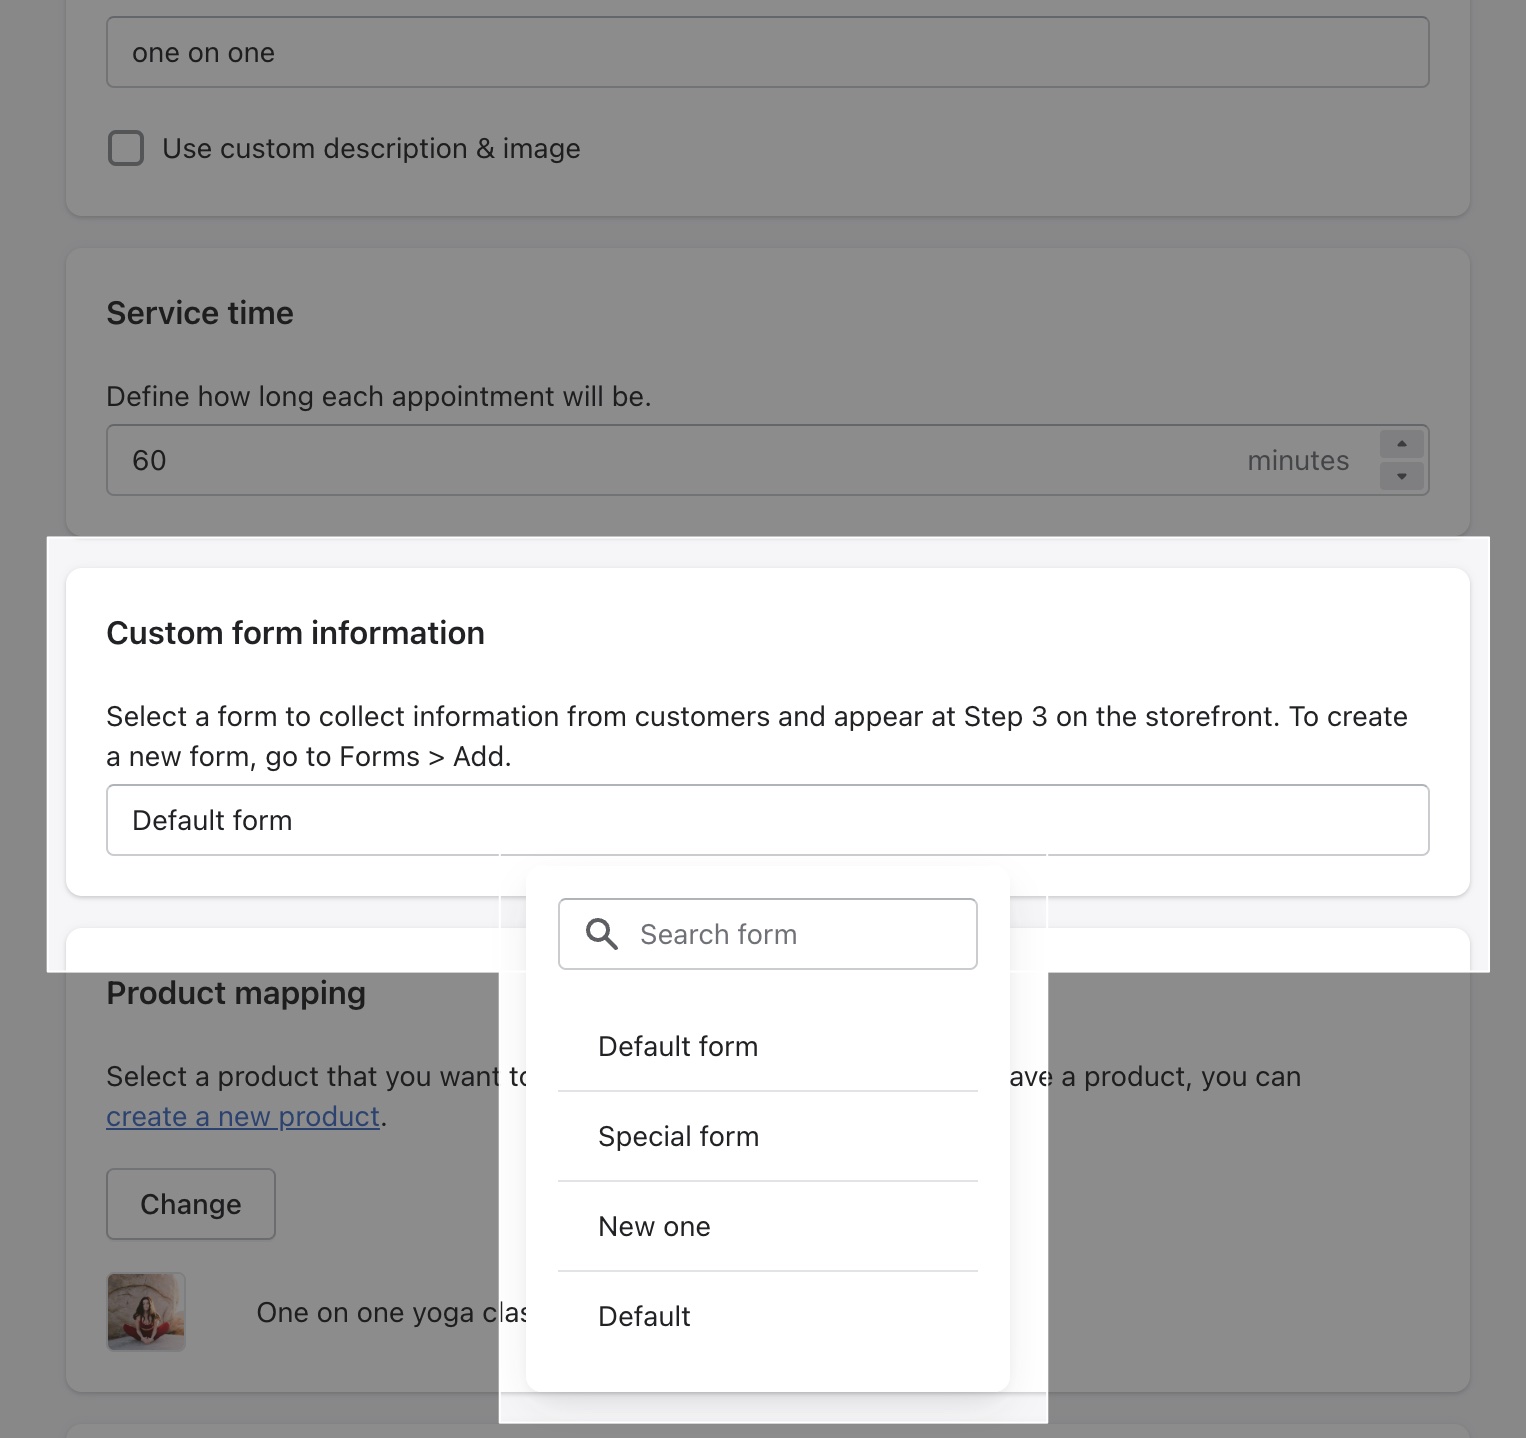
Choose custom form
When you create forms, you can choose a custom form for your service.
WHen selected, each service can have a custom form to collect customer's information. This is helpful to customize the experience for your visitors.
Custom worktime
You can create custom worktime for each service with XO Booking services. Scroll down and you can custom the time opening, you can also add multiple work times for a day.
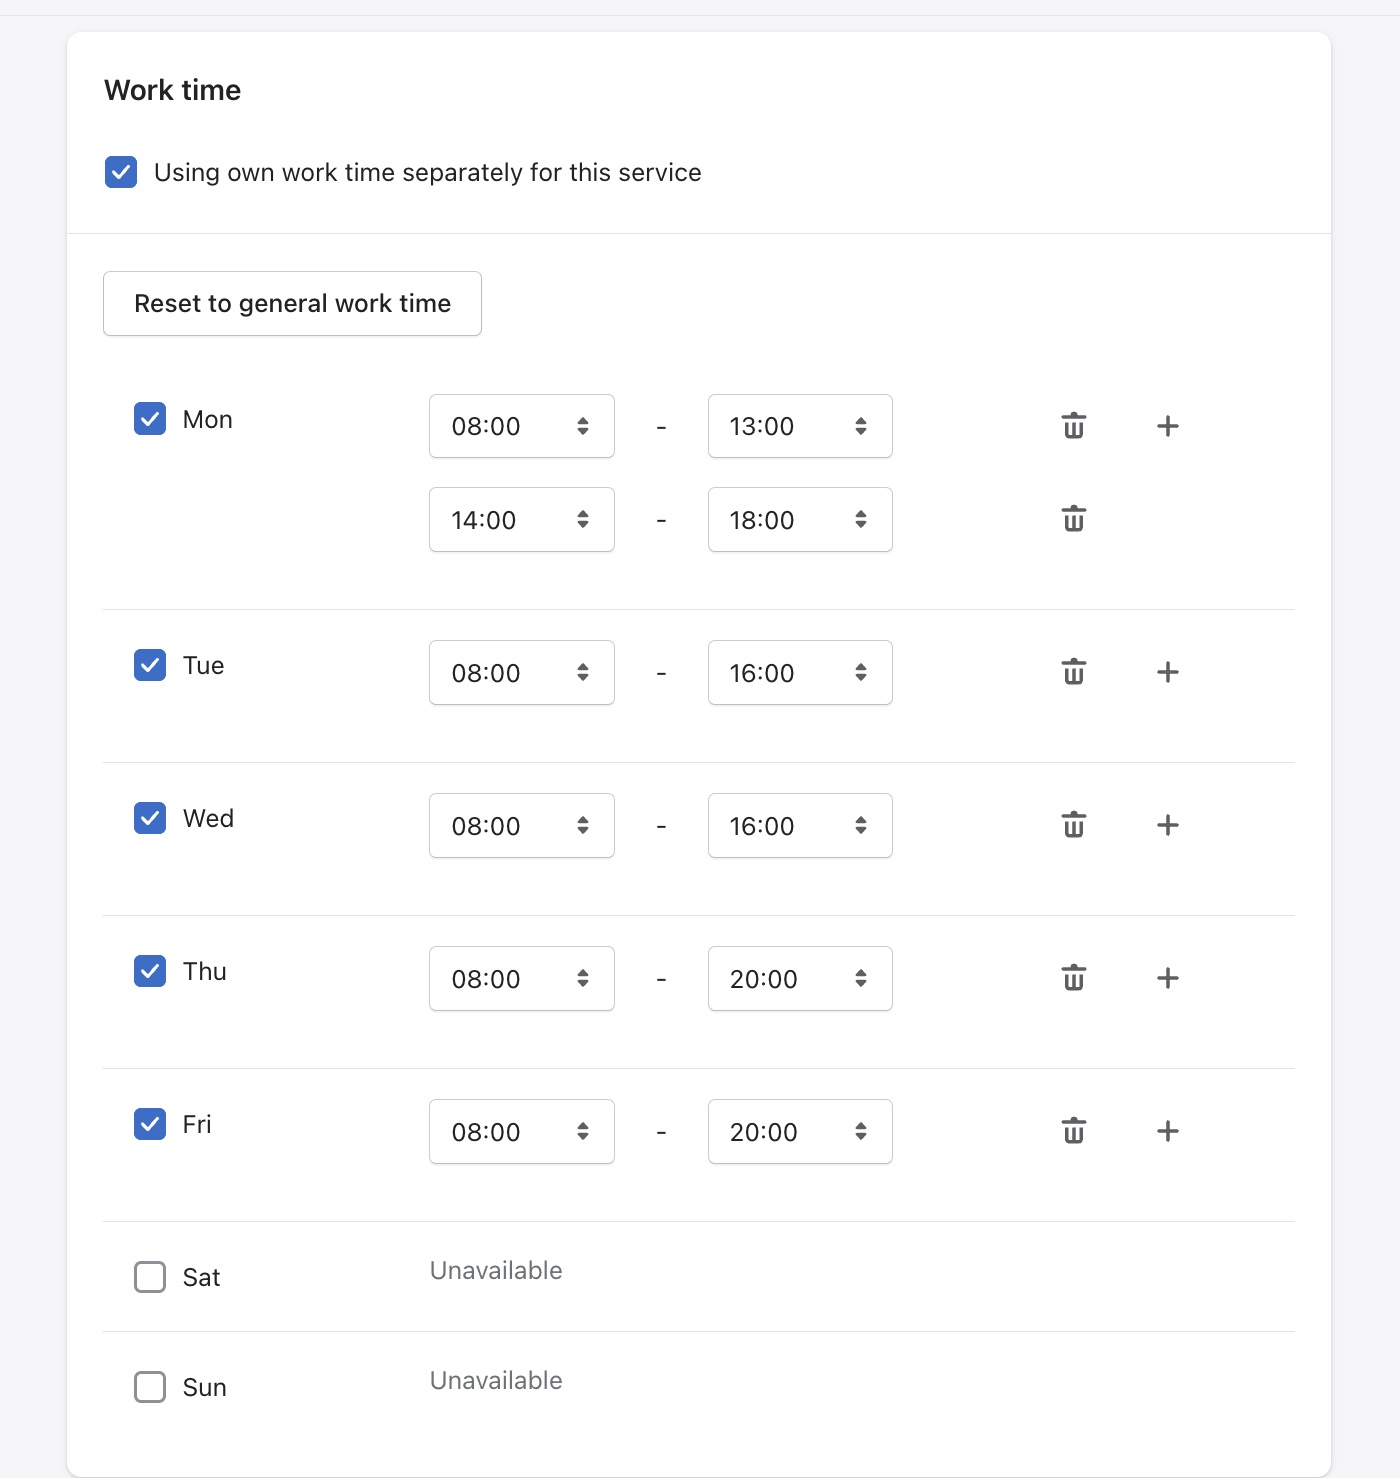
Click on the Reset to general work time button to reset the work time back to your store's work time.
Skip checkout
With Skip checkout, your customers won't have to pay to book an appointment.
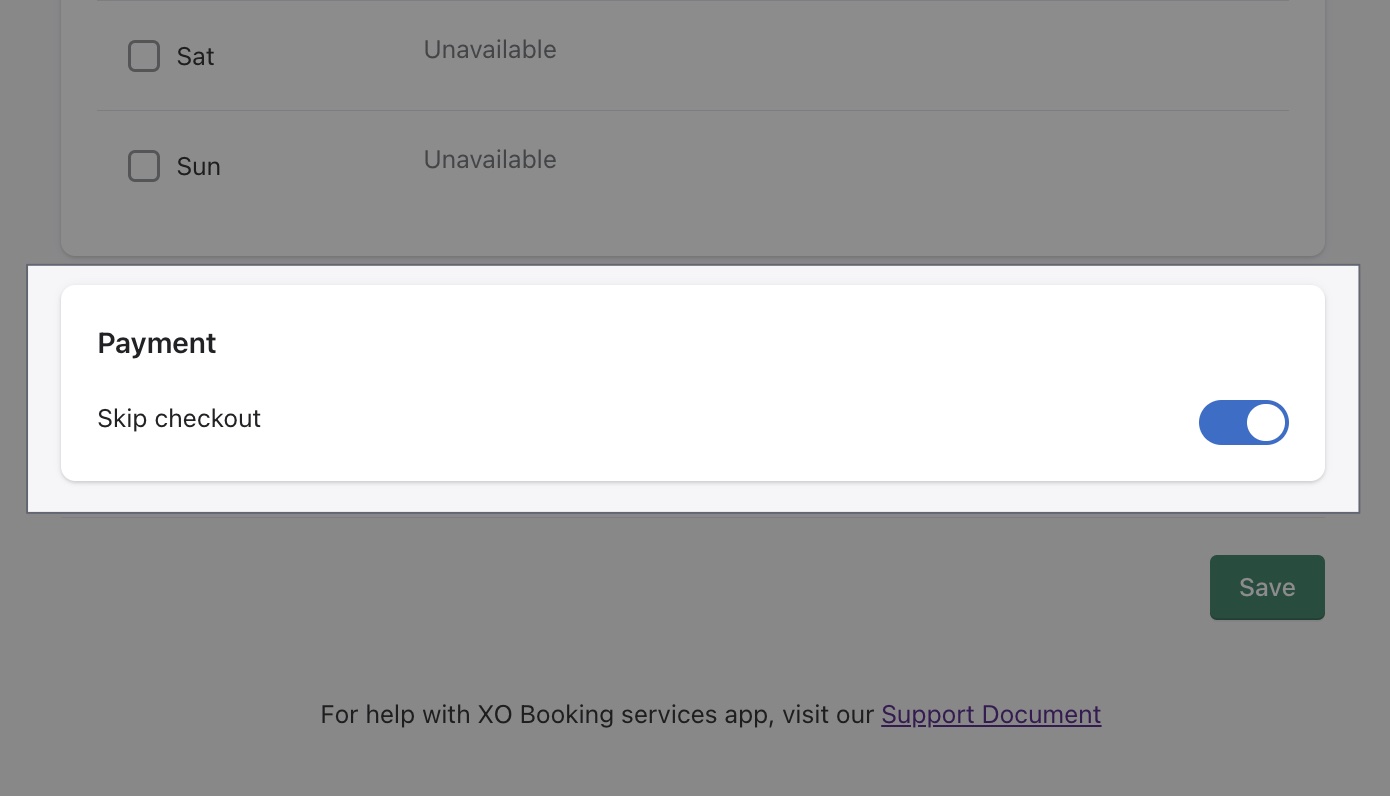
Please note that service with the Skip checkout option on will have a default form to collect customers' First name, Last name, and Email (This helps XO Booking services creating new customer's data in the app). You can change the service's form to avoid duplicating these information.