Layouts
You can custom the appearance of XO Booking services to match your store's theme and create a new booking experience for your customers.
To change the appearance, go to Layout.
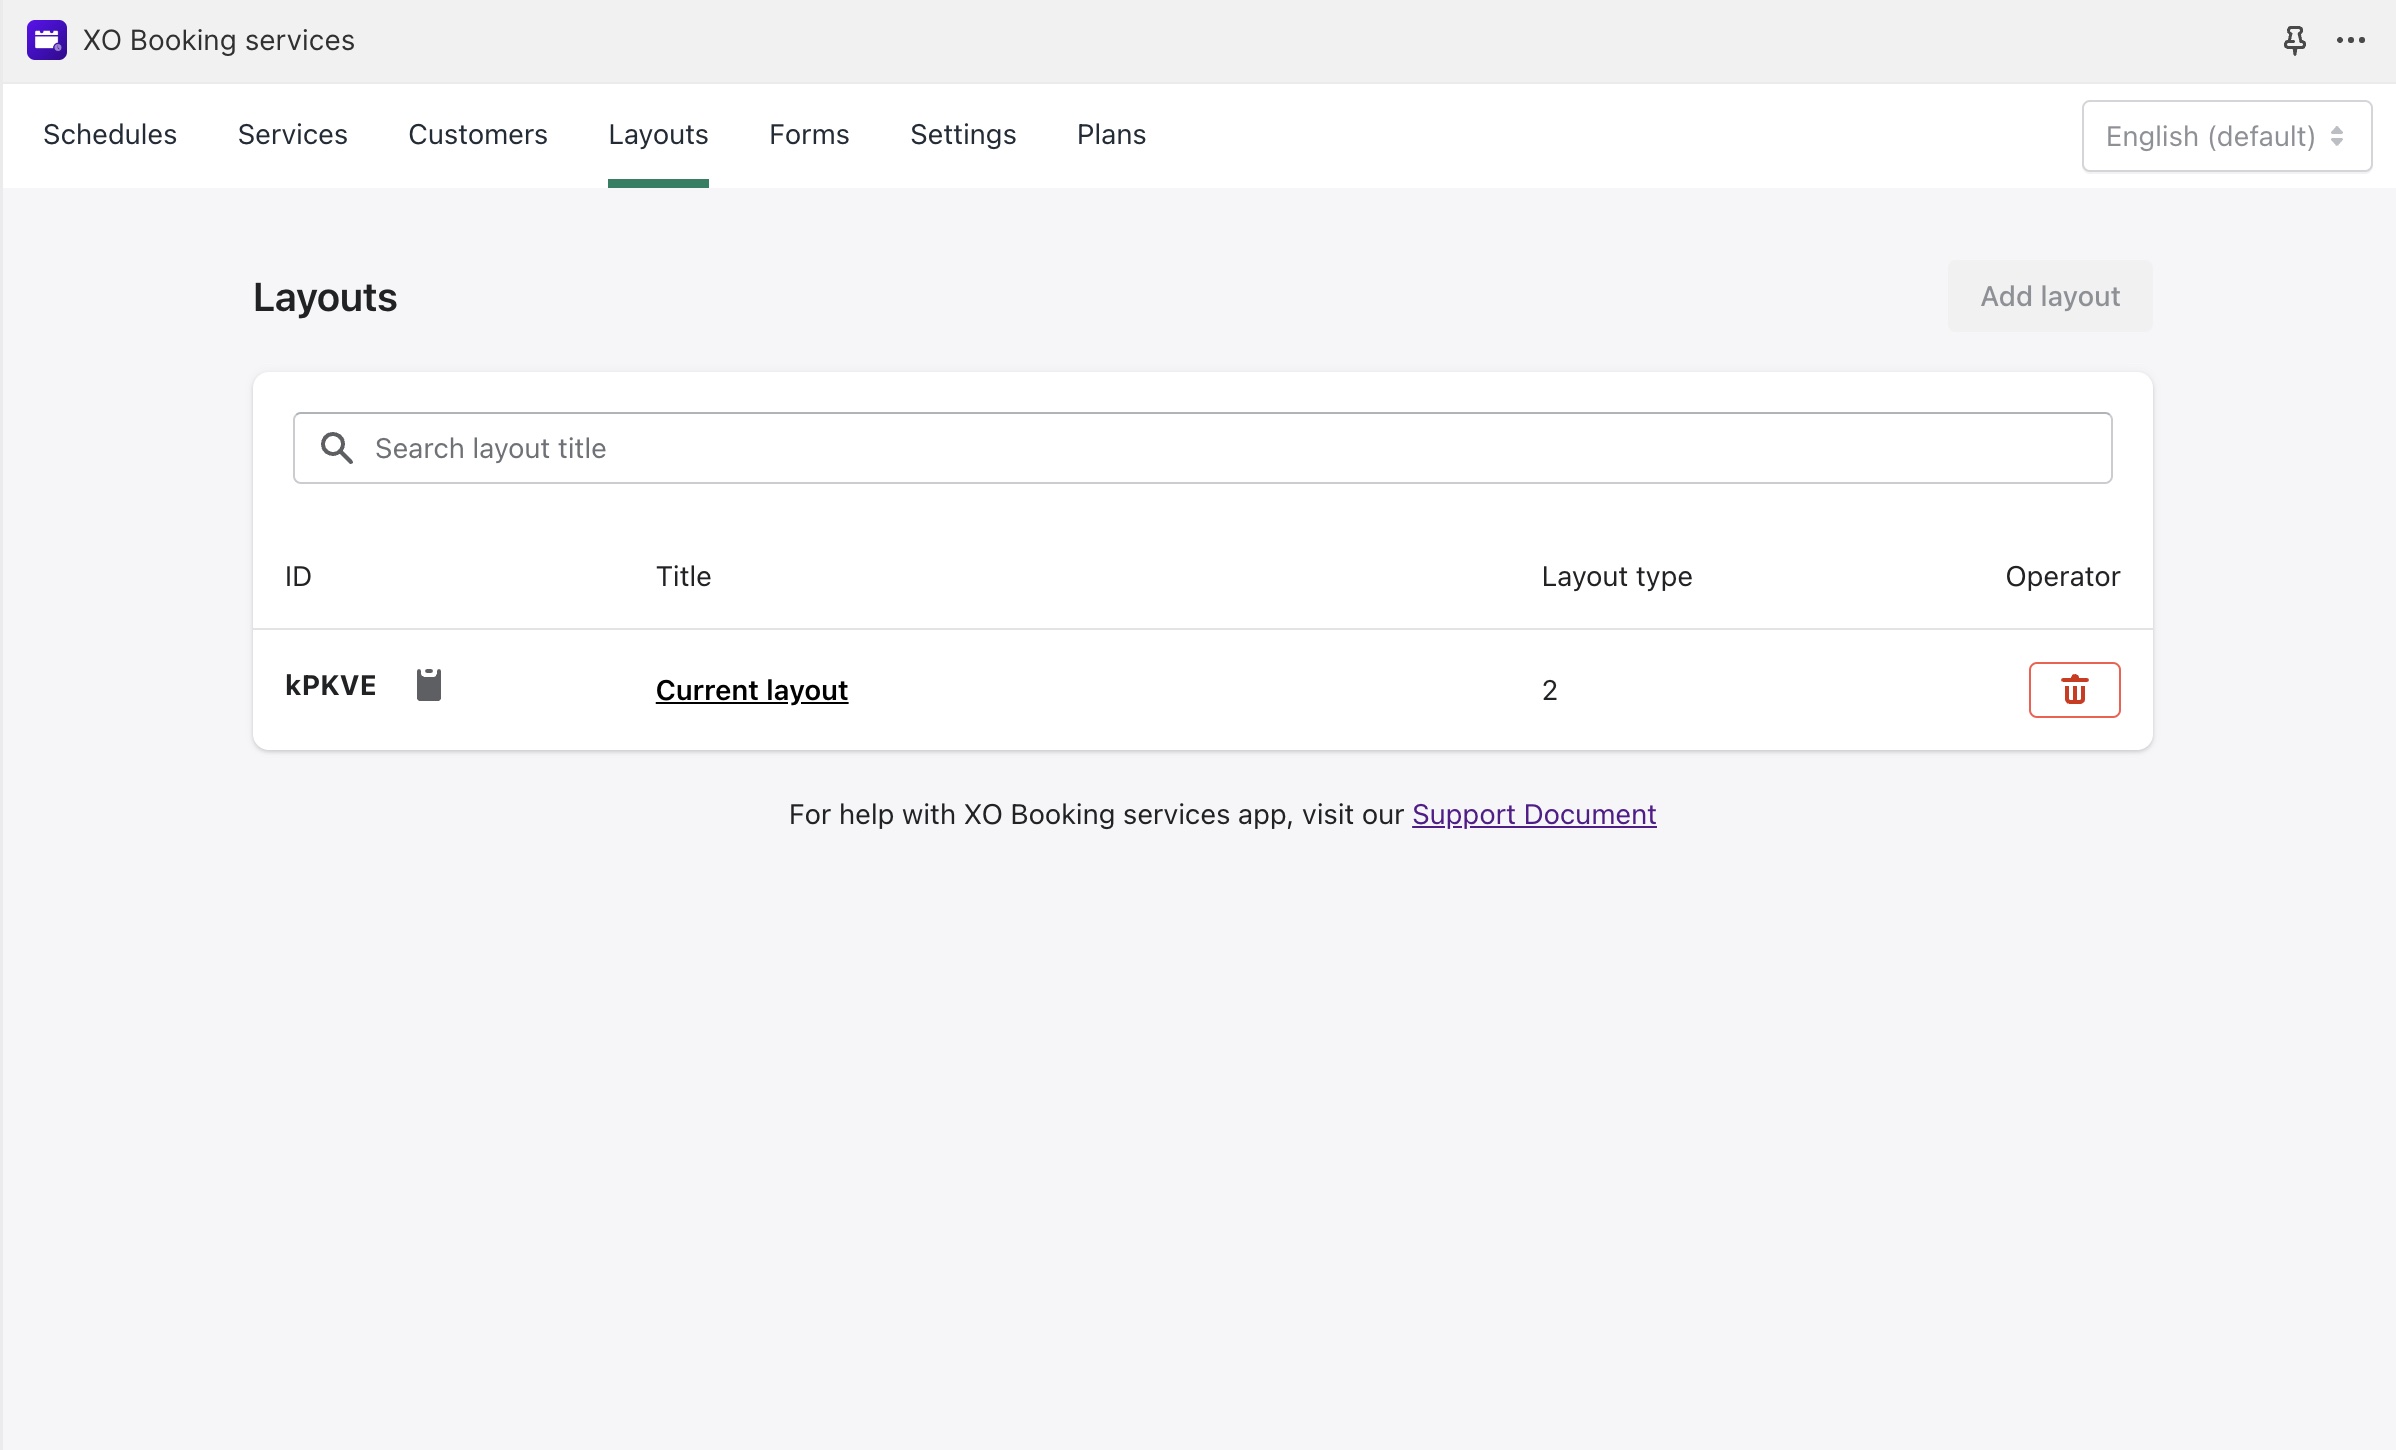
By default, there will be one layout already available for every plan.
- The Free plan has one layout with limited layout skin
- The Basic plan has unlimited layout and layout skins
With more layout and more skin, you can customize XO Booking services to match with many pages of your store, such as Home, Product, Blog, About, etc.
How to add a layout to your theme
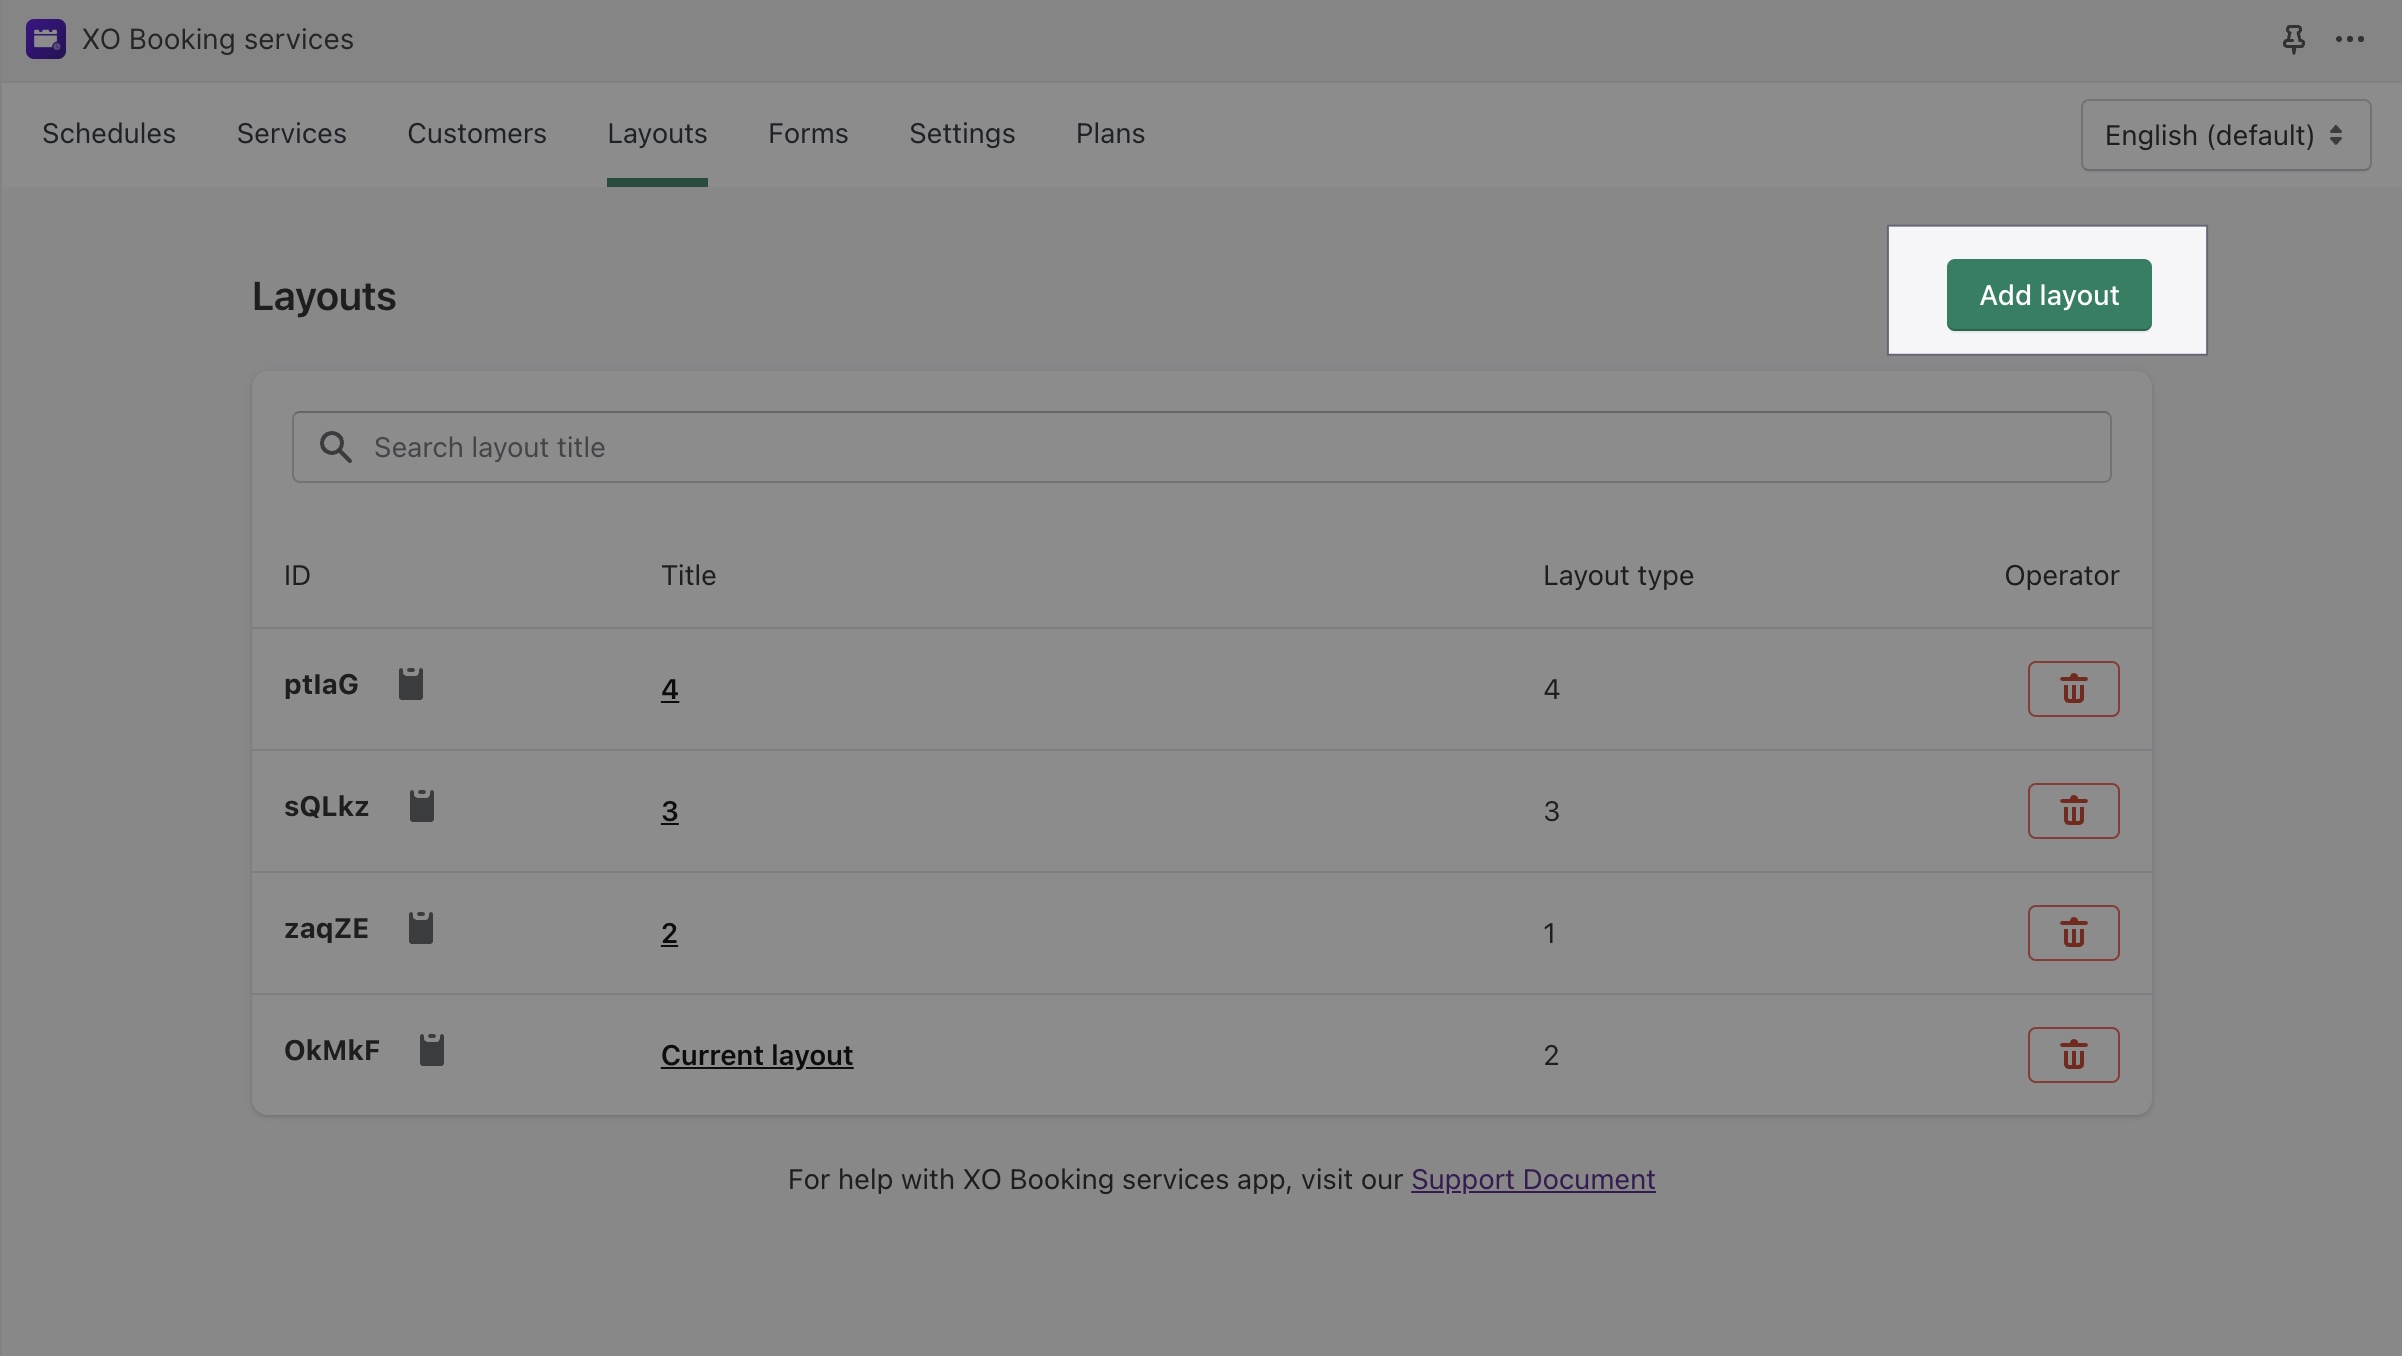
If you are on the Basic plan, you can add as many layouts to your theme as you want.
Step 1. Create on the Add layout button
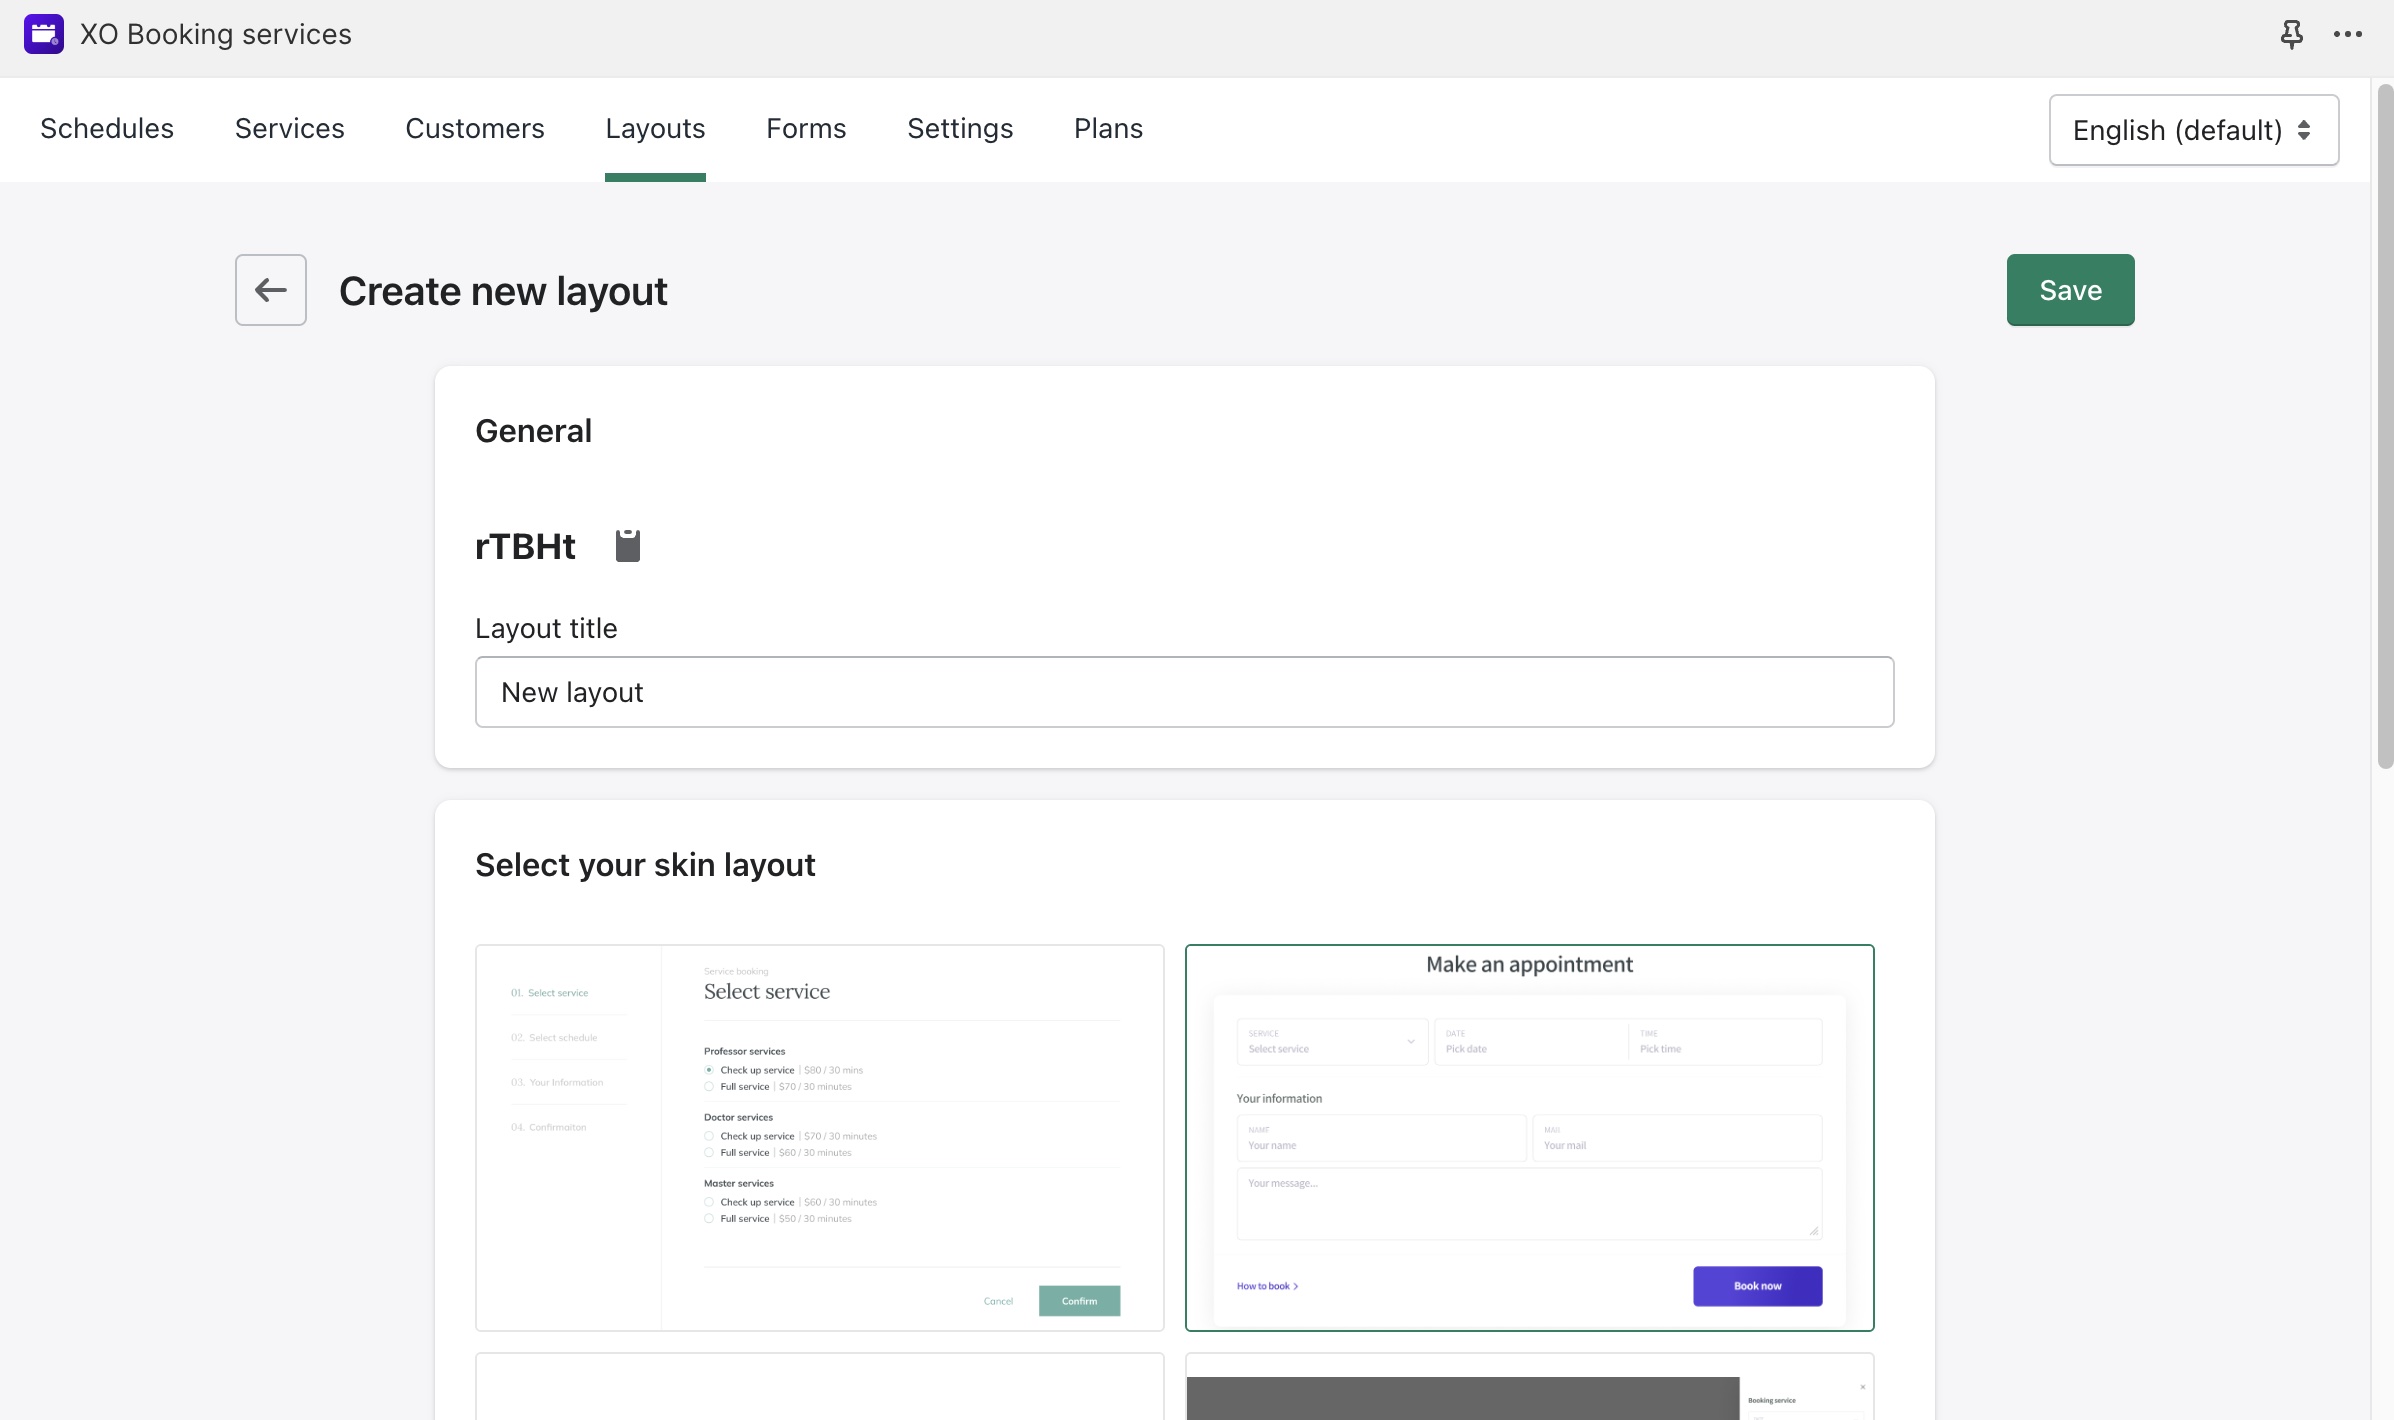
Step 2. Add a title, select a skin, then click on the Save button
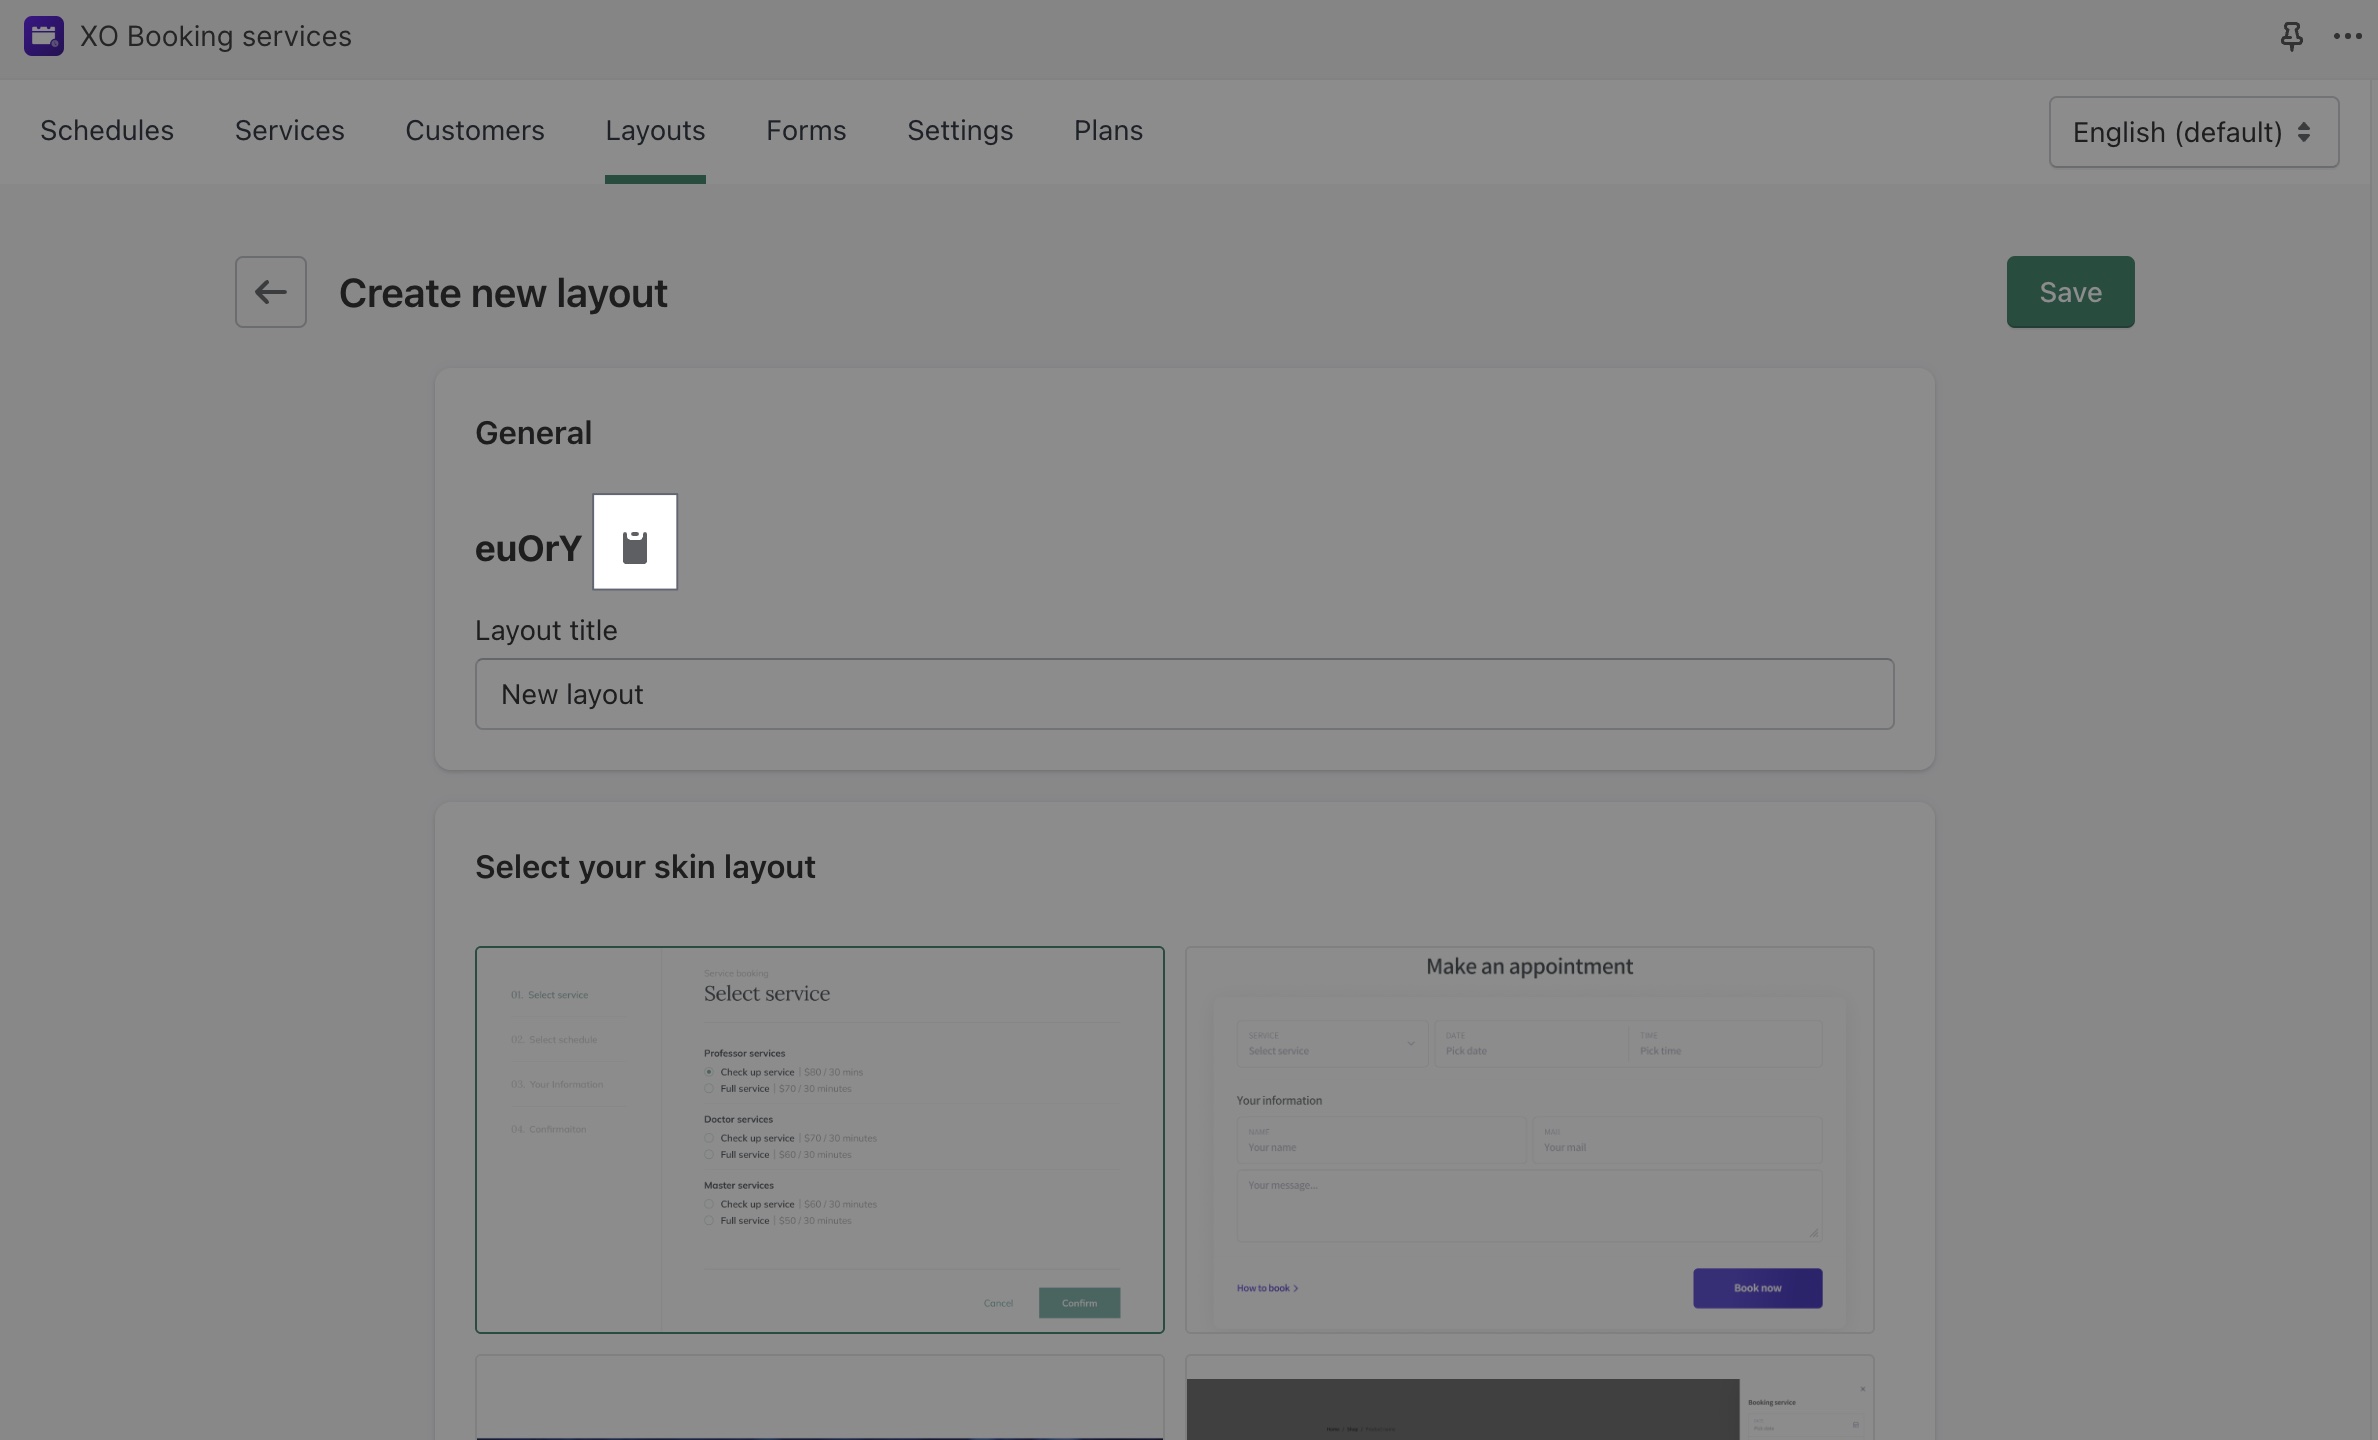
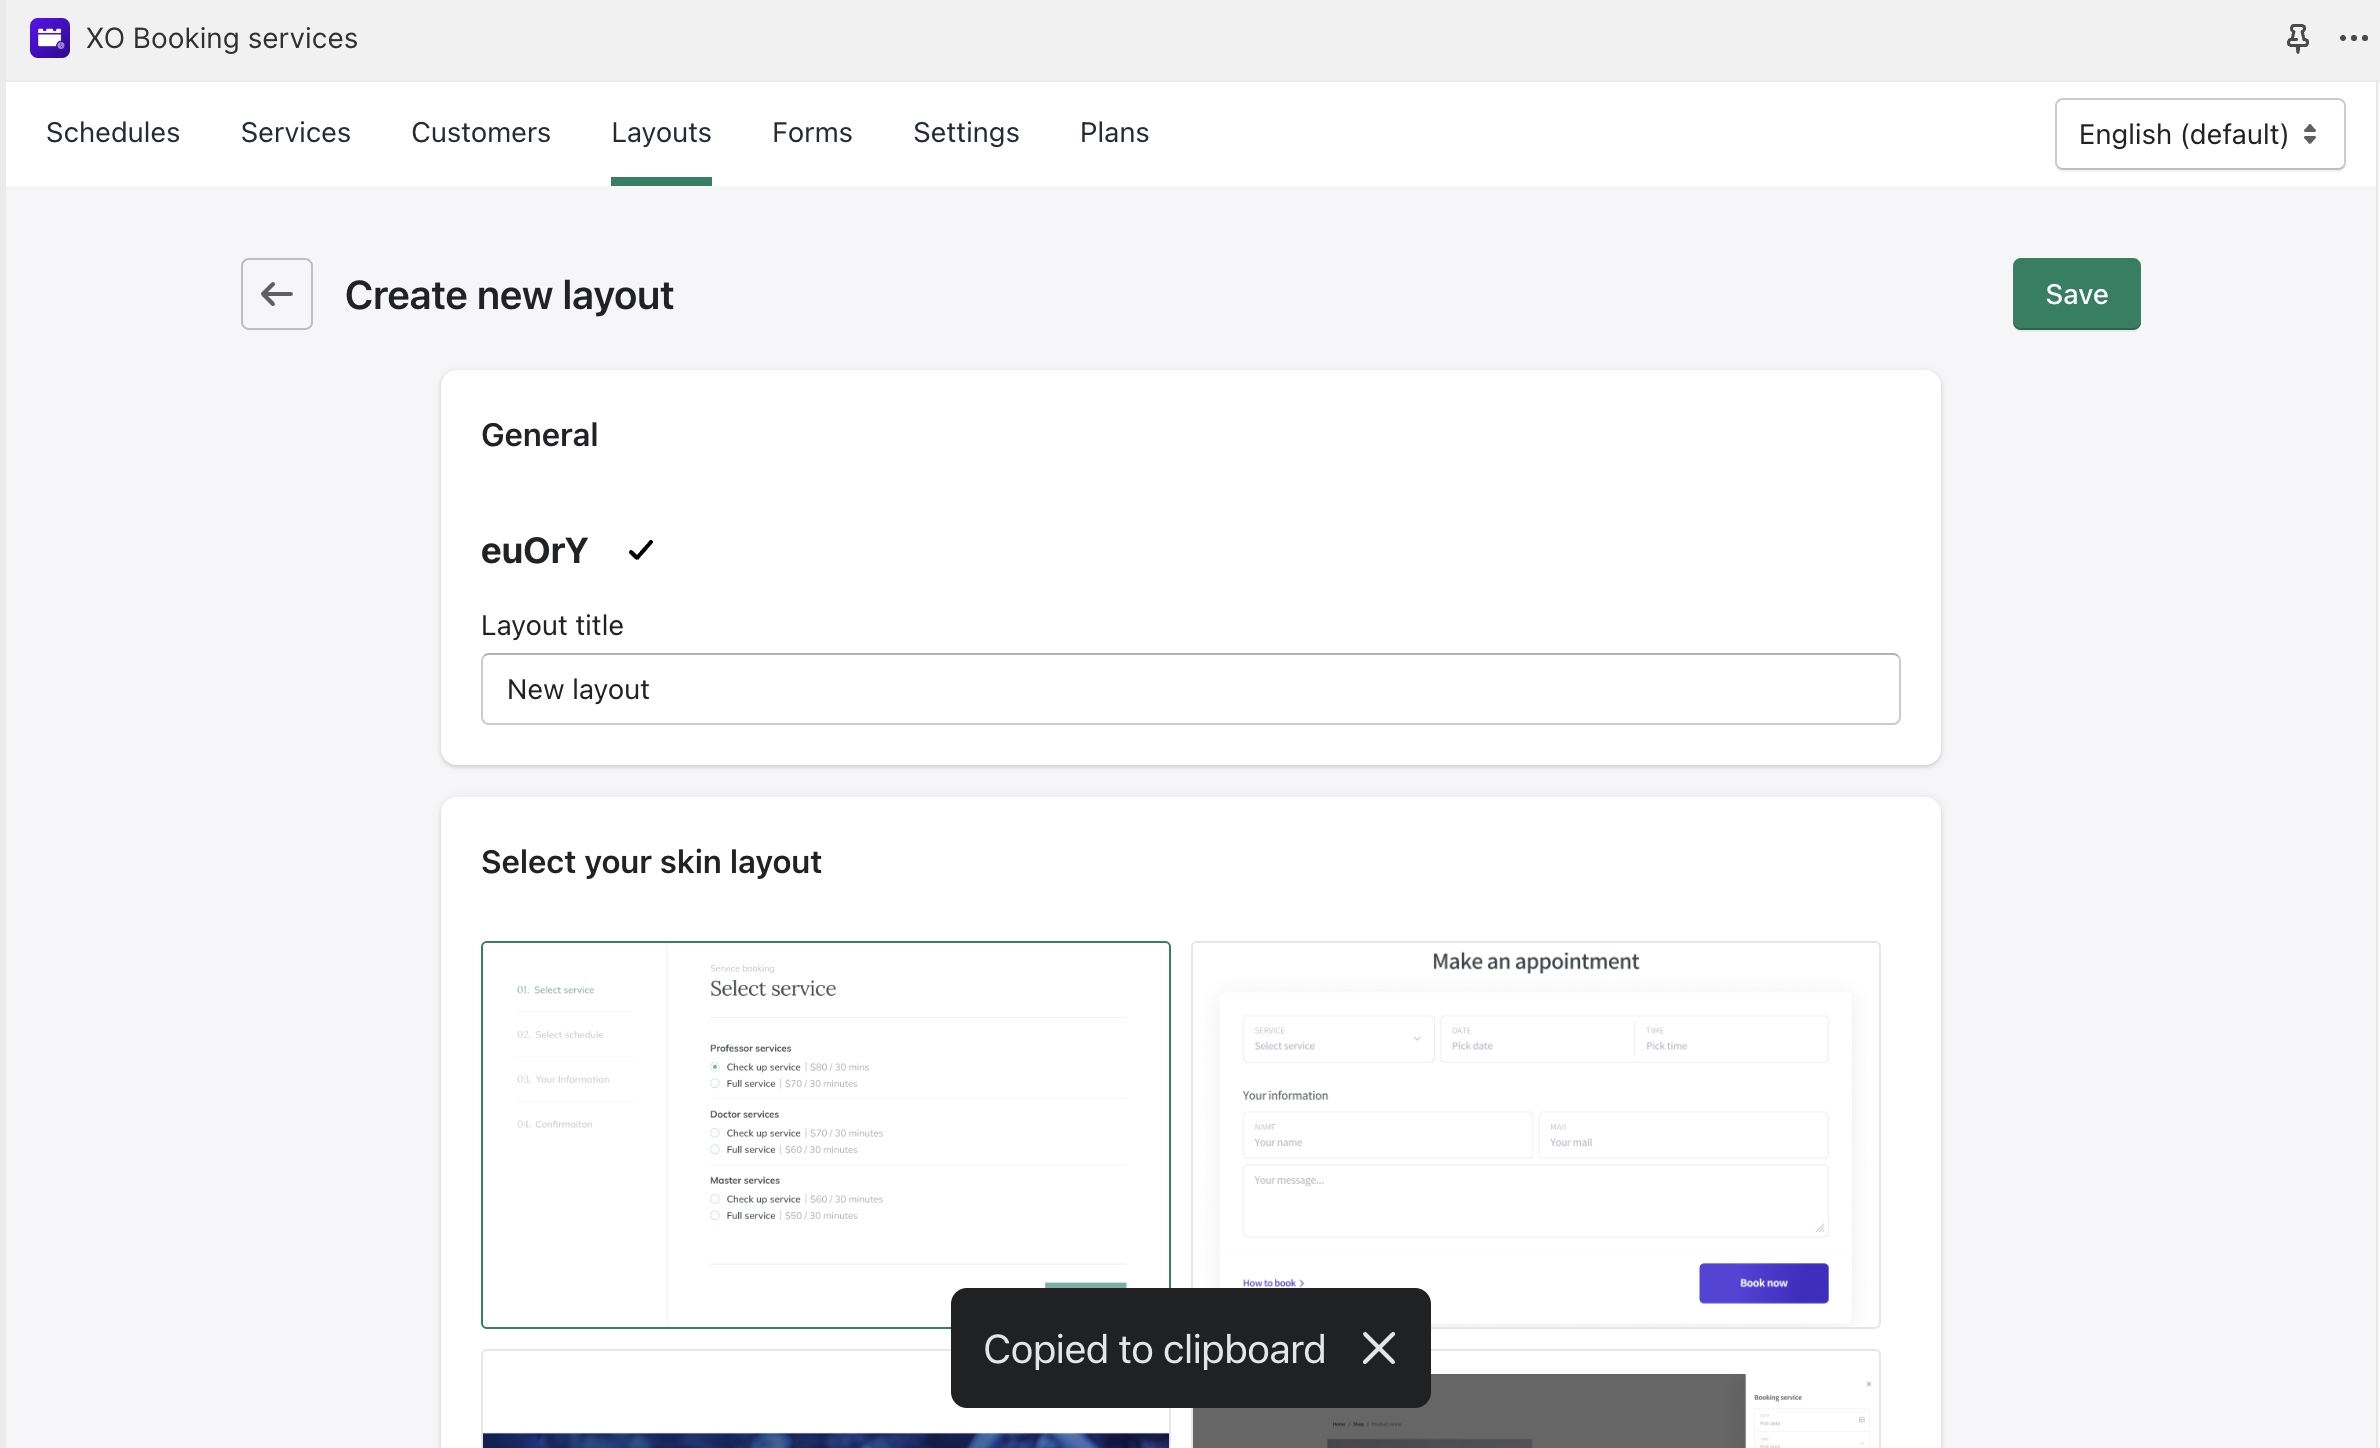
Step 3. Copy the layout's ID
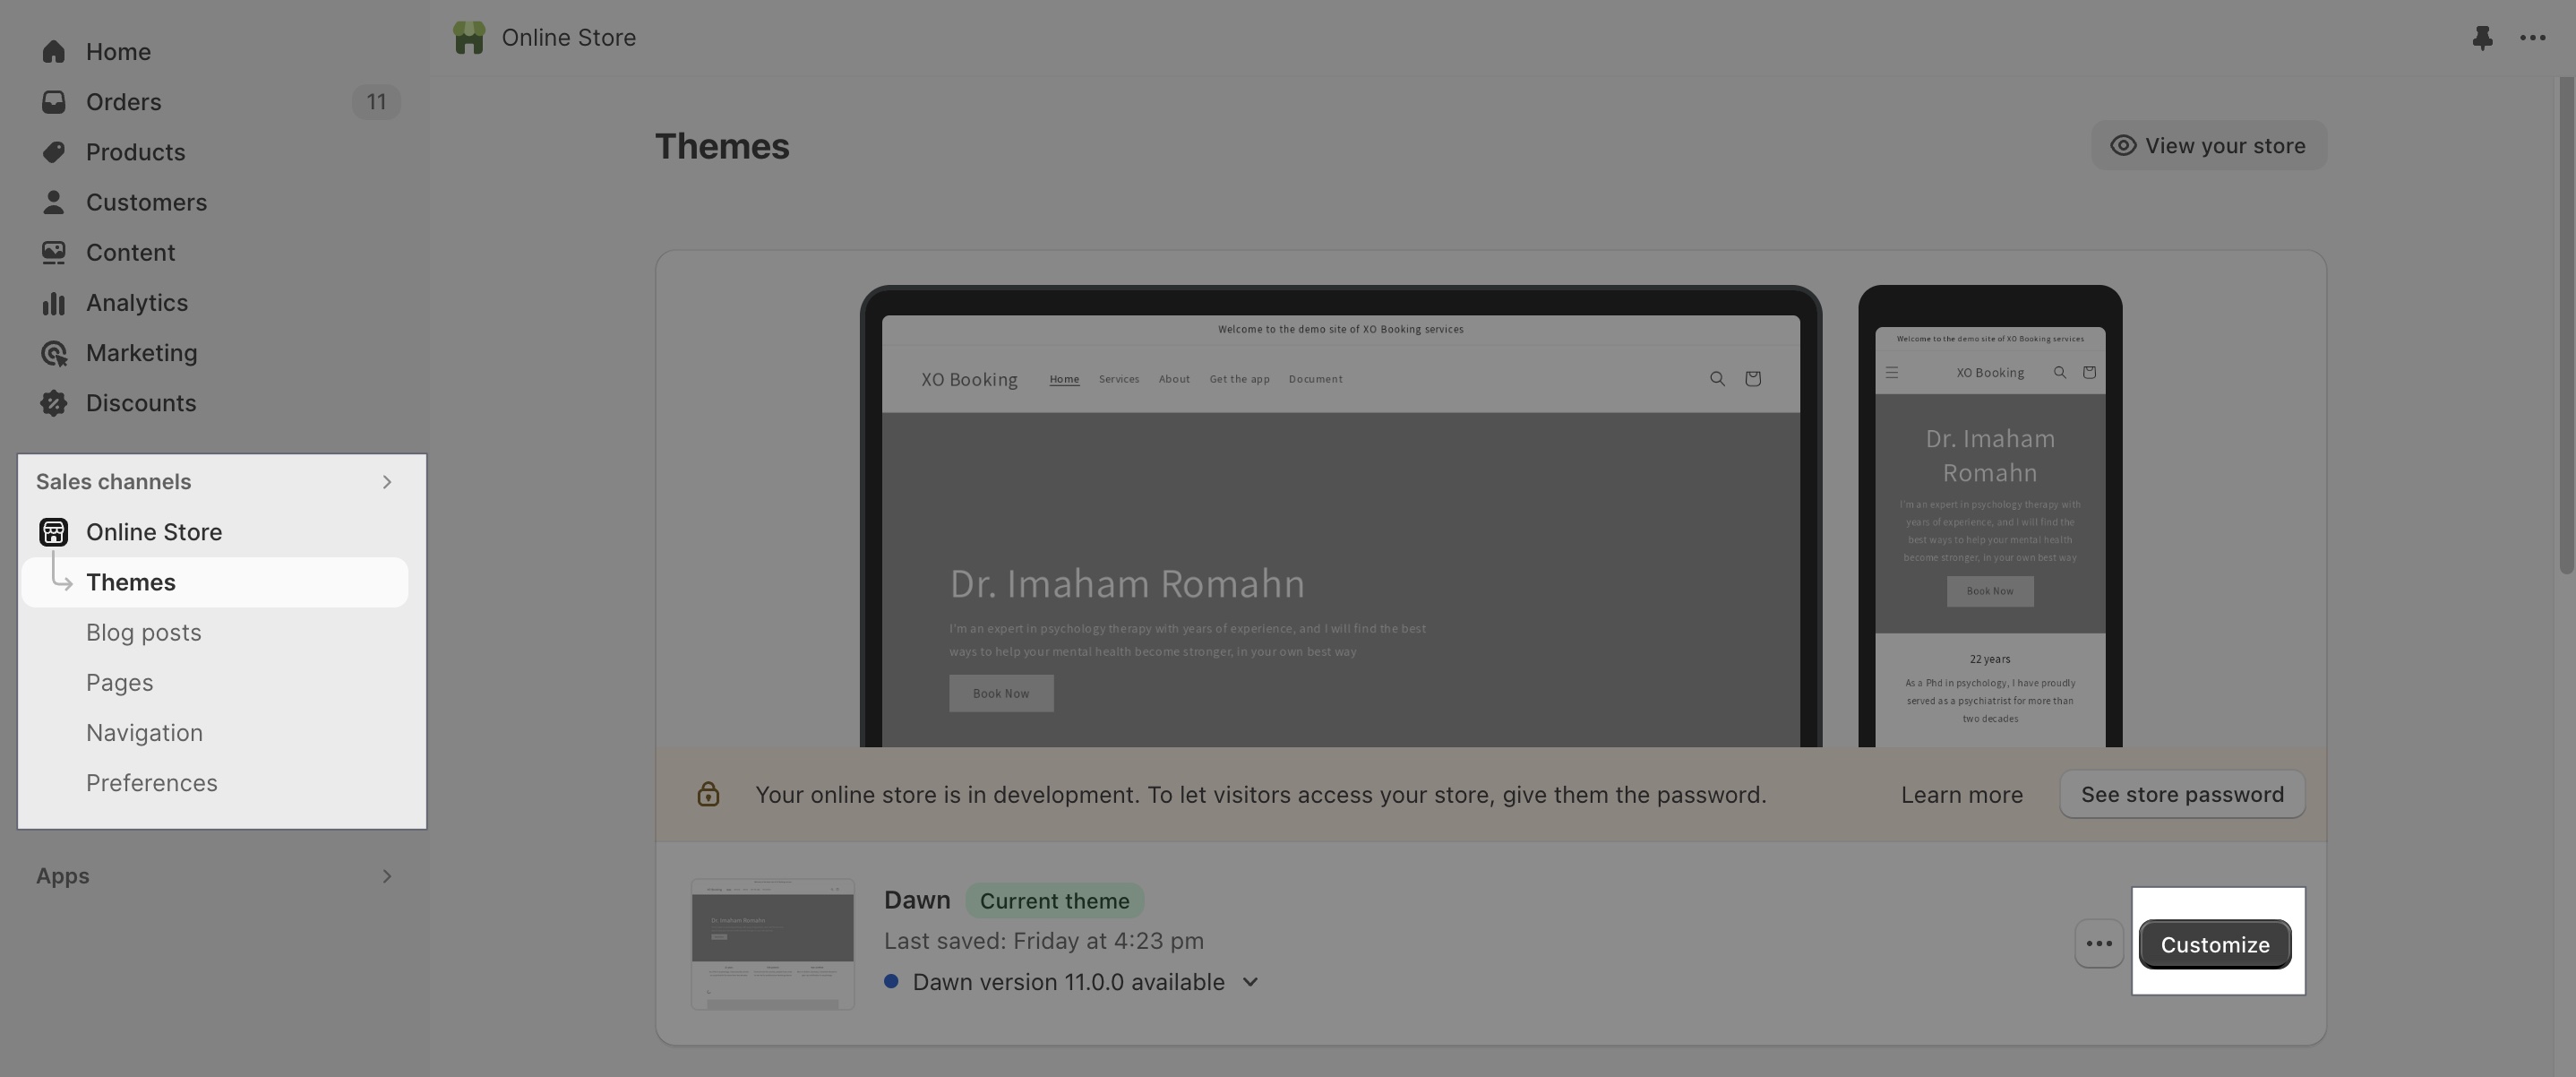
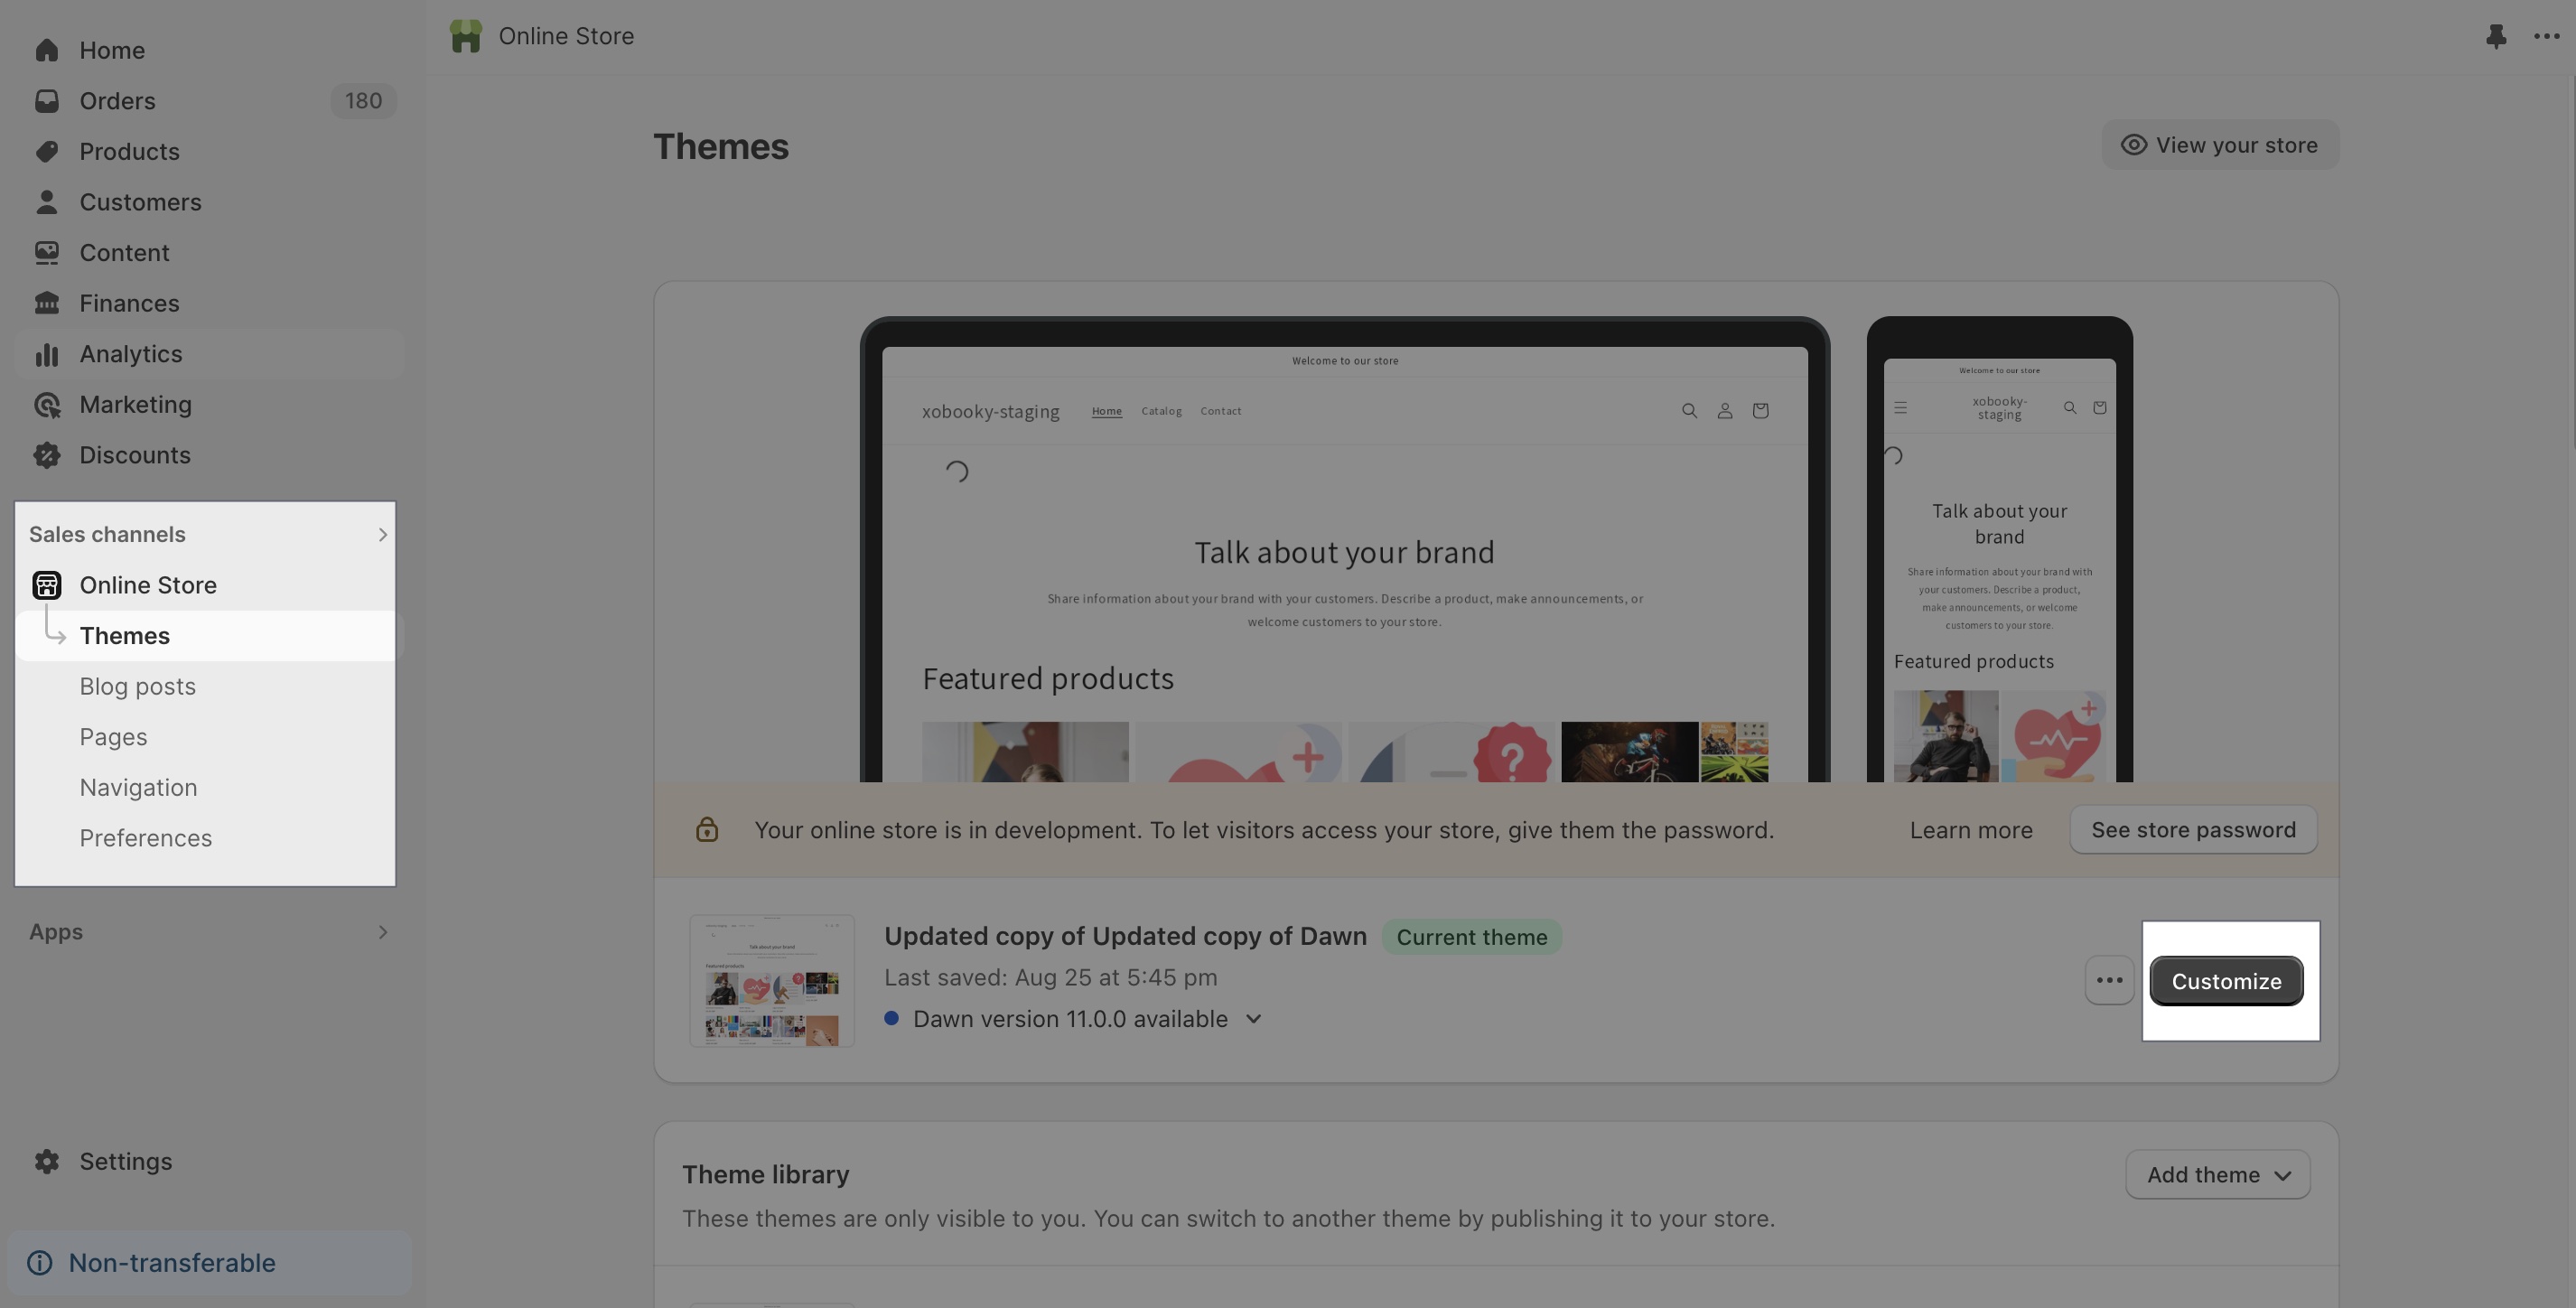
Step 4. Go to Sale channels -> Online Store -> Themes, and Customize the theme of your choice
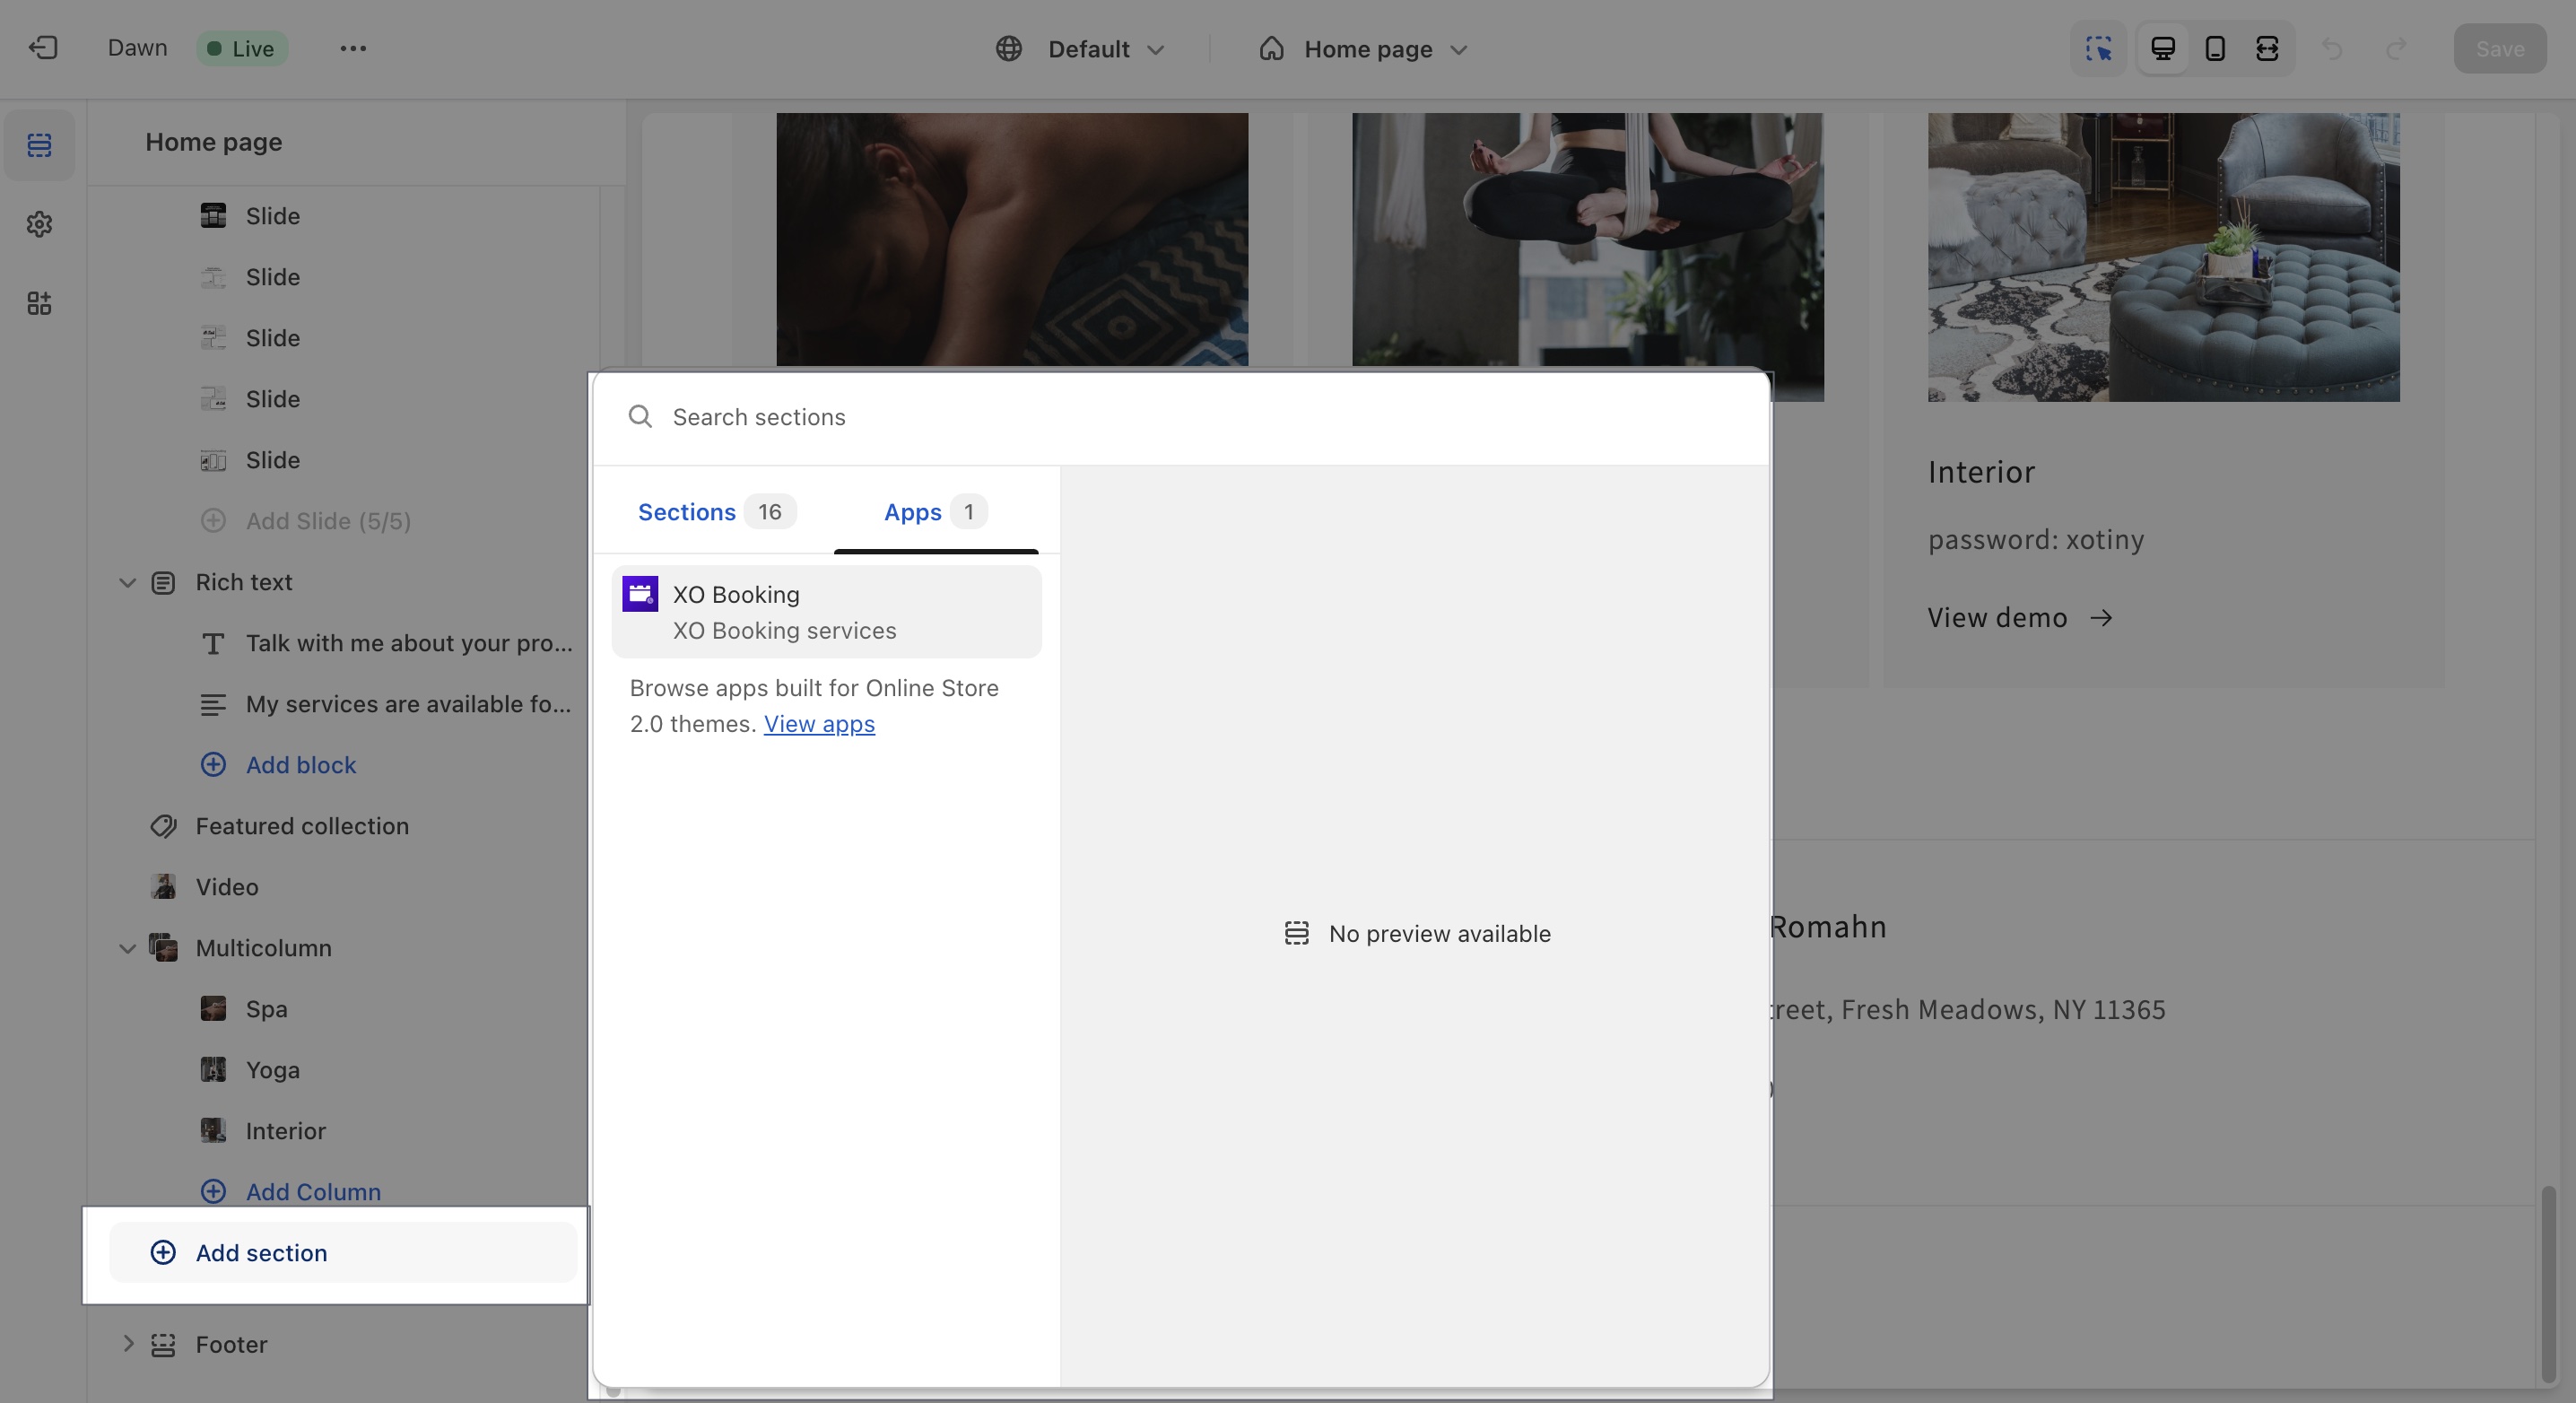
Step 5. Add an app block for XO Booking services
Step 6. Paste the Layout id into the box to add the skin you chose
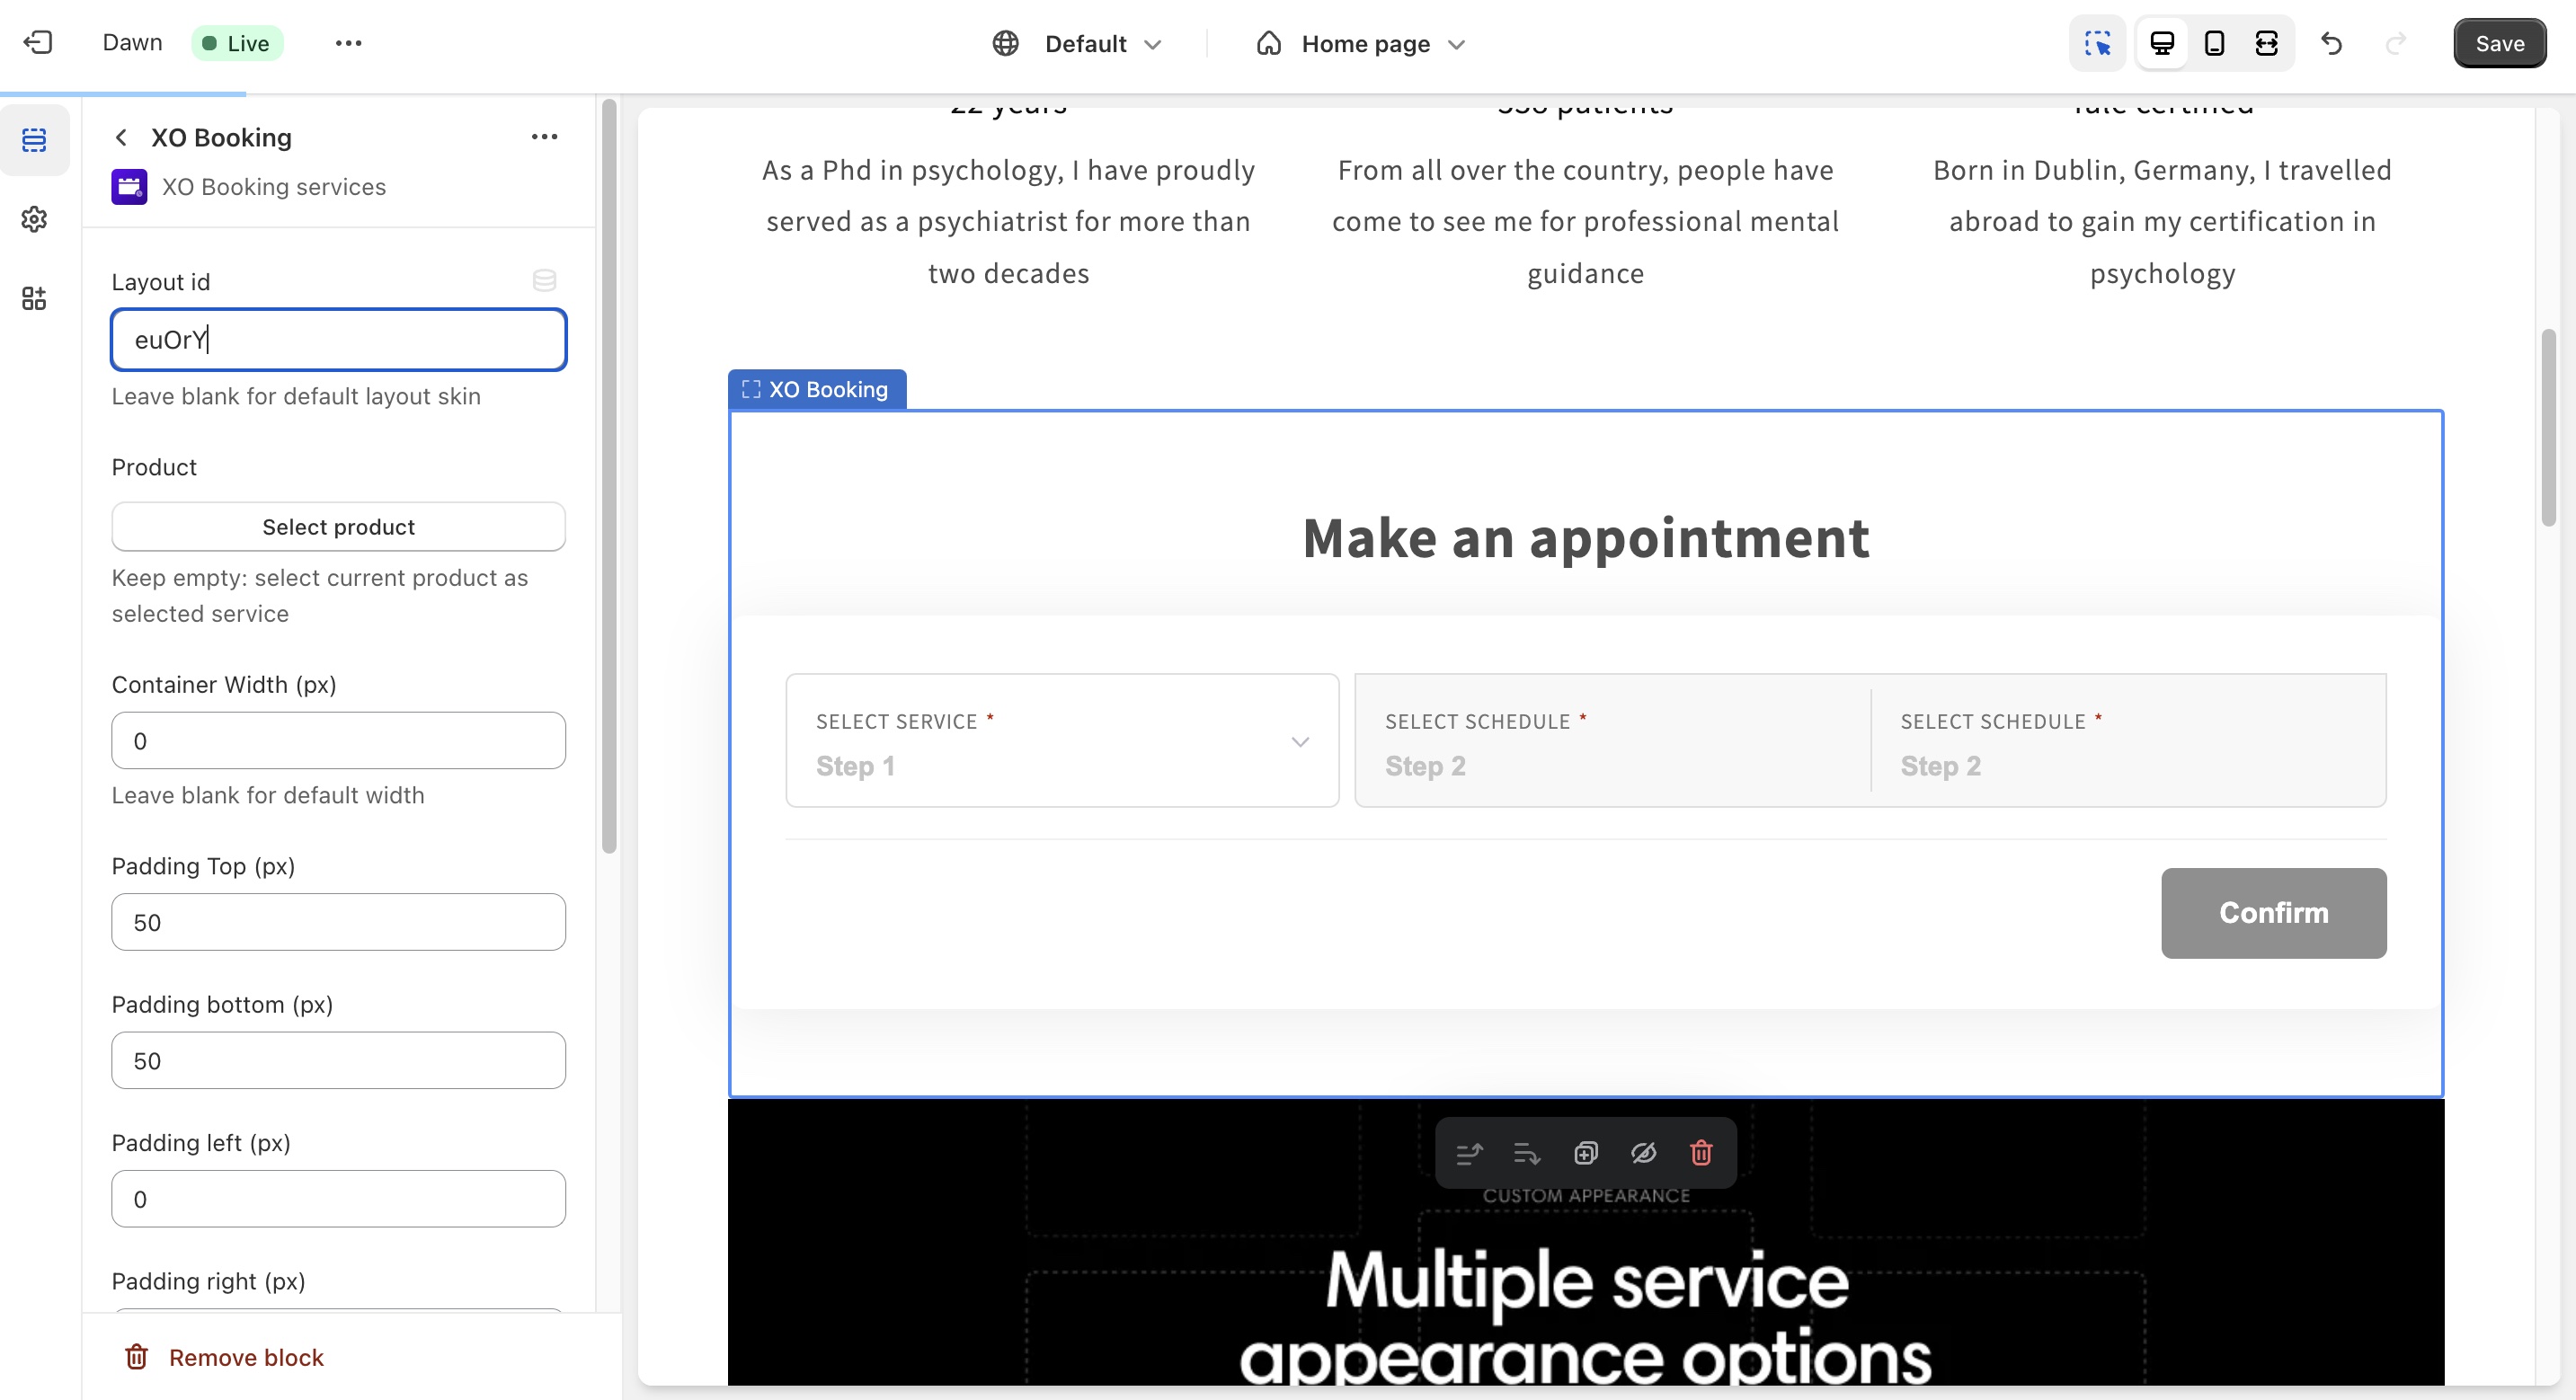
Save the changes to your theme and you are good to go.
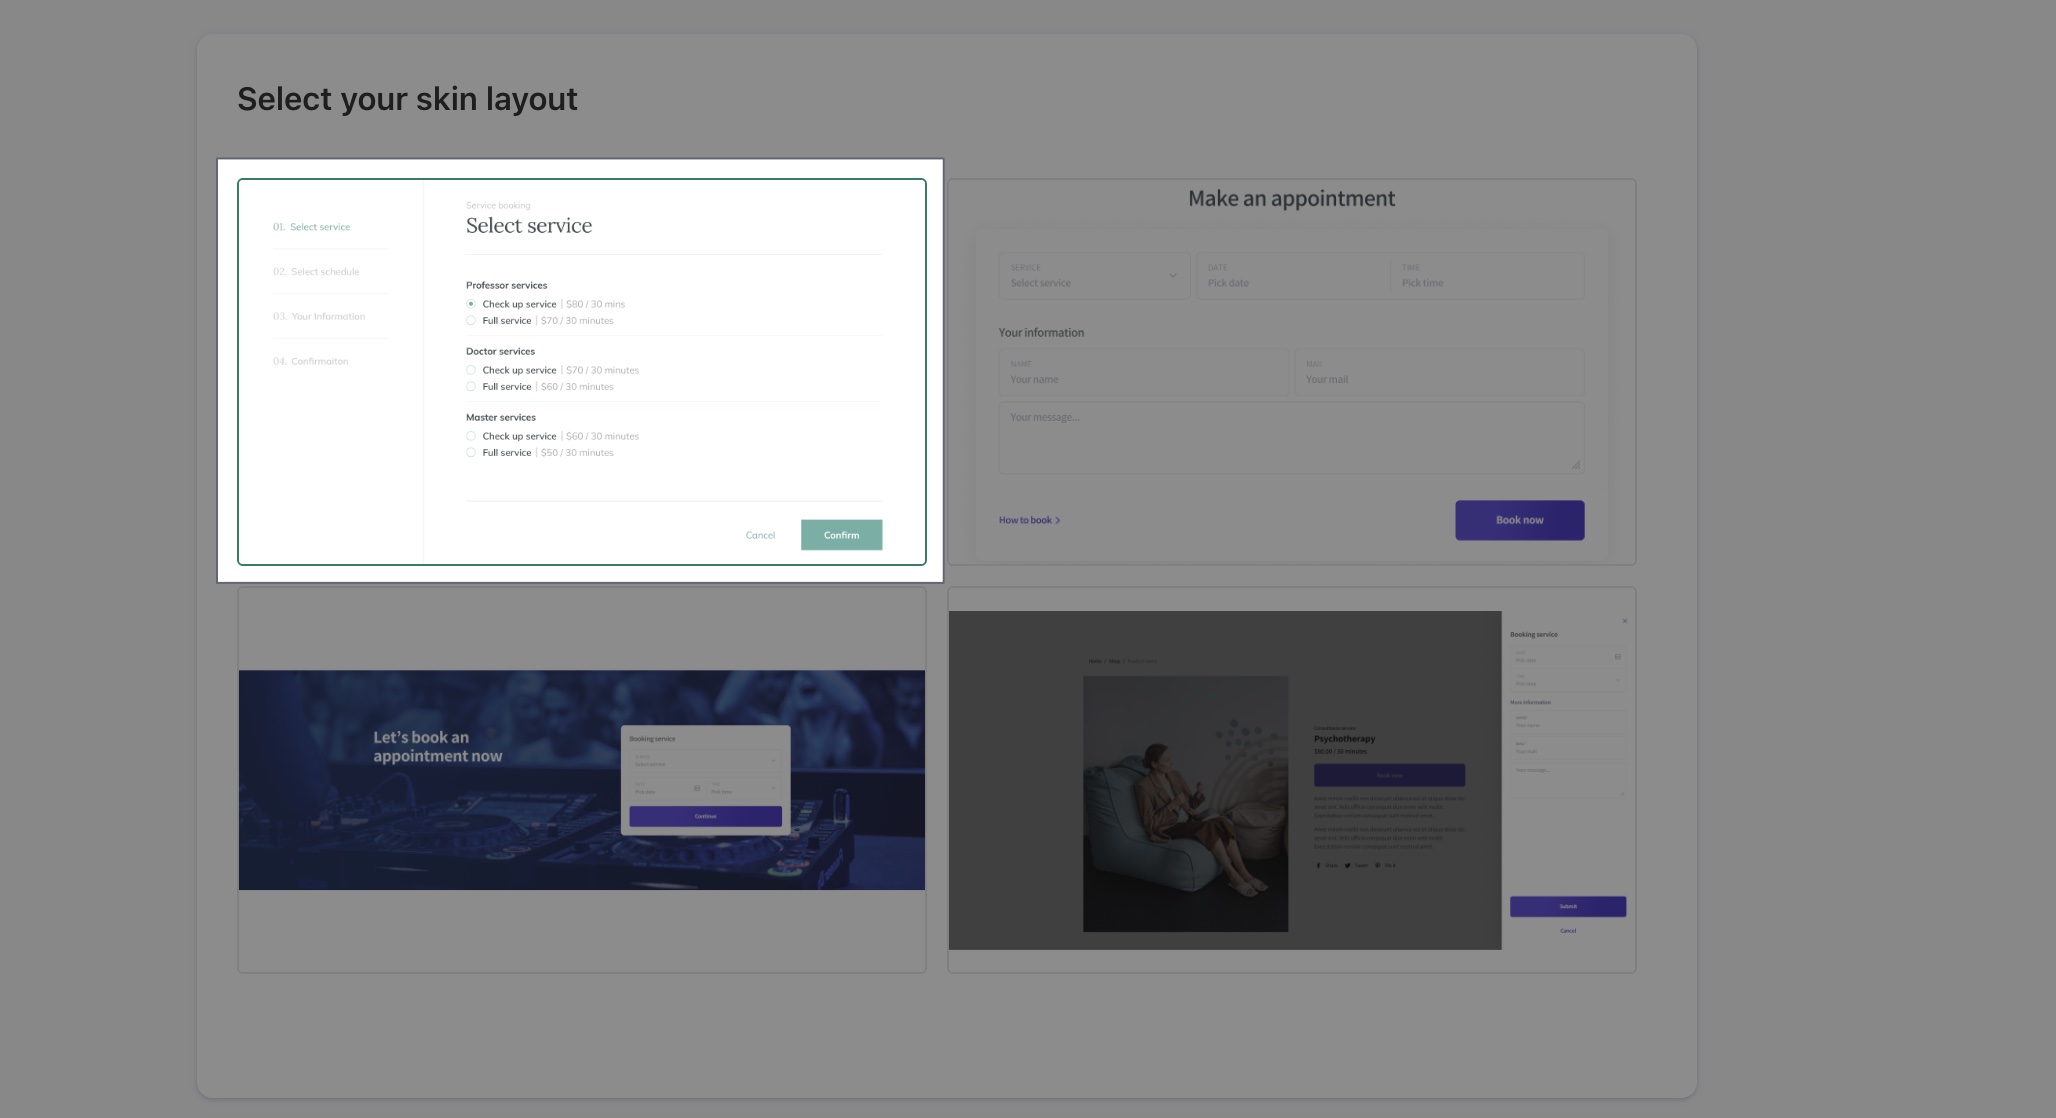
Skin layouts
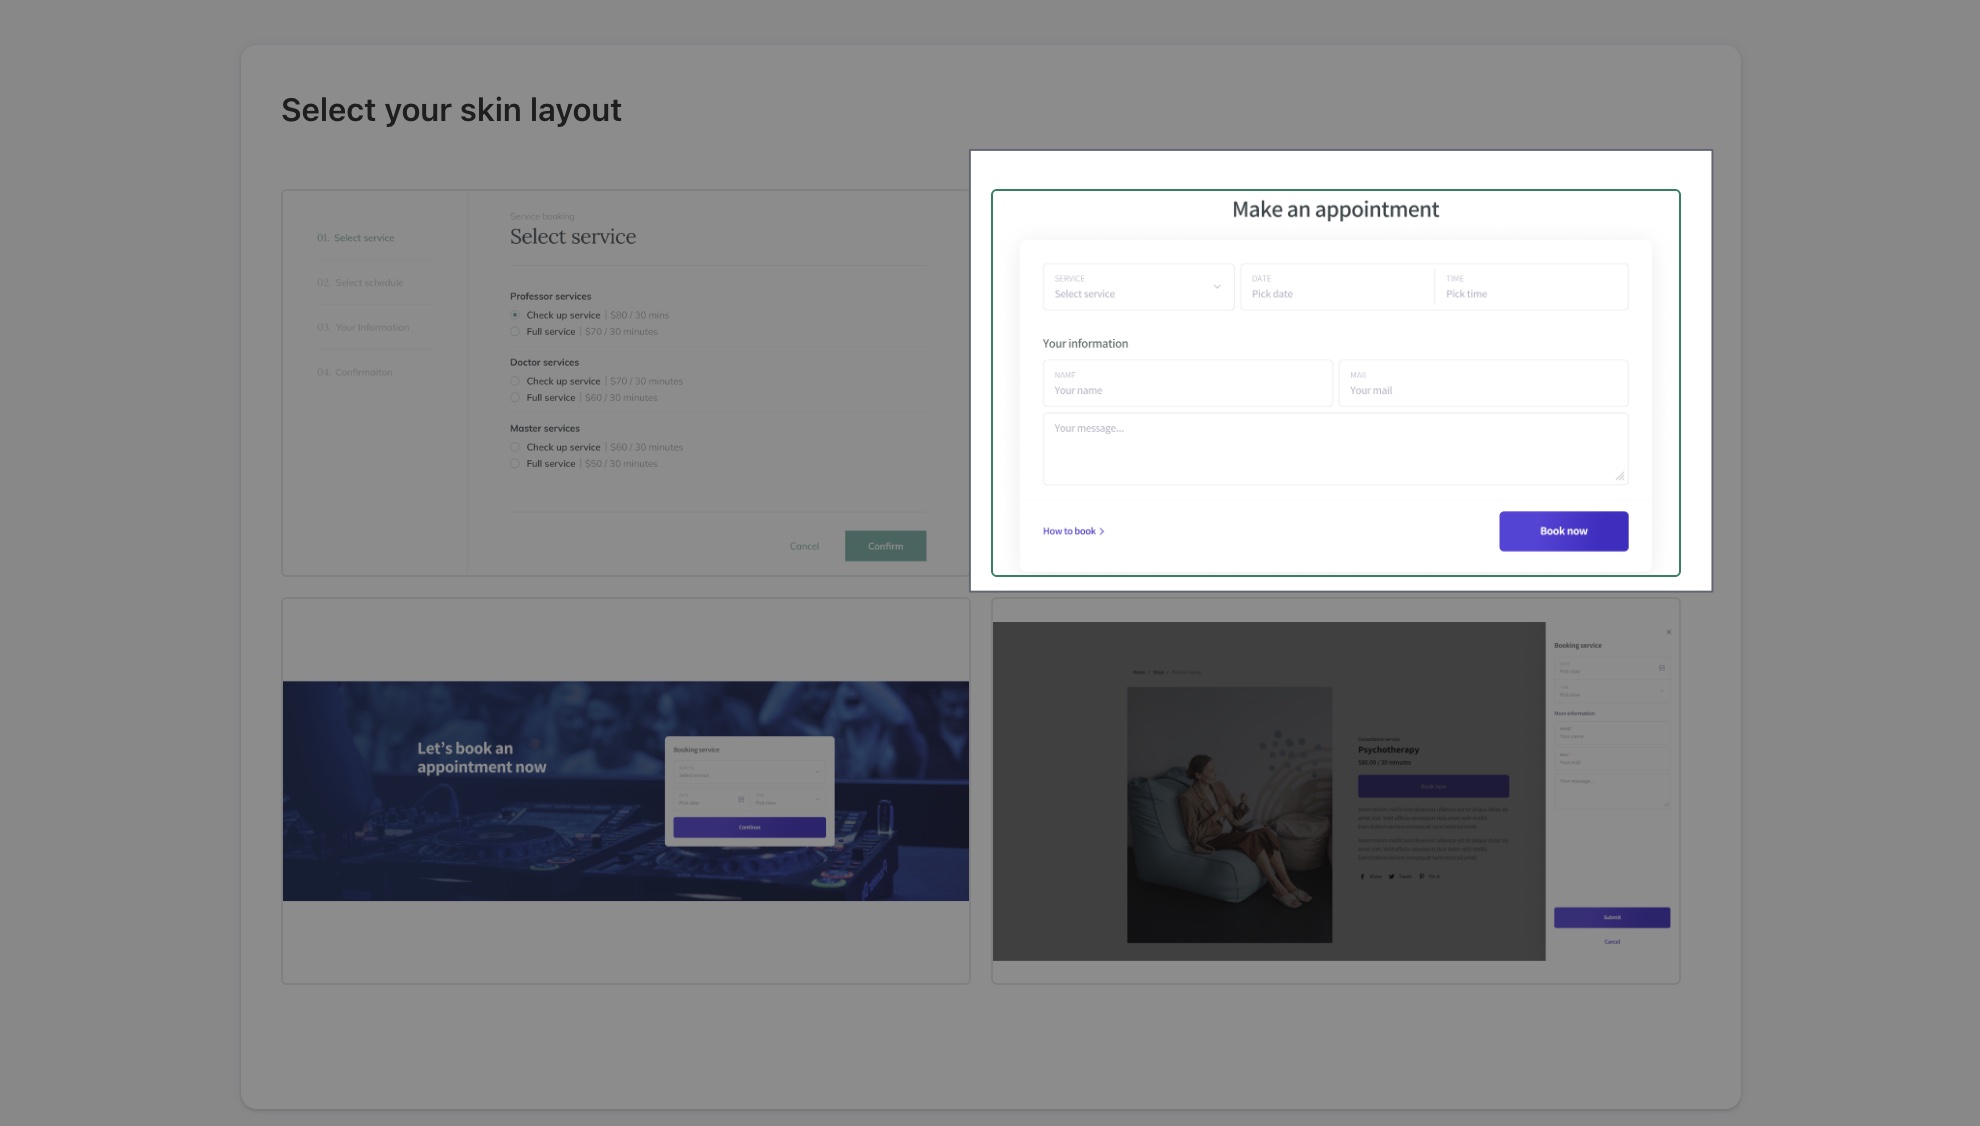
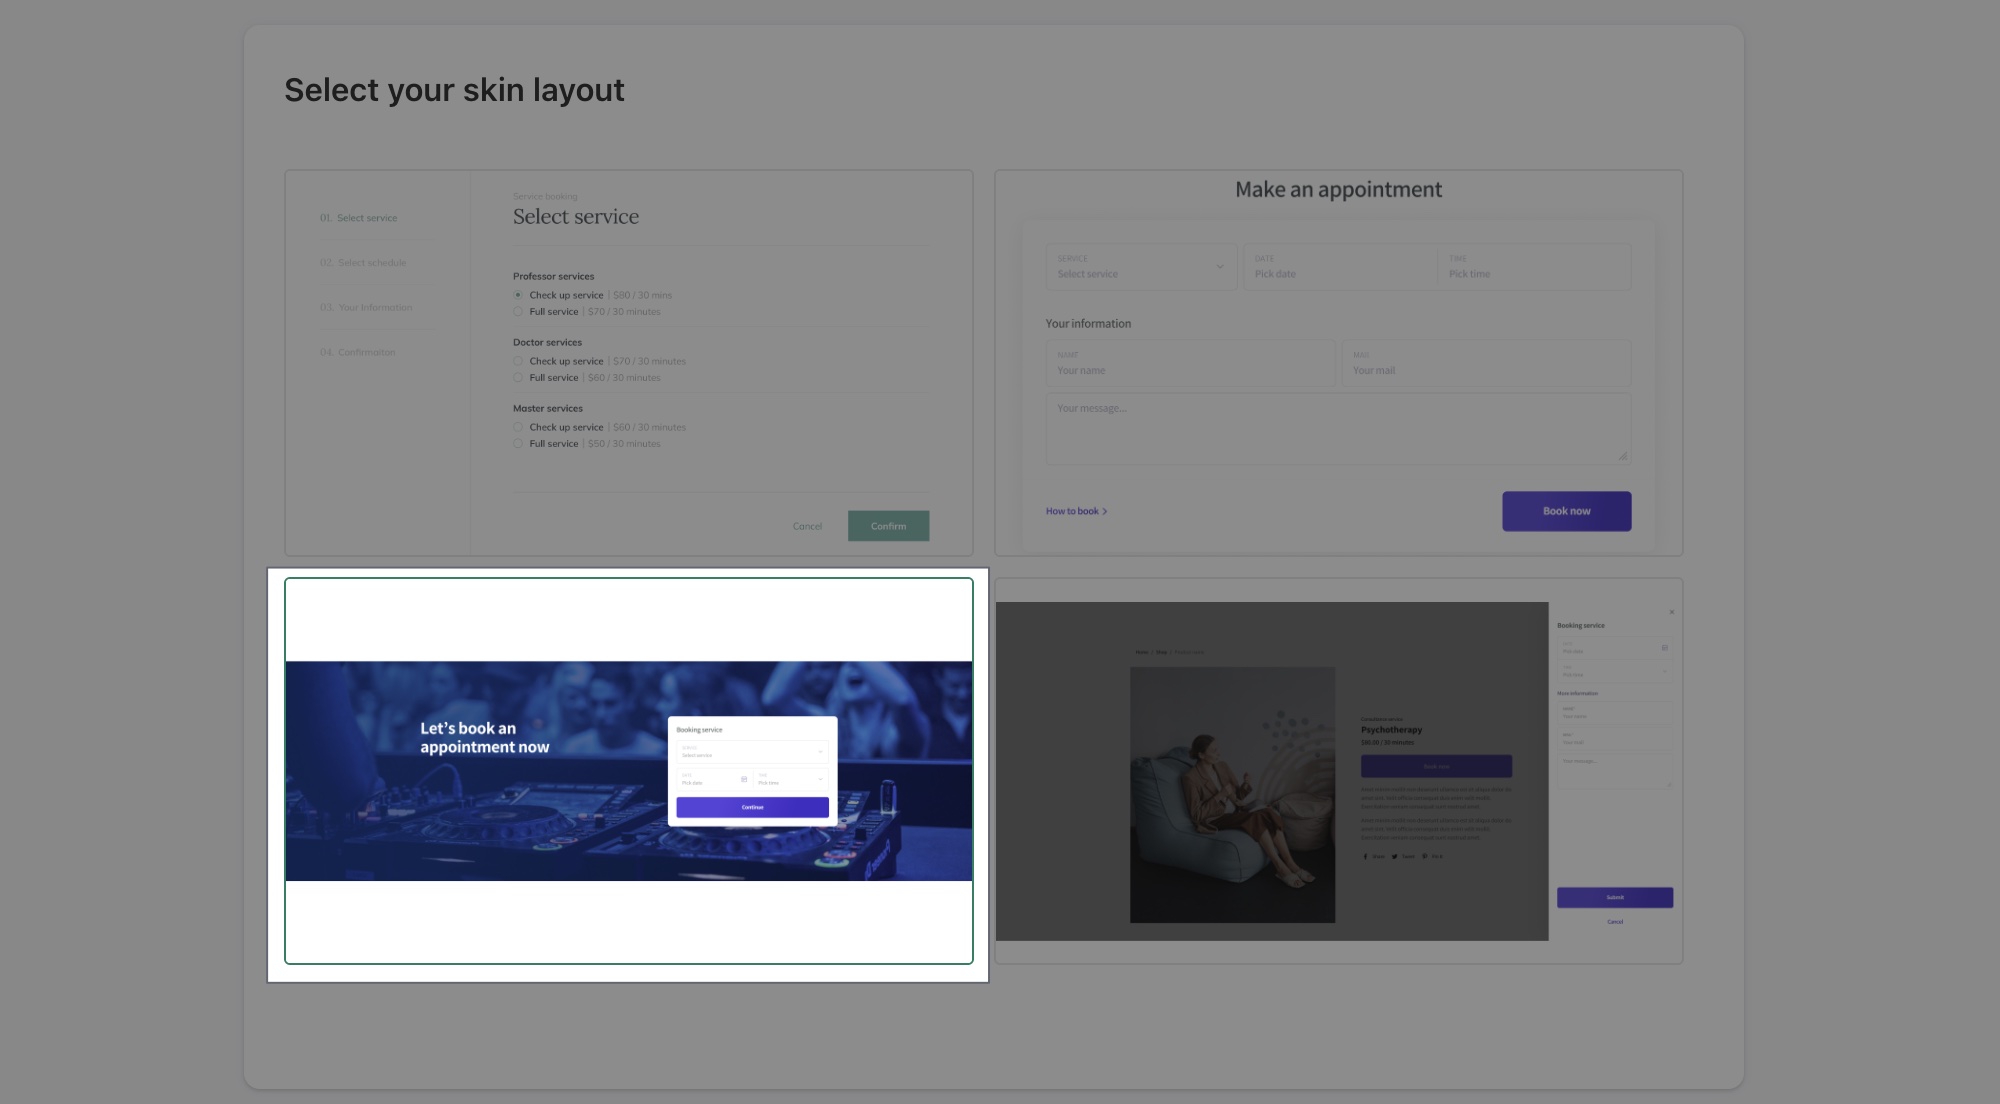
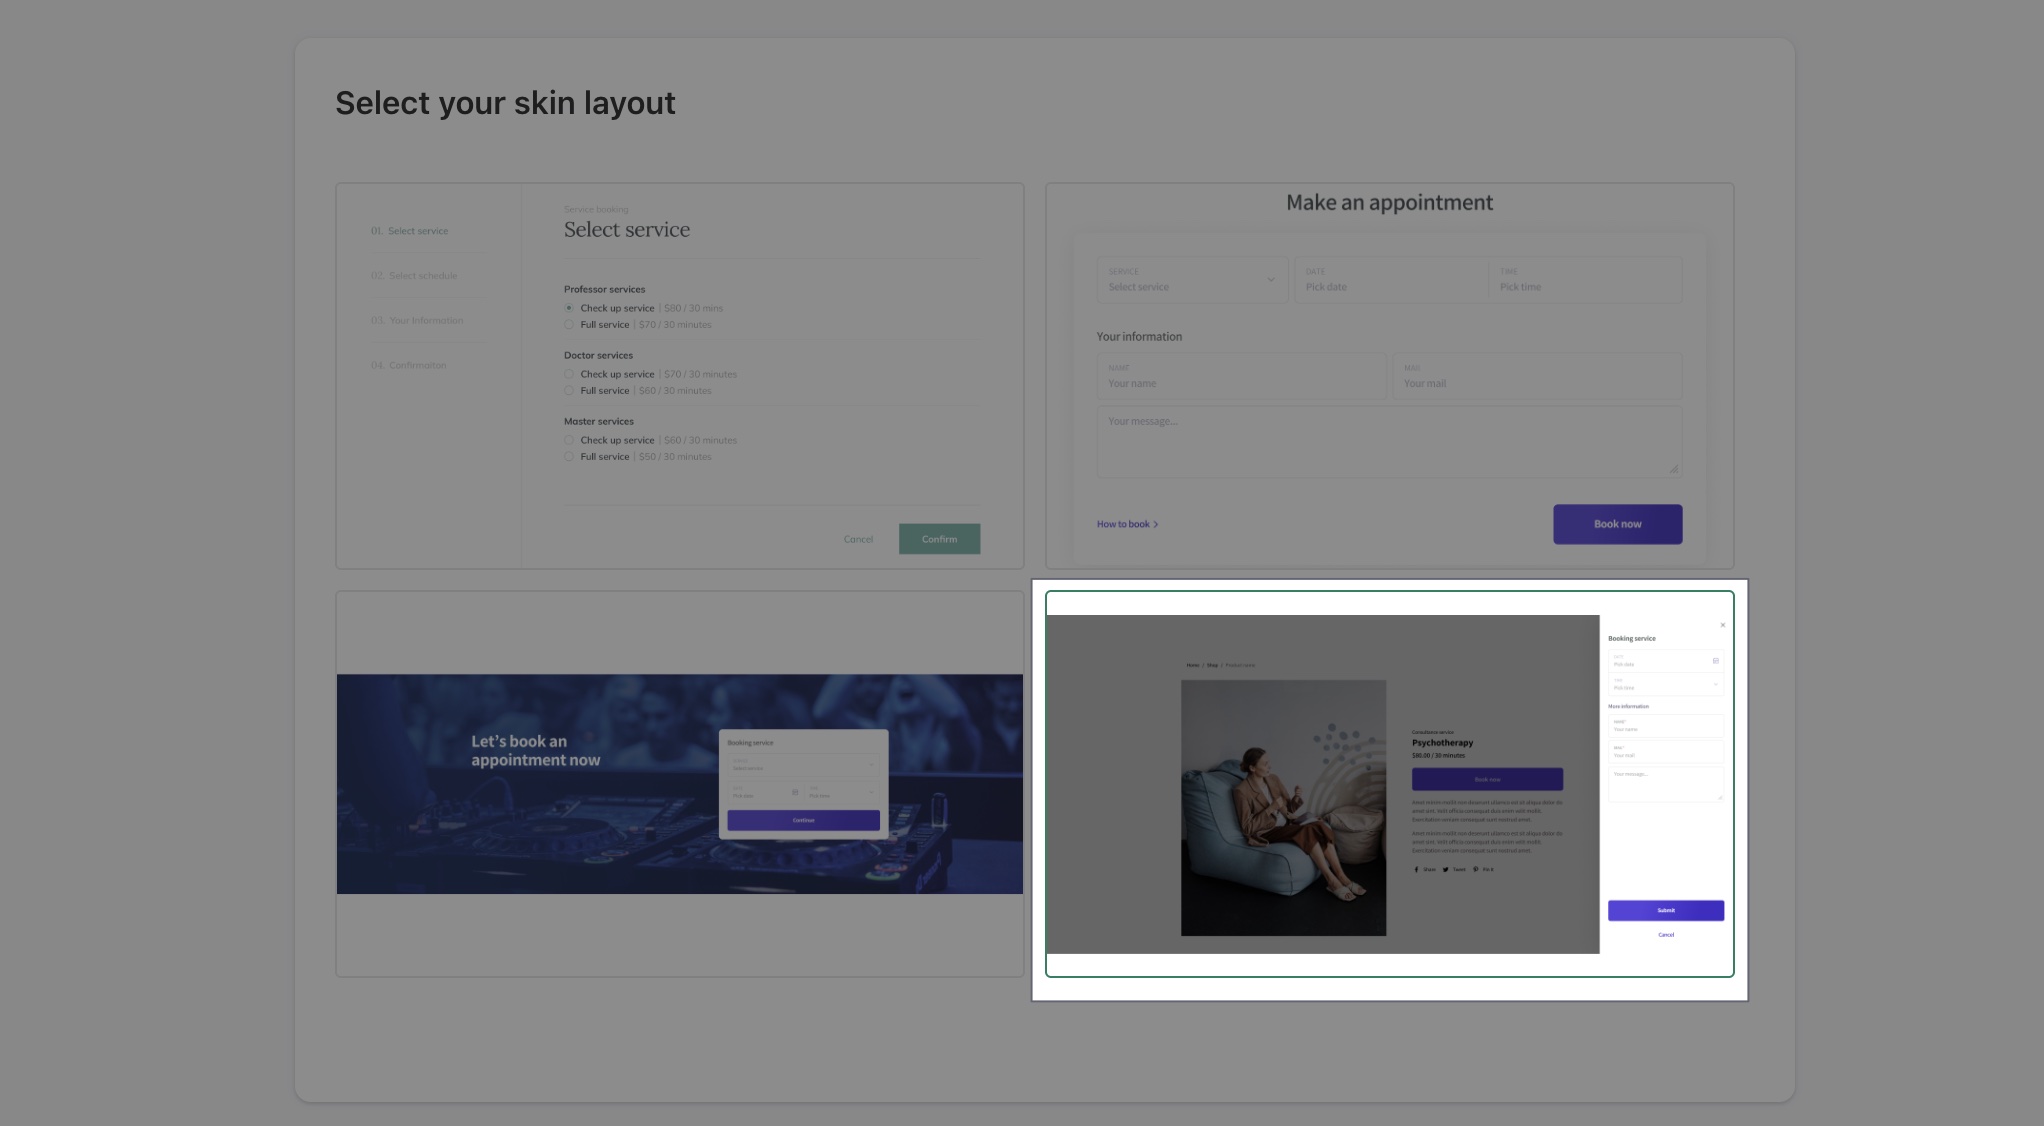
There are 4 skin layouts to choose from for your XO Booking services, each with a unique experience for your customers.
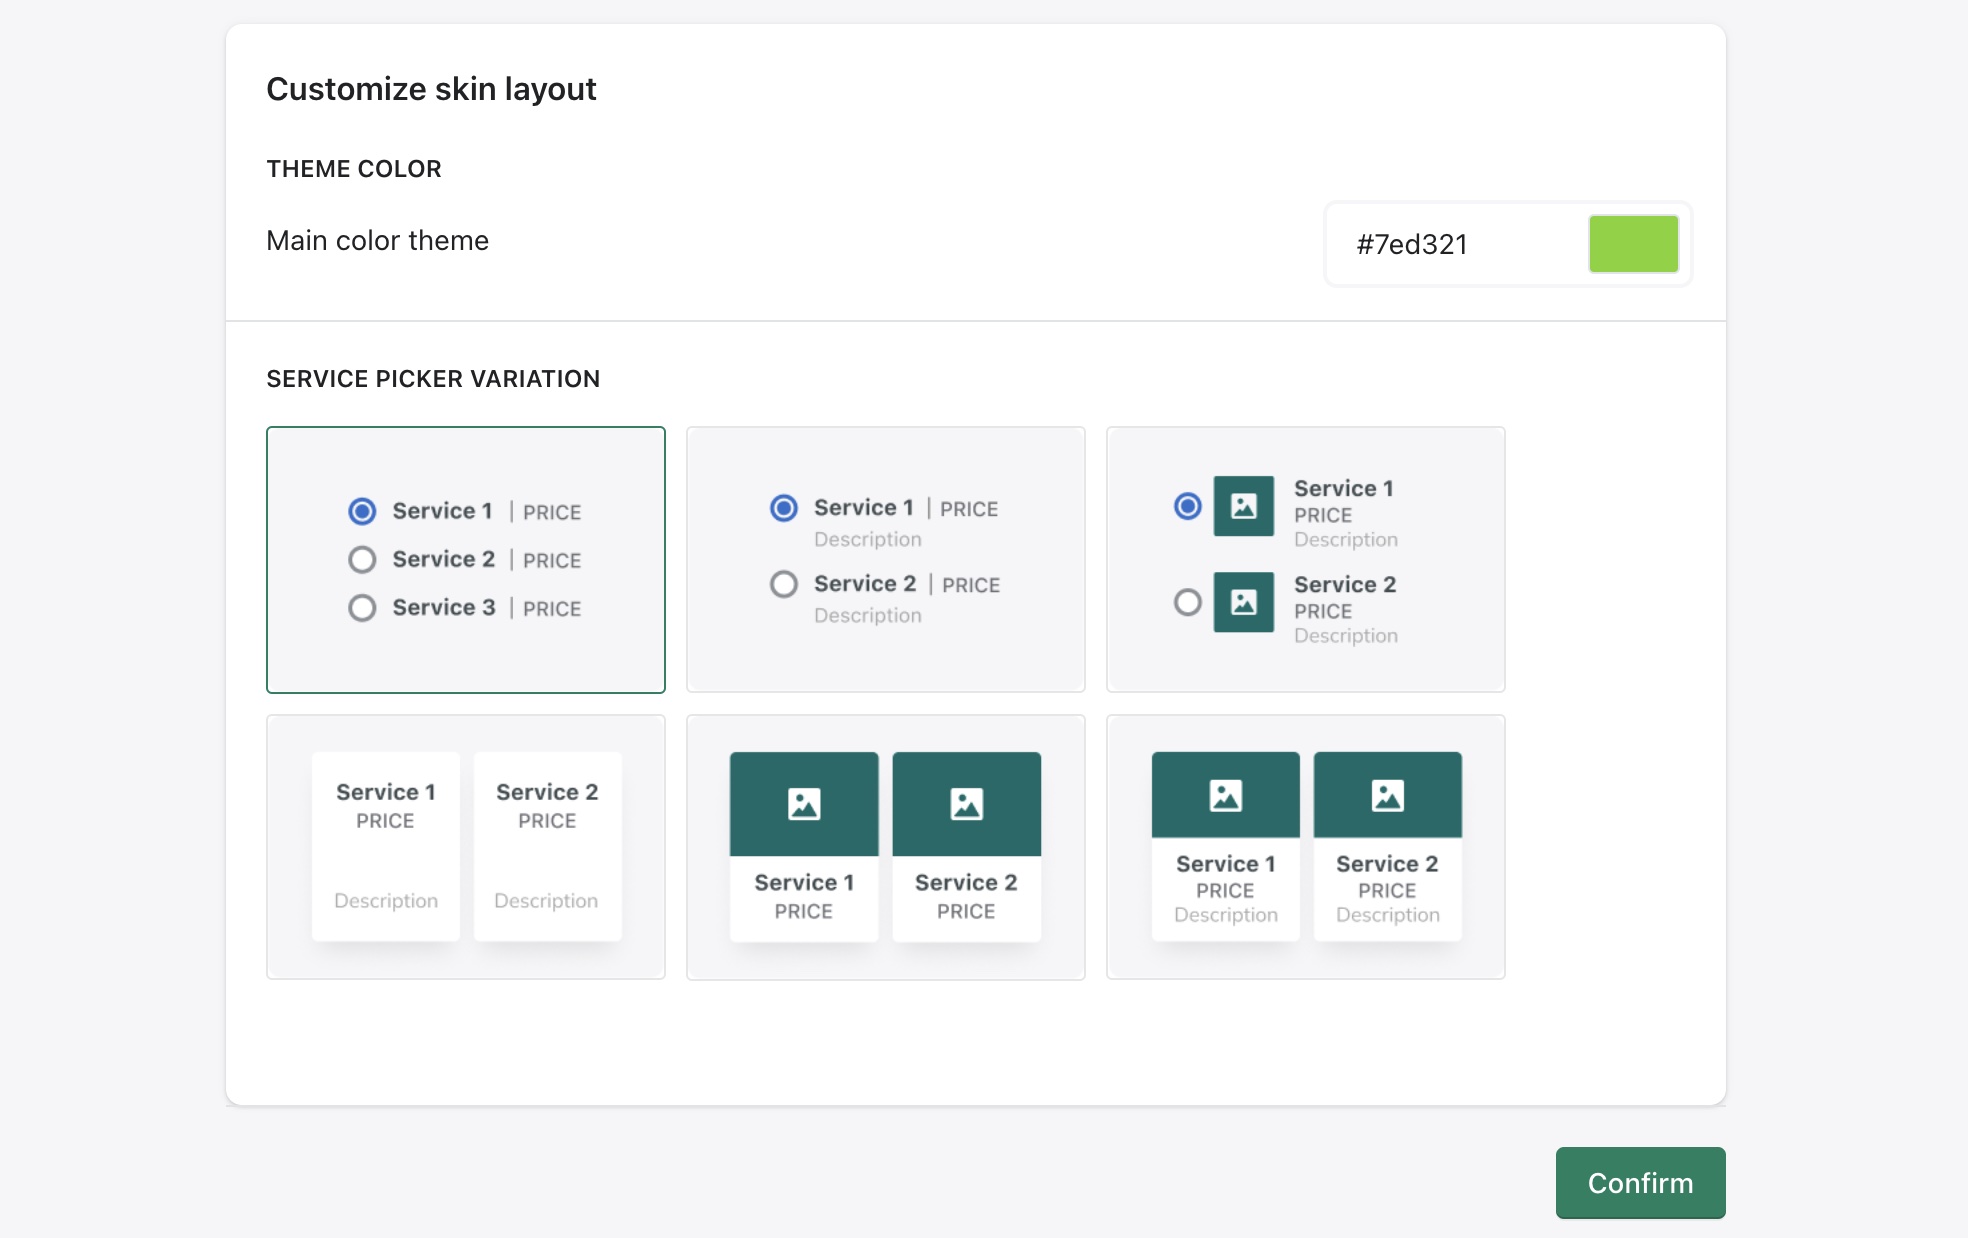
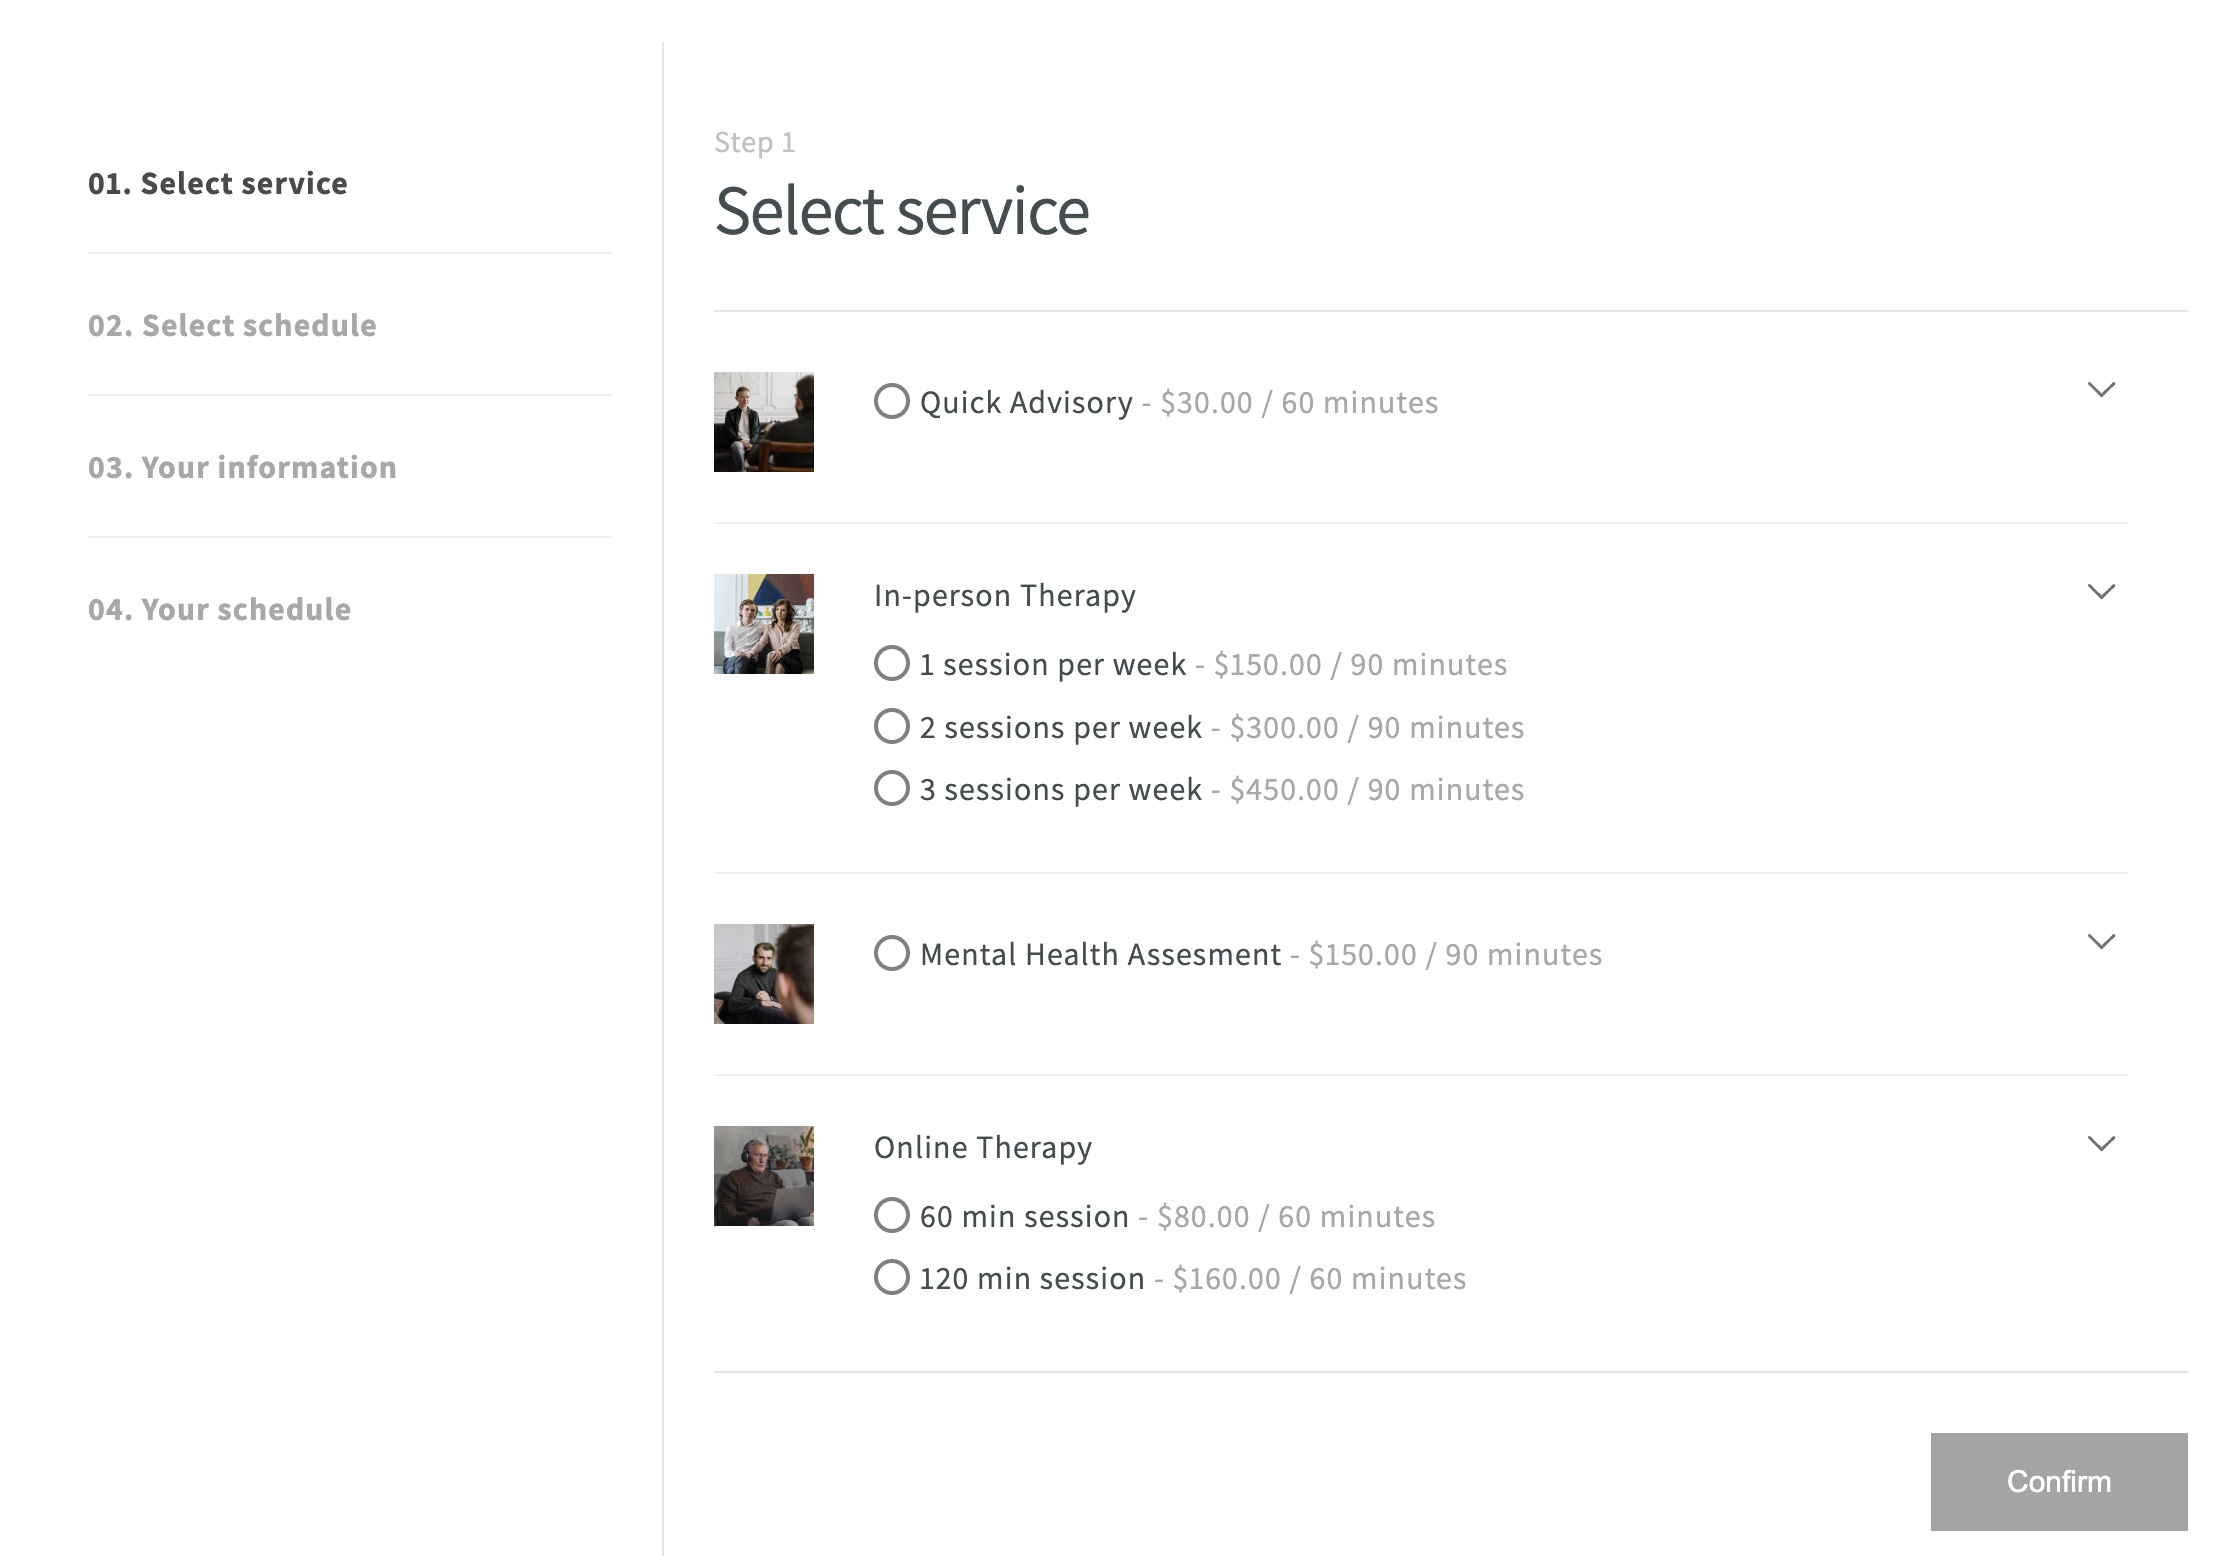
Skin layout 1
Skin layout 1 is the default skin you have when you install XO Booking services. Customers go through each step to successfully book an appointment with your store.
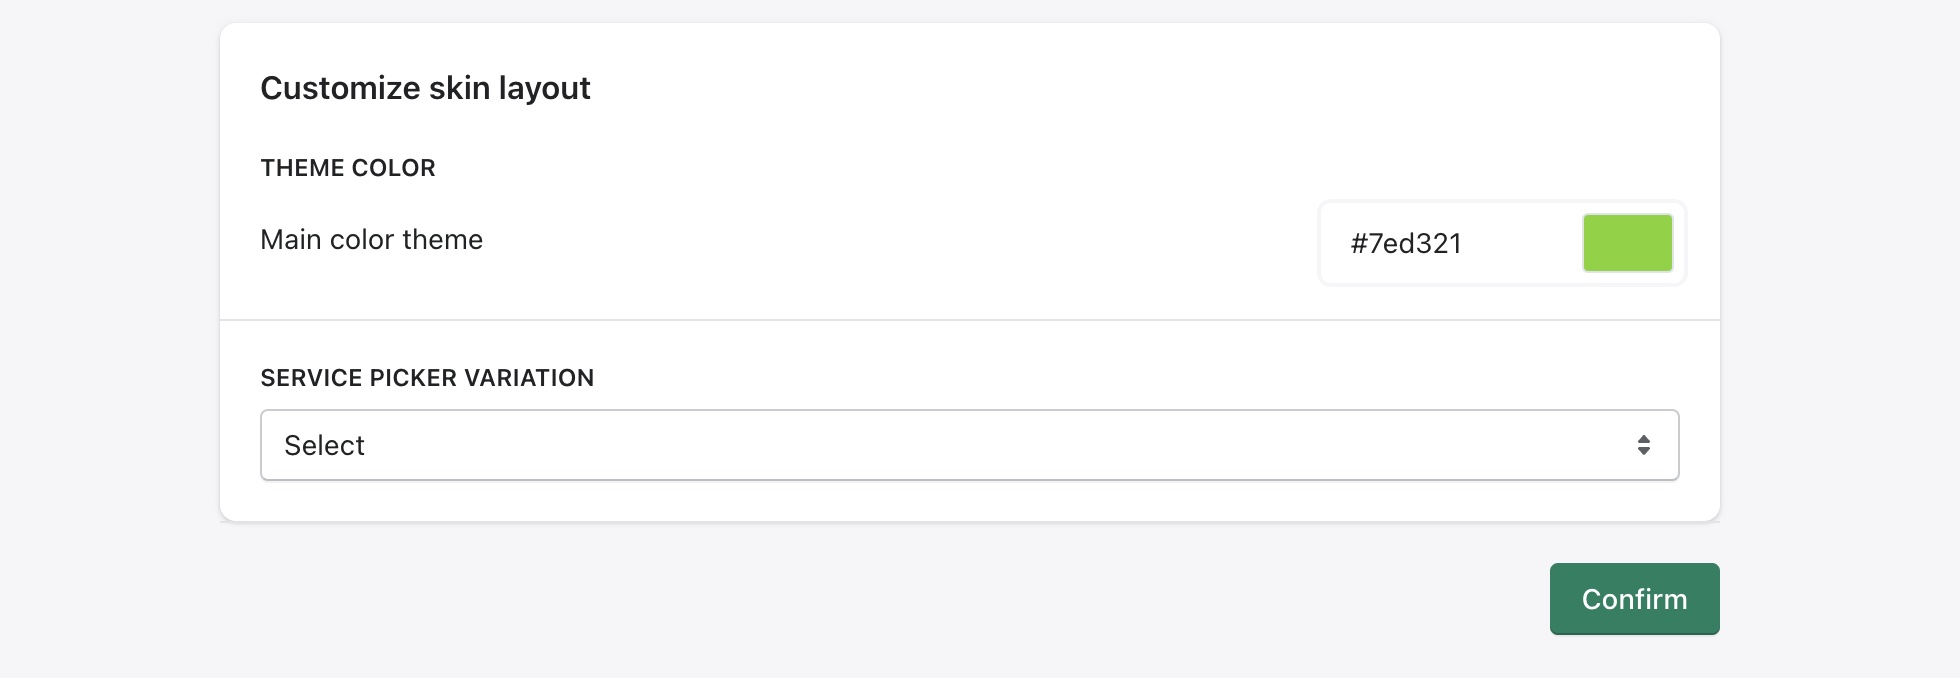
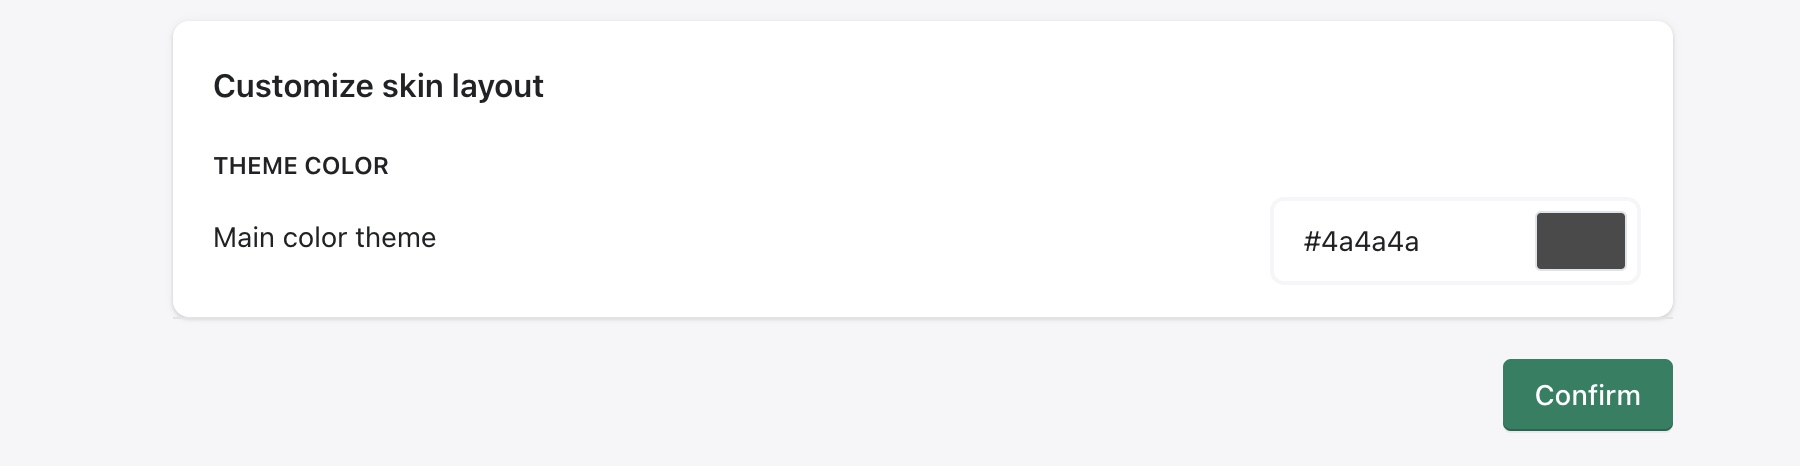
With this skin layout, you can select the main color for the layout, and up to 6 picker variations to showcase your services.
When you select this skin layout, XO Booking services would look like this on the storefront.
Click on the Confirm button to change the layout.
You can view how the skin layout looks and interact with it on our Demo store.
Skin layout 2
Skin layout 2 allows customer to book an appointment quickly when they can choose the service and time all on just one page.
With this skin layout, you can select the main color for the layout, and 2 service picker variations of Select or Carousel.
When you select this skin layout, XO Booking services would look like this on the storefront.
Click on the Confirm button to change the layout.
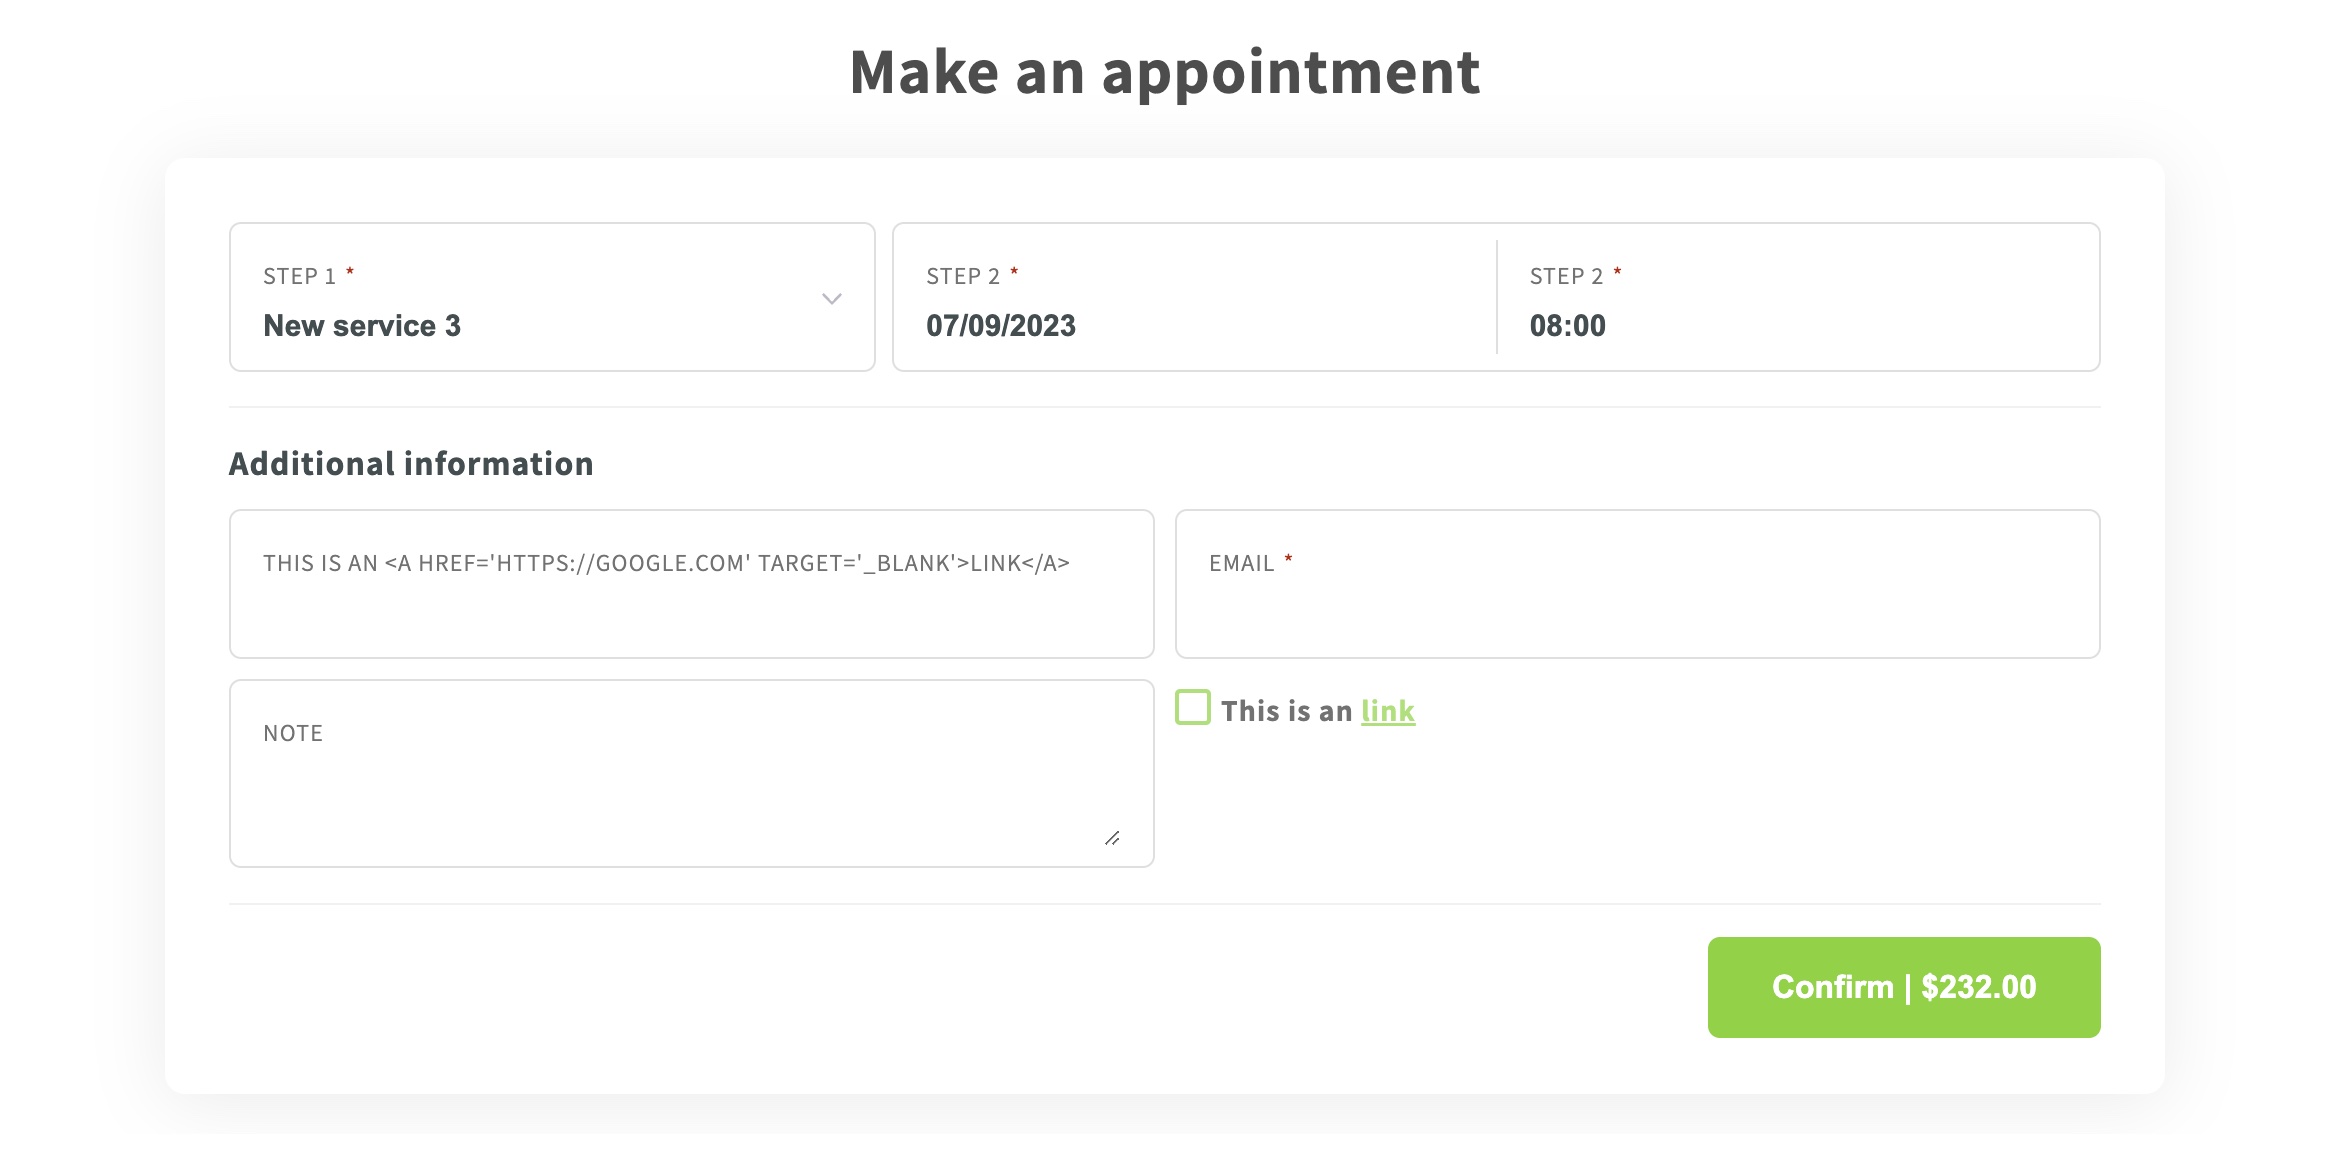
Service picker variation: Select
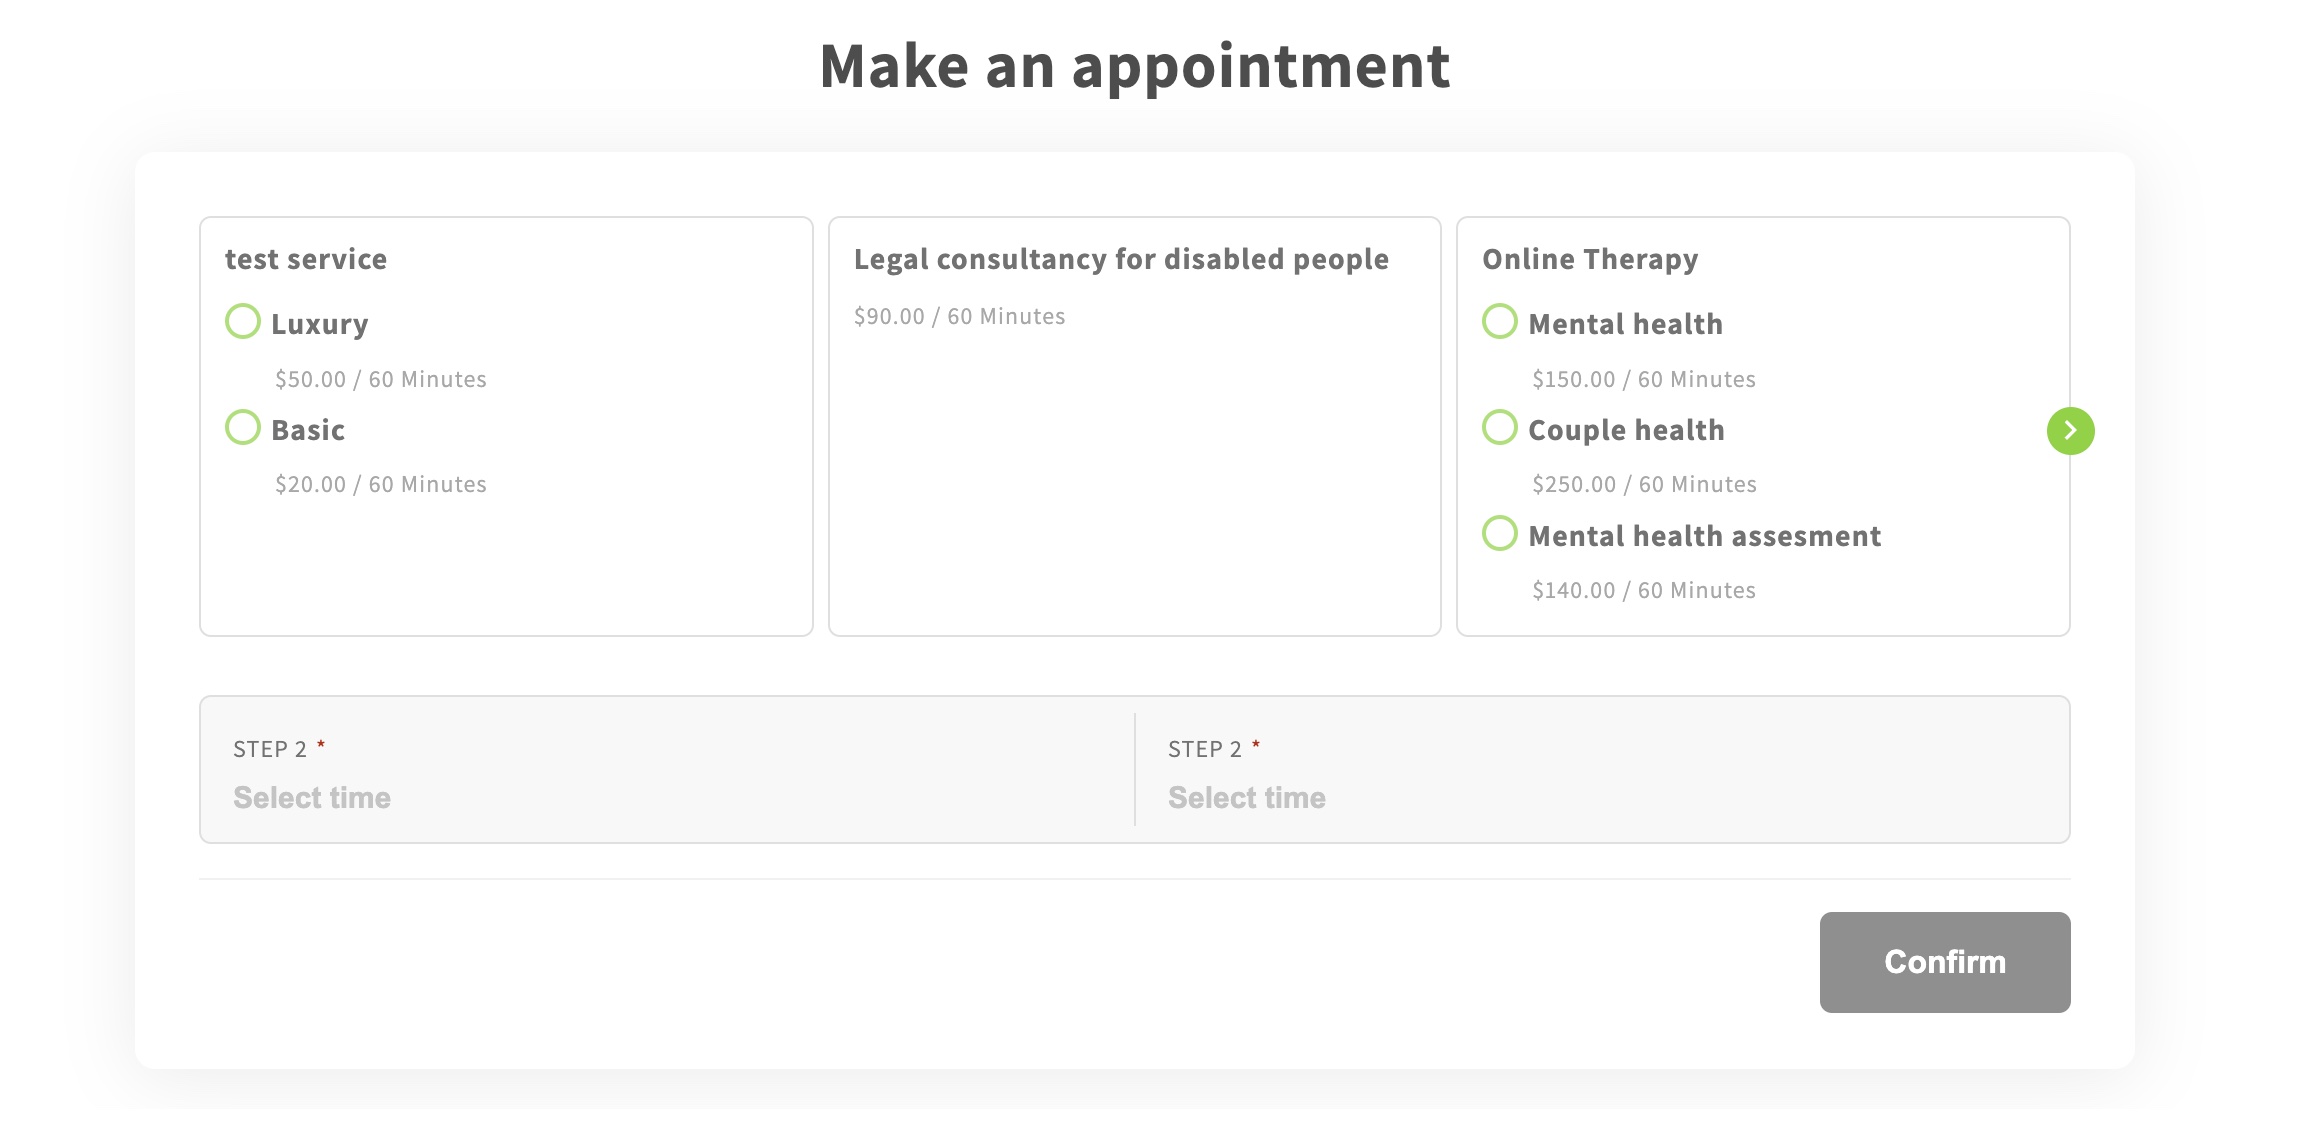
Service picker variation: Carousel
Skin layout 3
Skin layout 3 allows customers to book an appointment quickly on just one page, and you can insert a background image to showcase your services better.
With this skin layout, you can select the main color for the layout, 2 service picker variations, and 3 position variations (on the left, right, and center to the image).
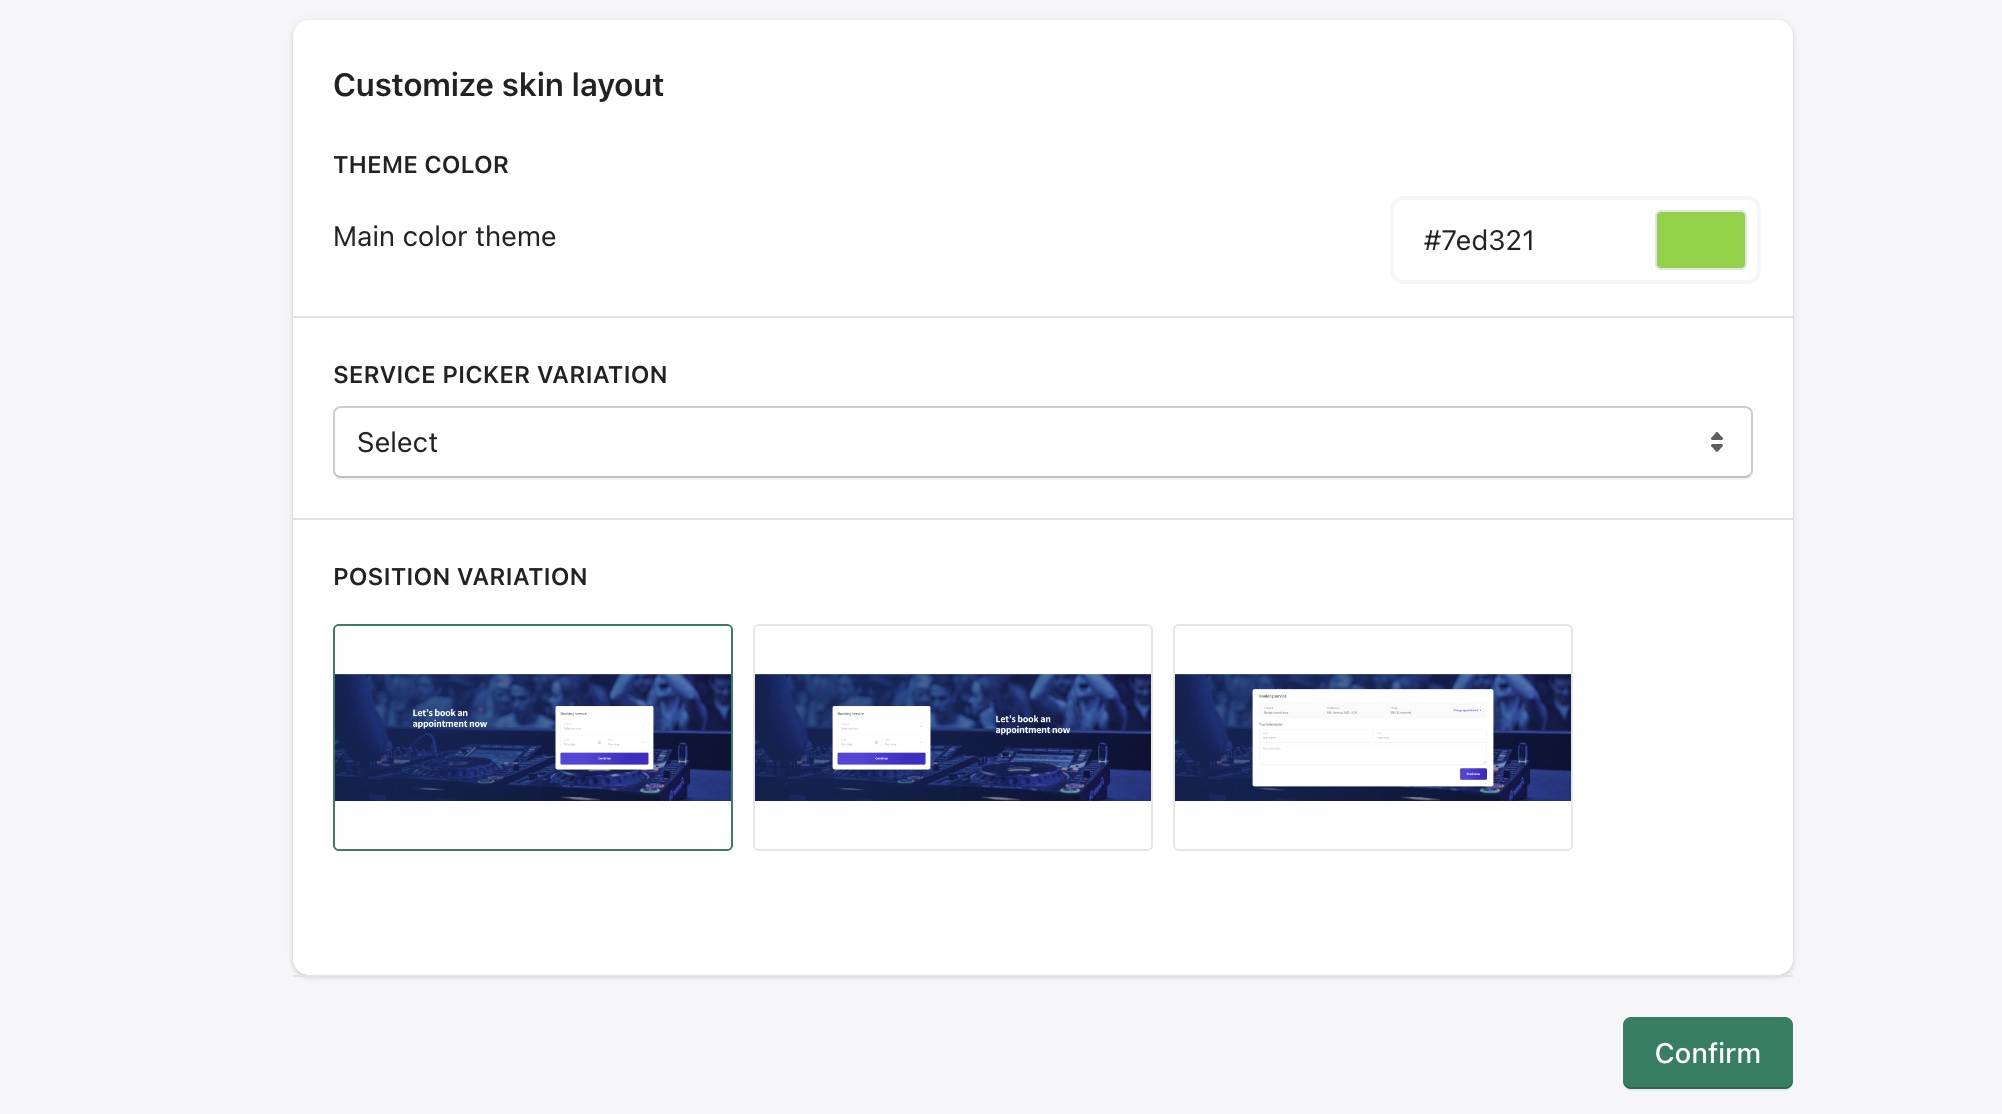
Click on the Confirm button to change the layout.
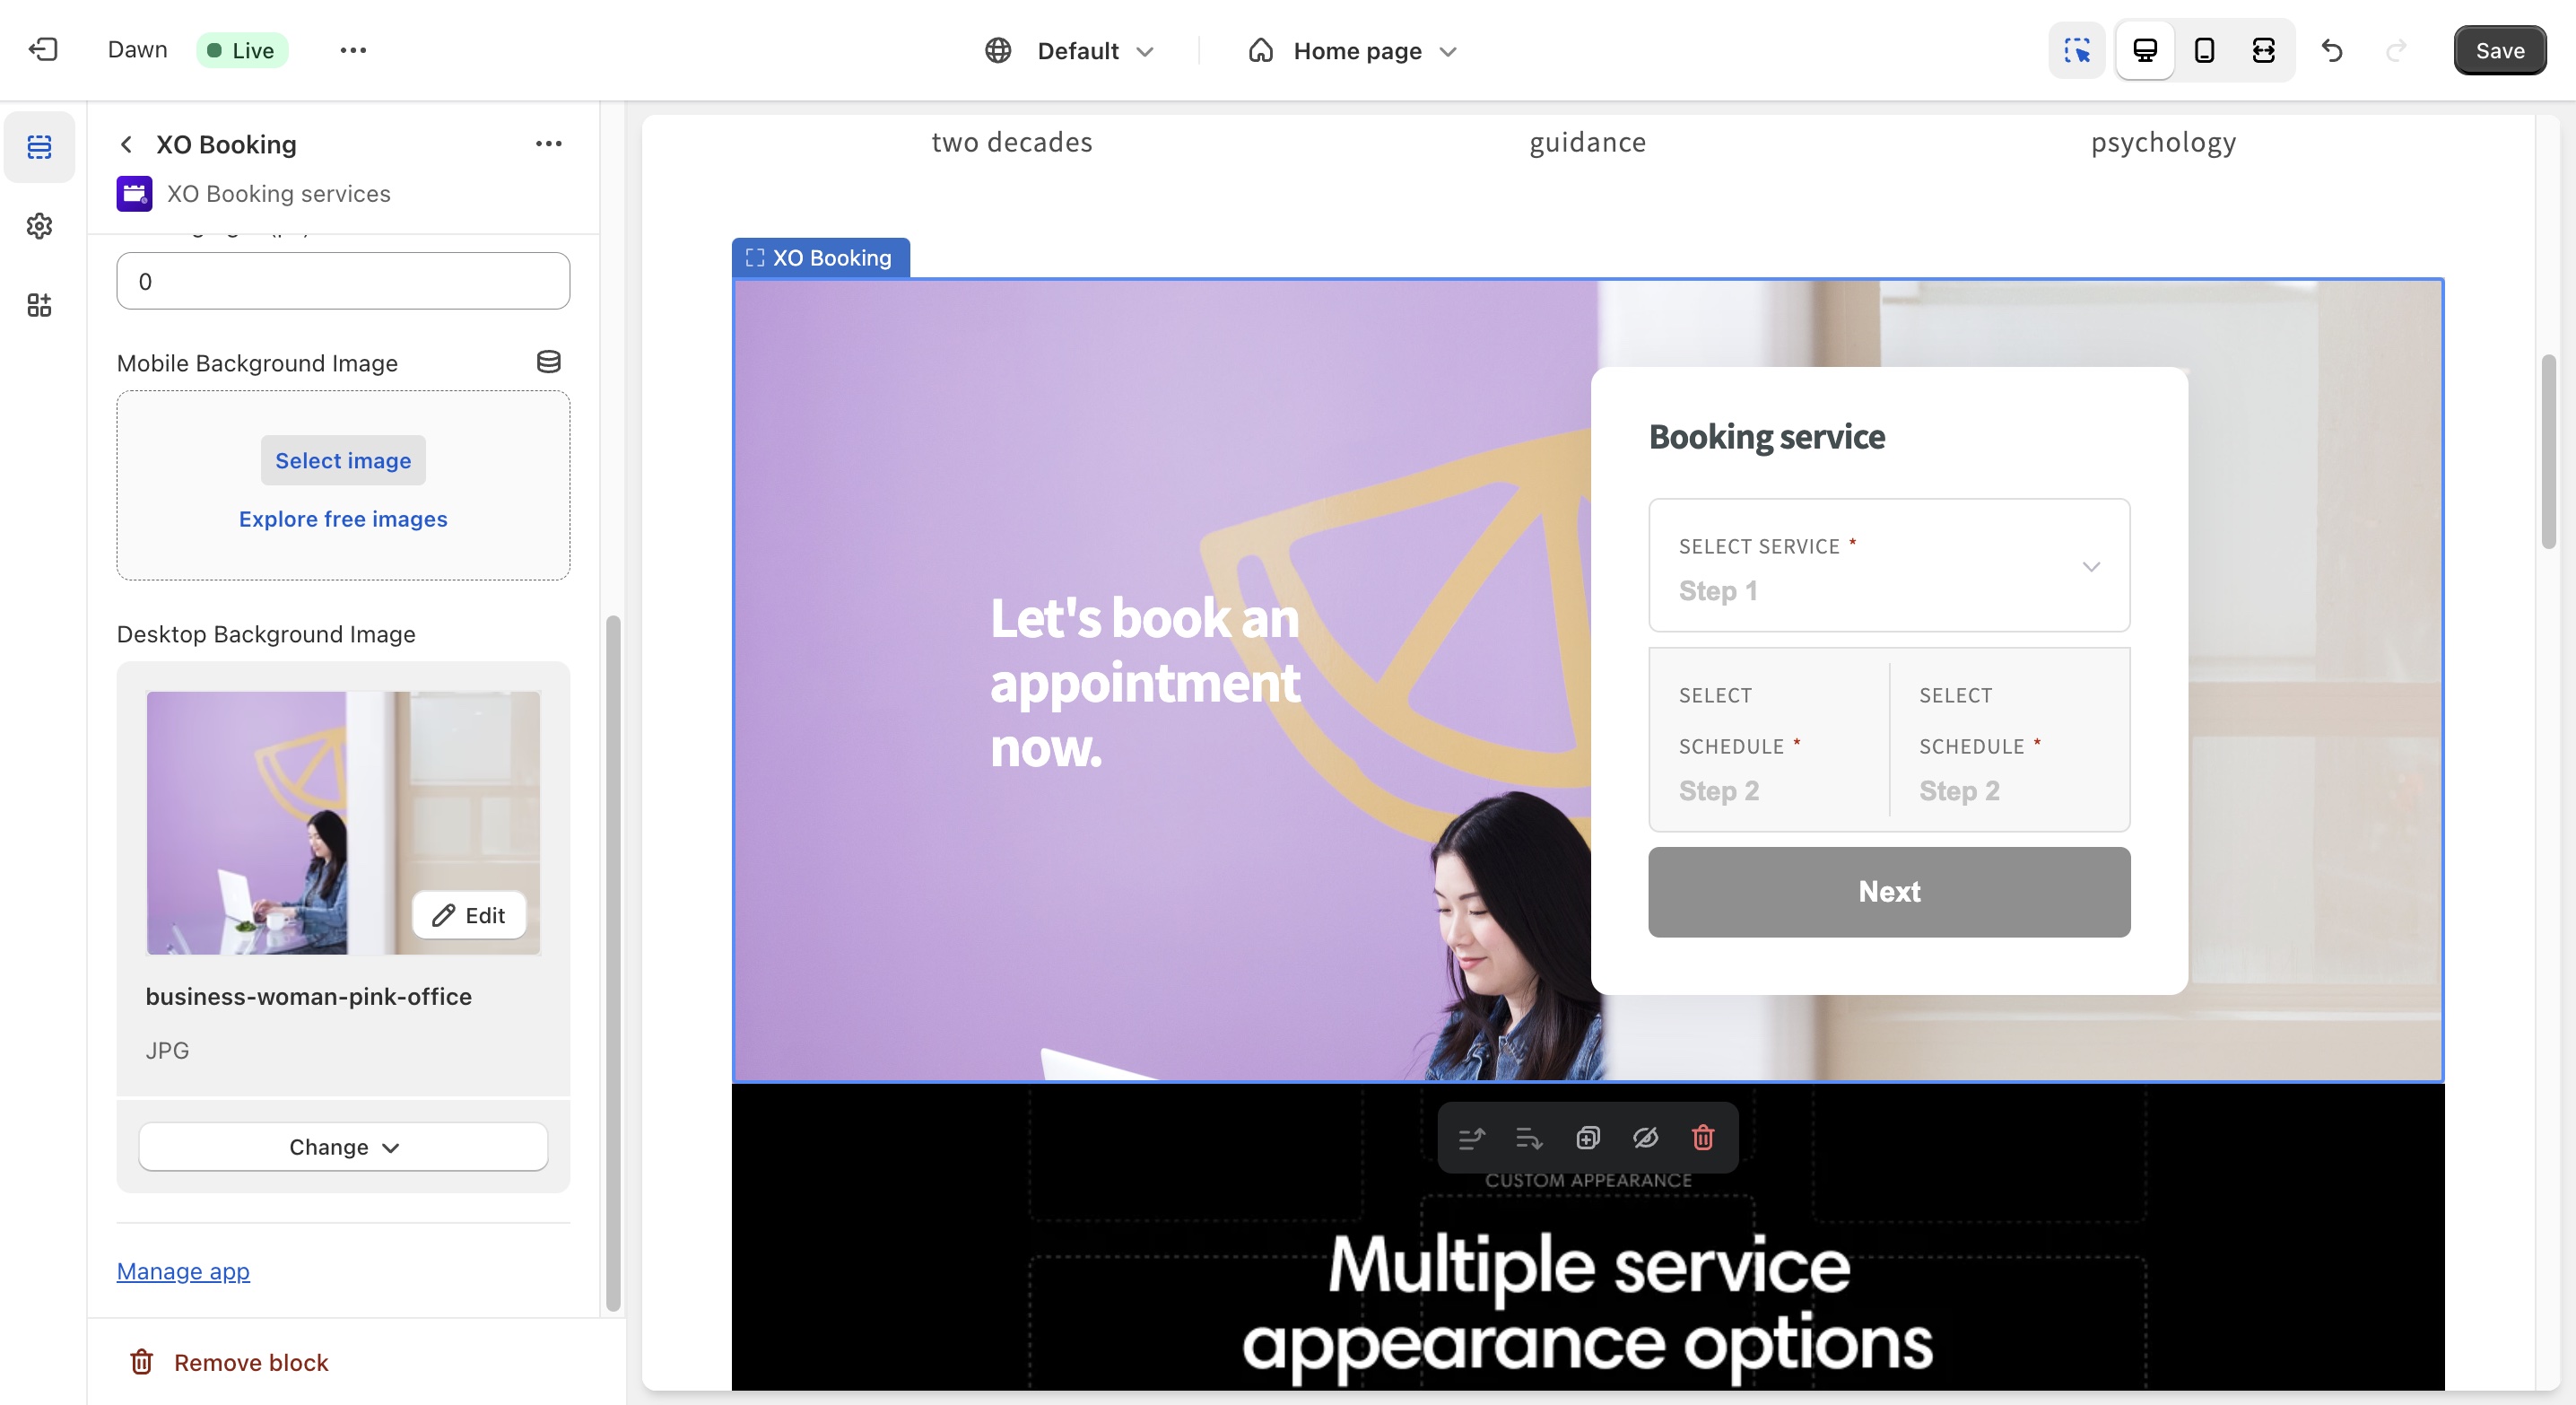
To change the background image, go to Themes and customize the XO Booking service section.
Skin layout 4
Skin layout 4 is a button that you can place anywhere on your theme, especially helpful on the product or service page so customers can book an appointment instead of buying a product.
With this skin layout, you can select the main color for the layout as well.
Click on the Confirm button to change the layout.
Adding the XO Booking button to a product page
After you've confirmed the skin layout 4 for XO Booking services, follow the next steps to add the booking button to your product page.
Step 1: Create a layout and choose skin 4, then copy the ID
Step 2: Go to Themes, click on Customize
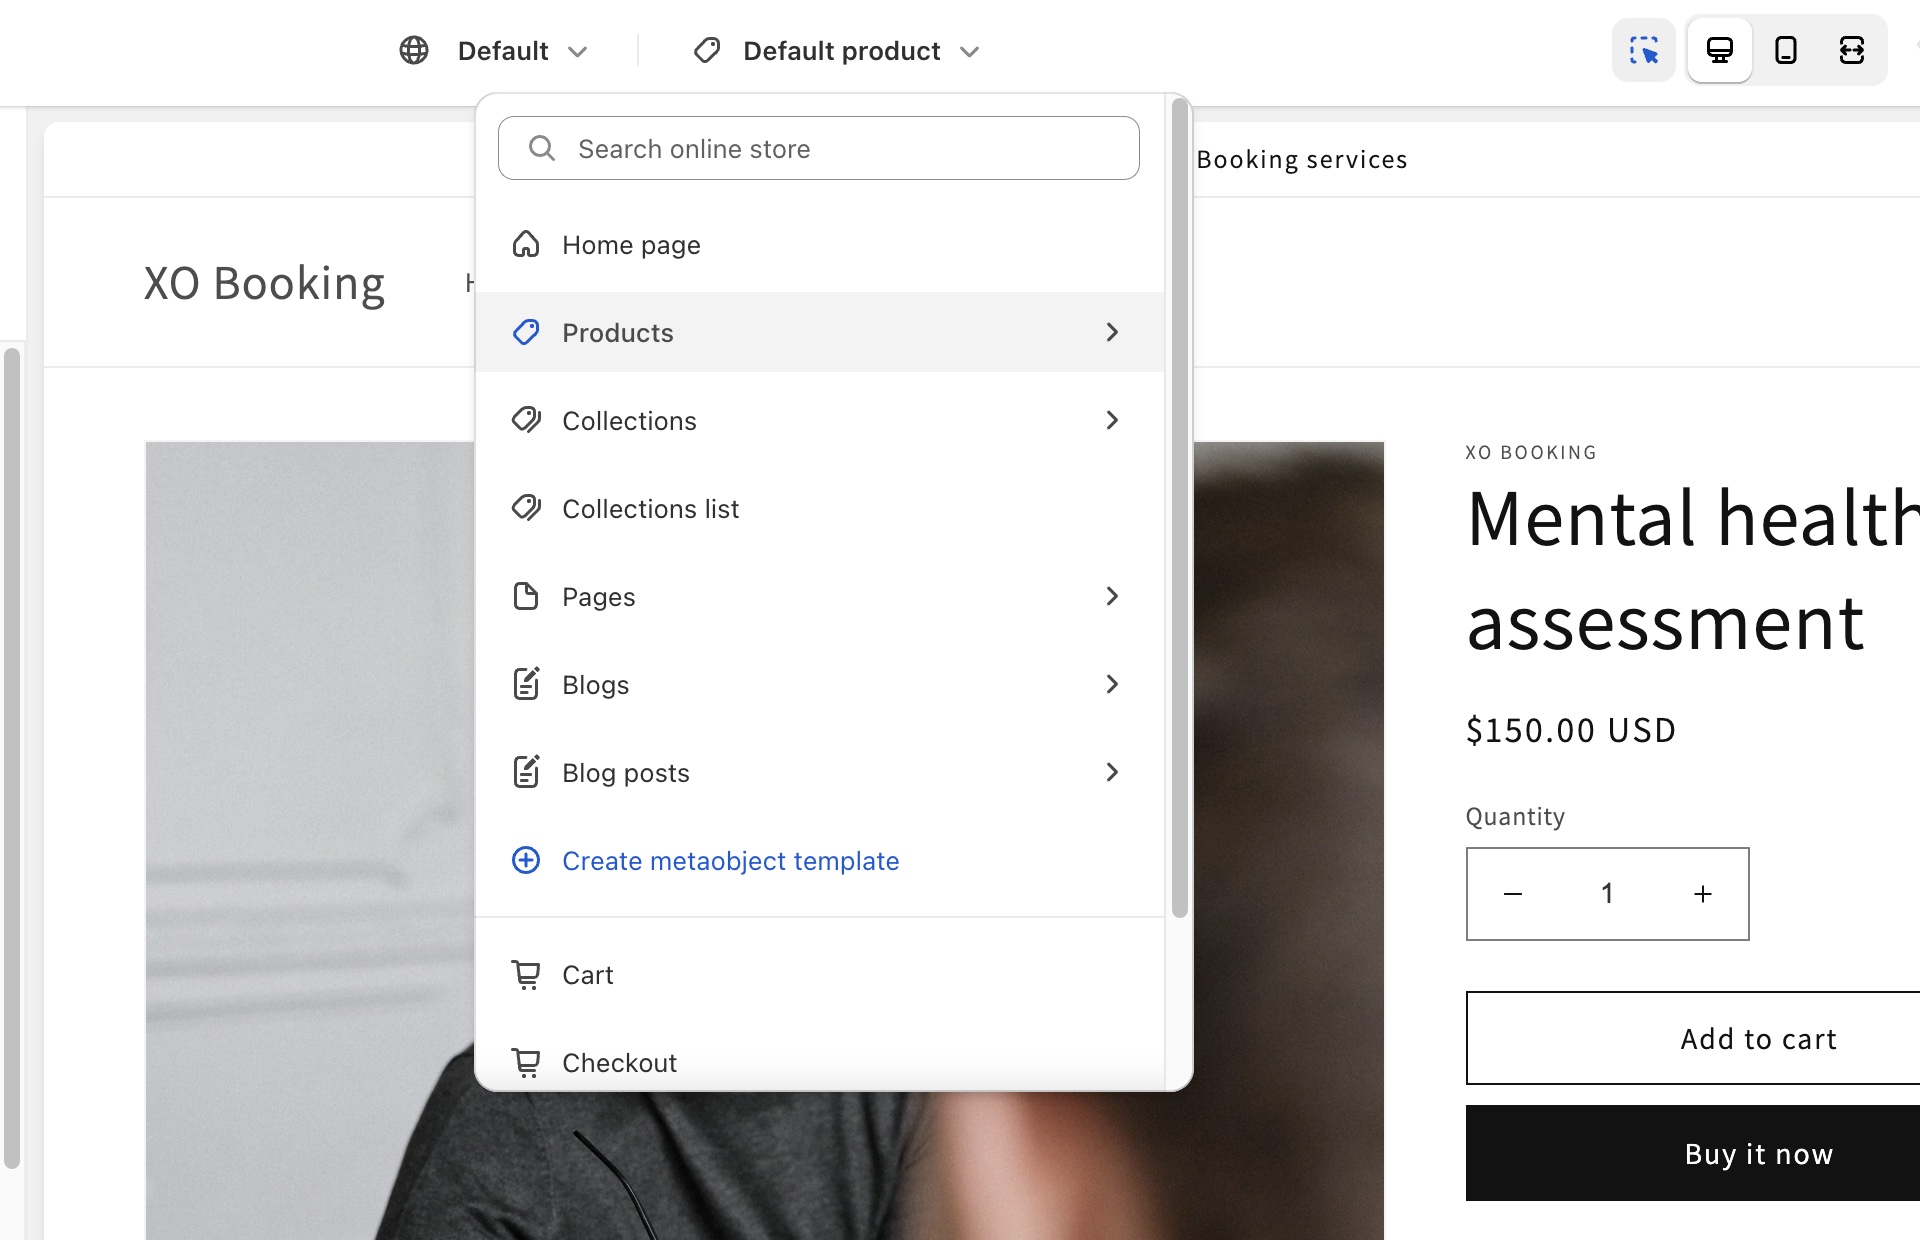
Step 3: Select Products from the list of page, then select the template you want to customize.
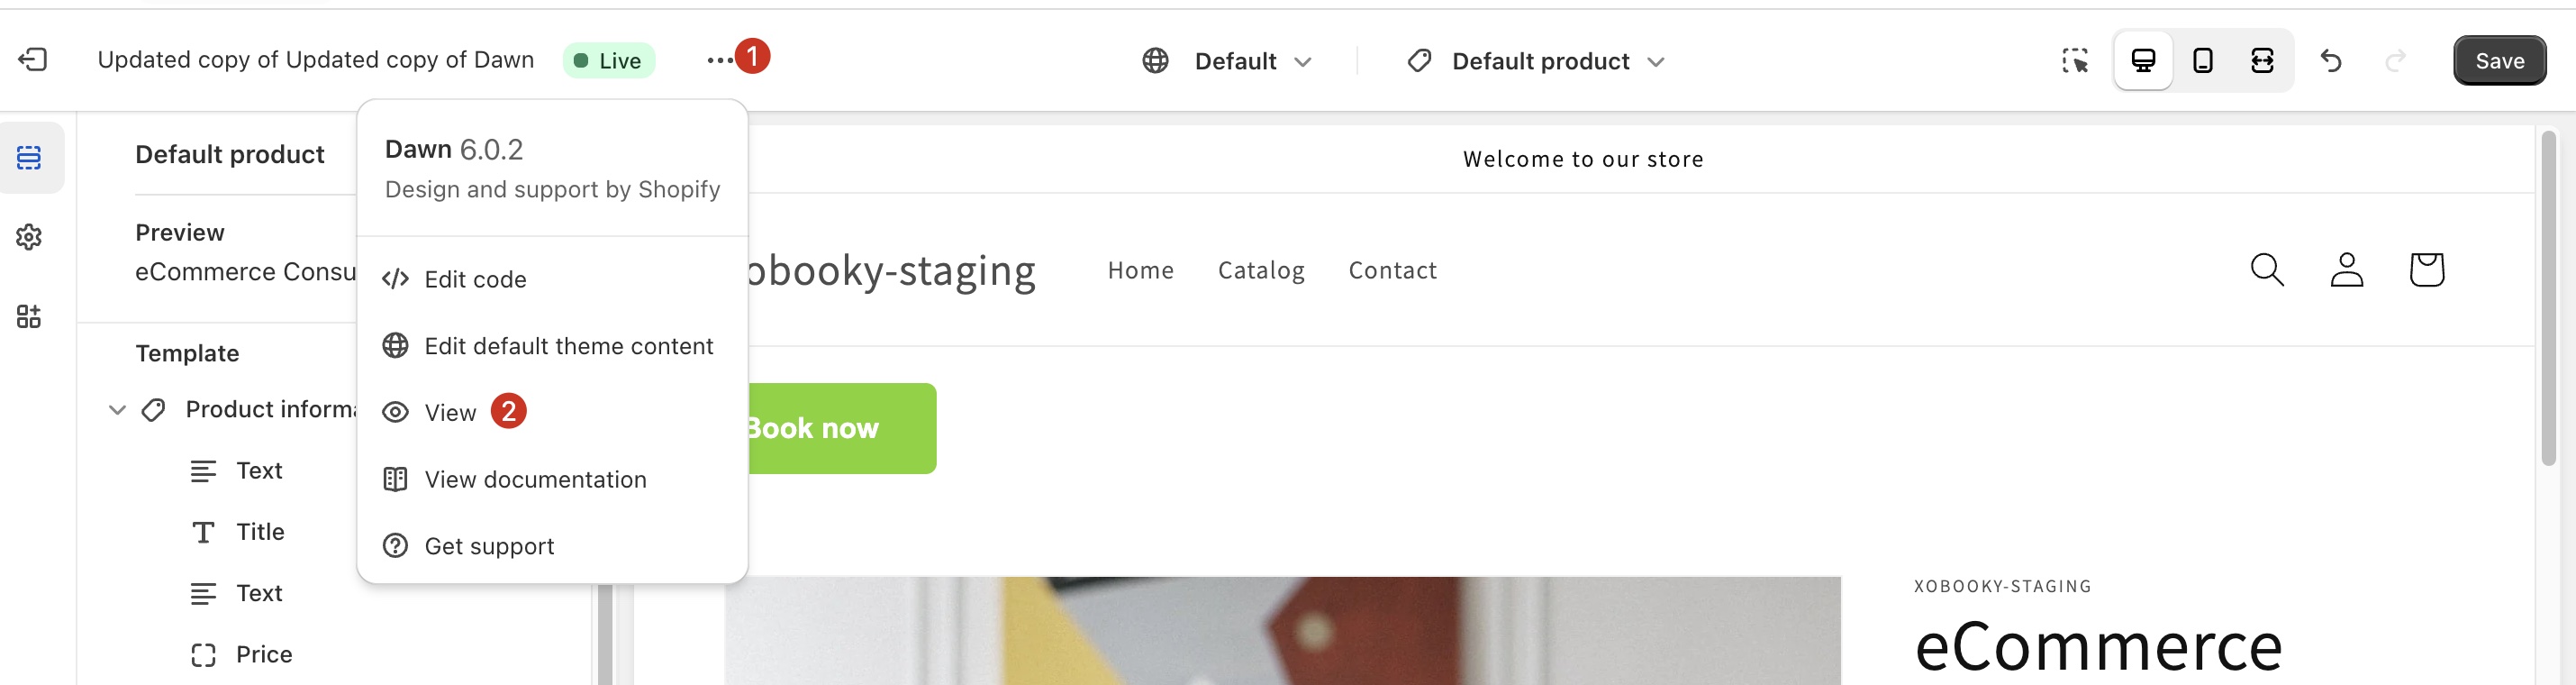
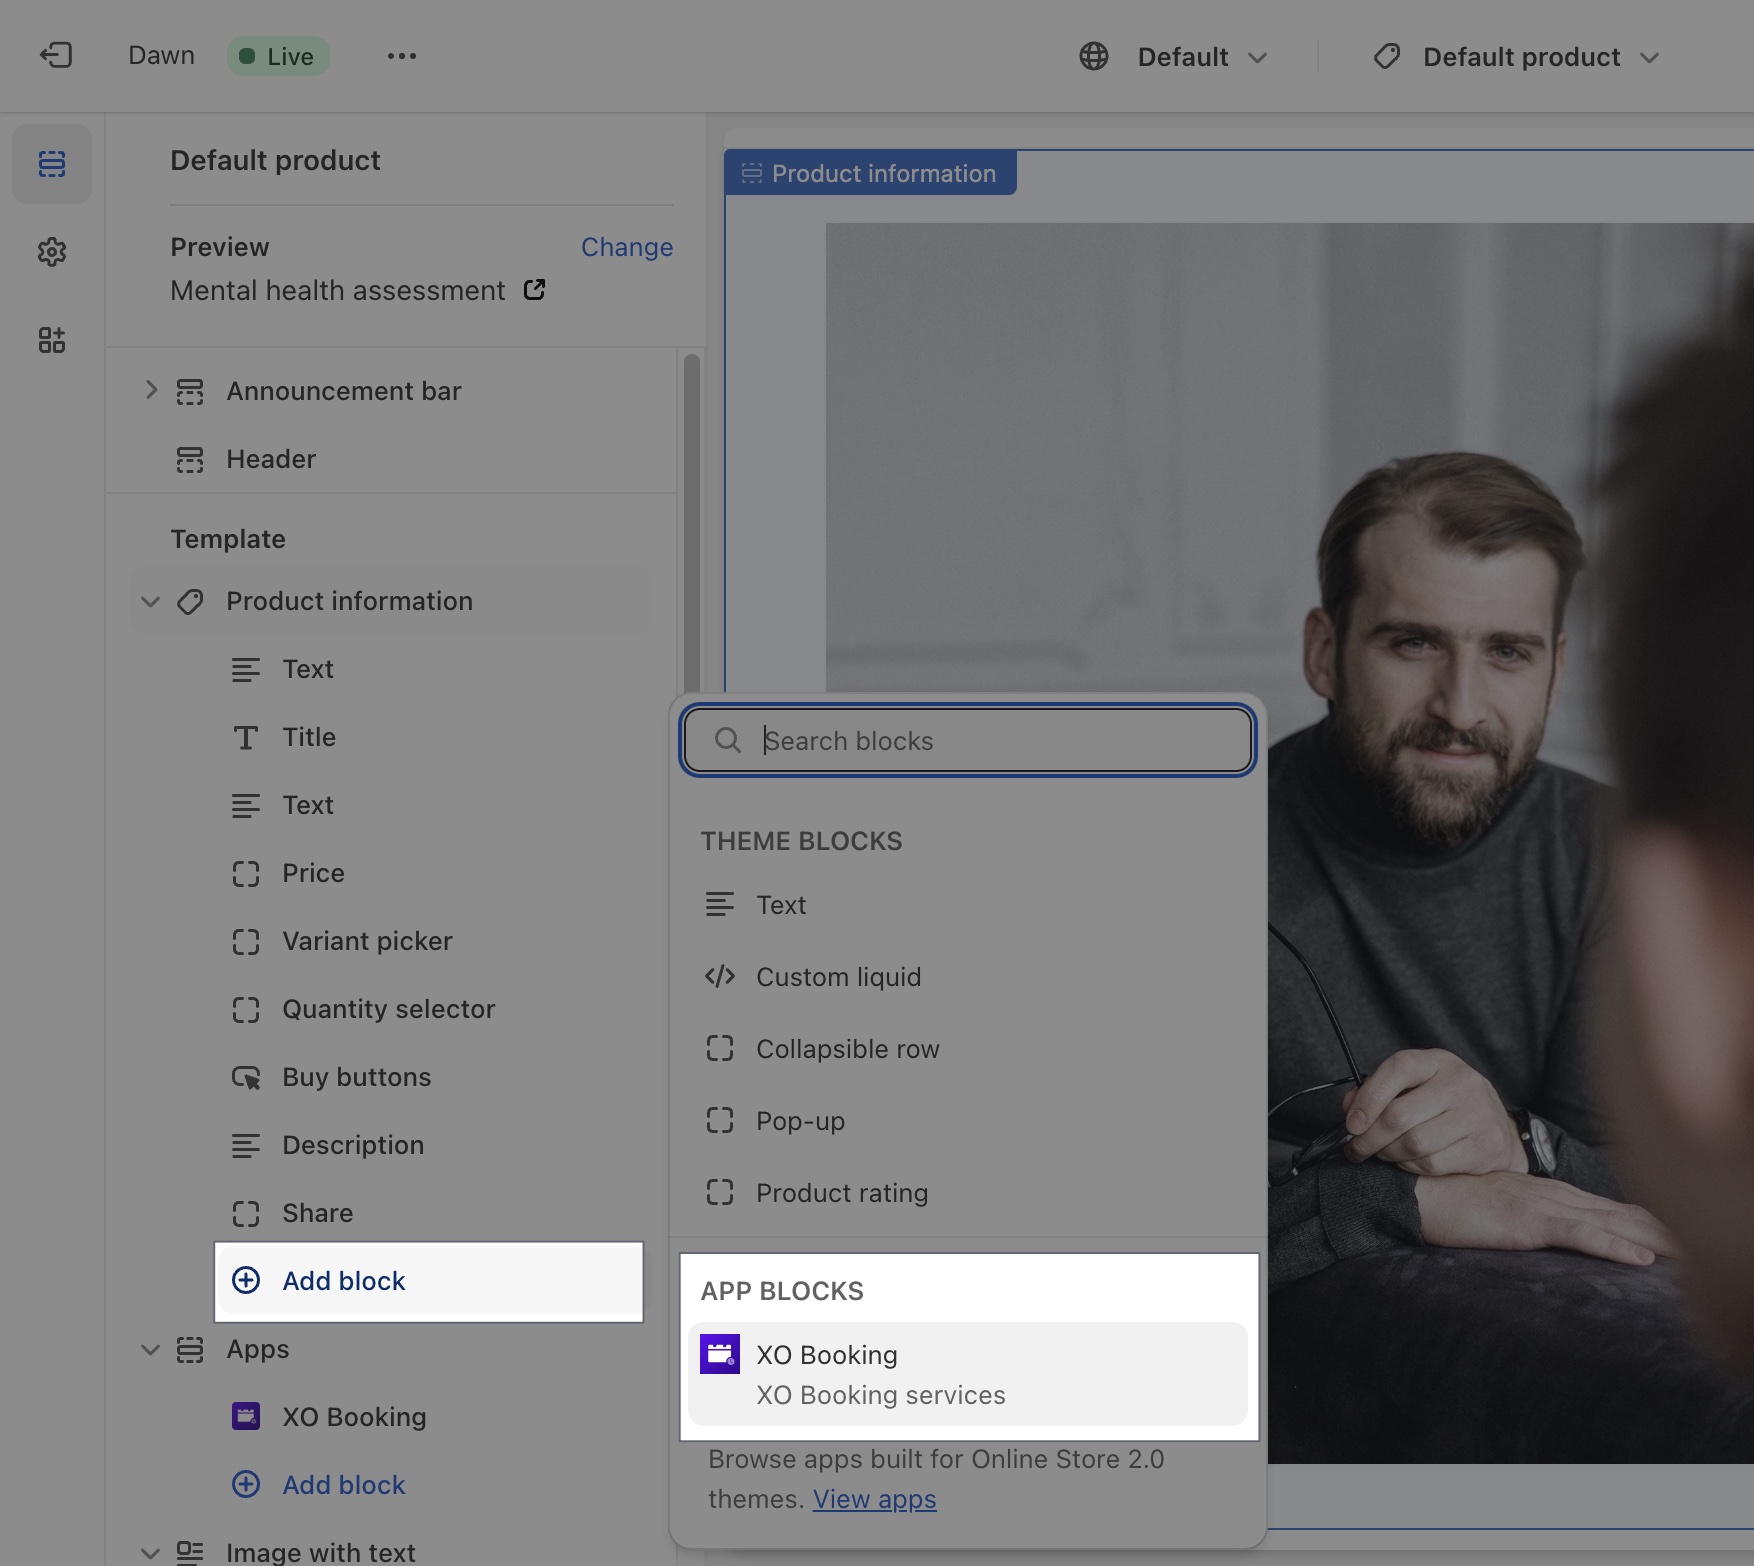
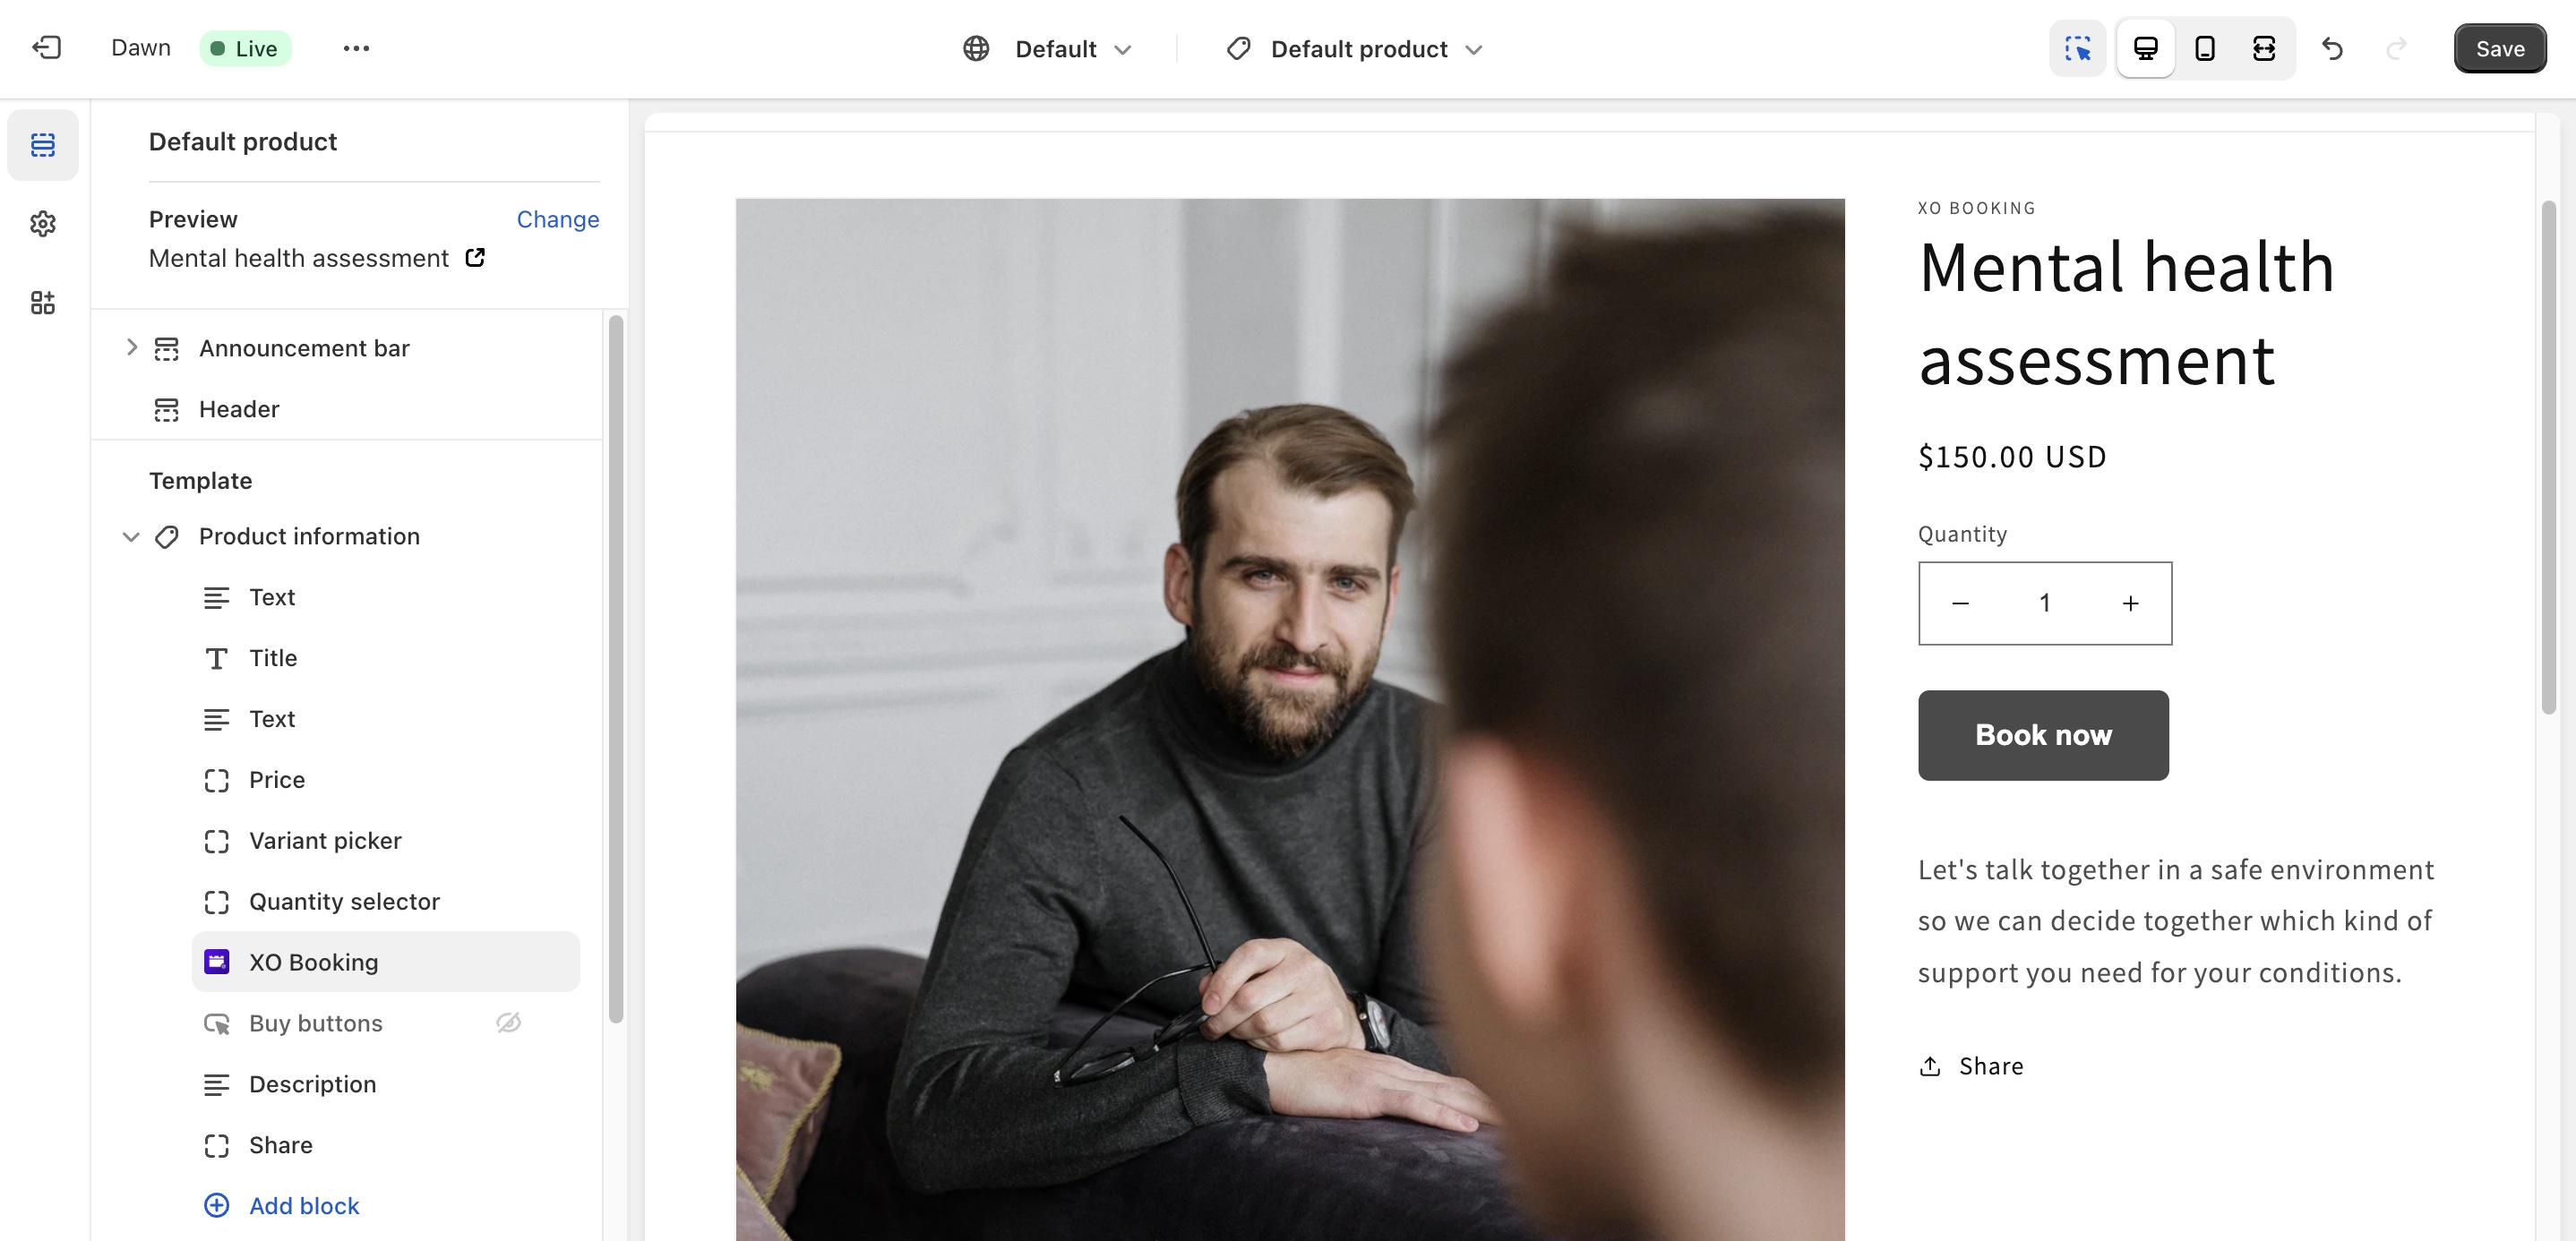
Step 4: In the Product information section, click on Add block, then select XO Booking services
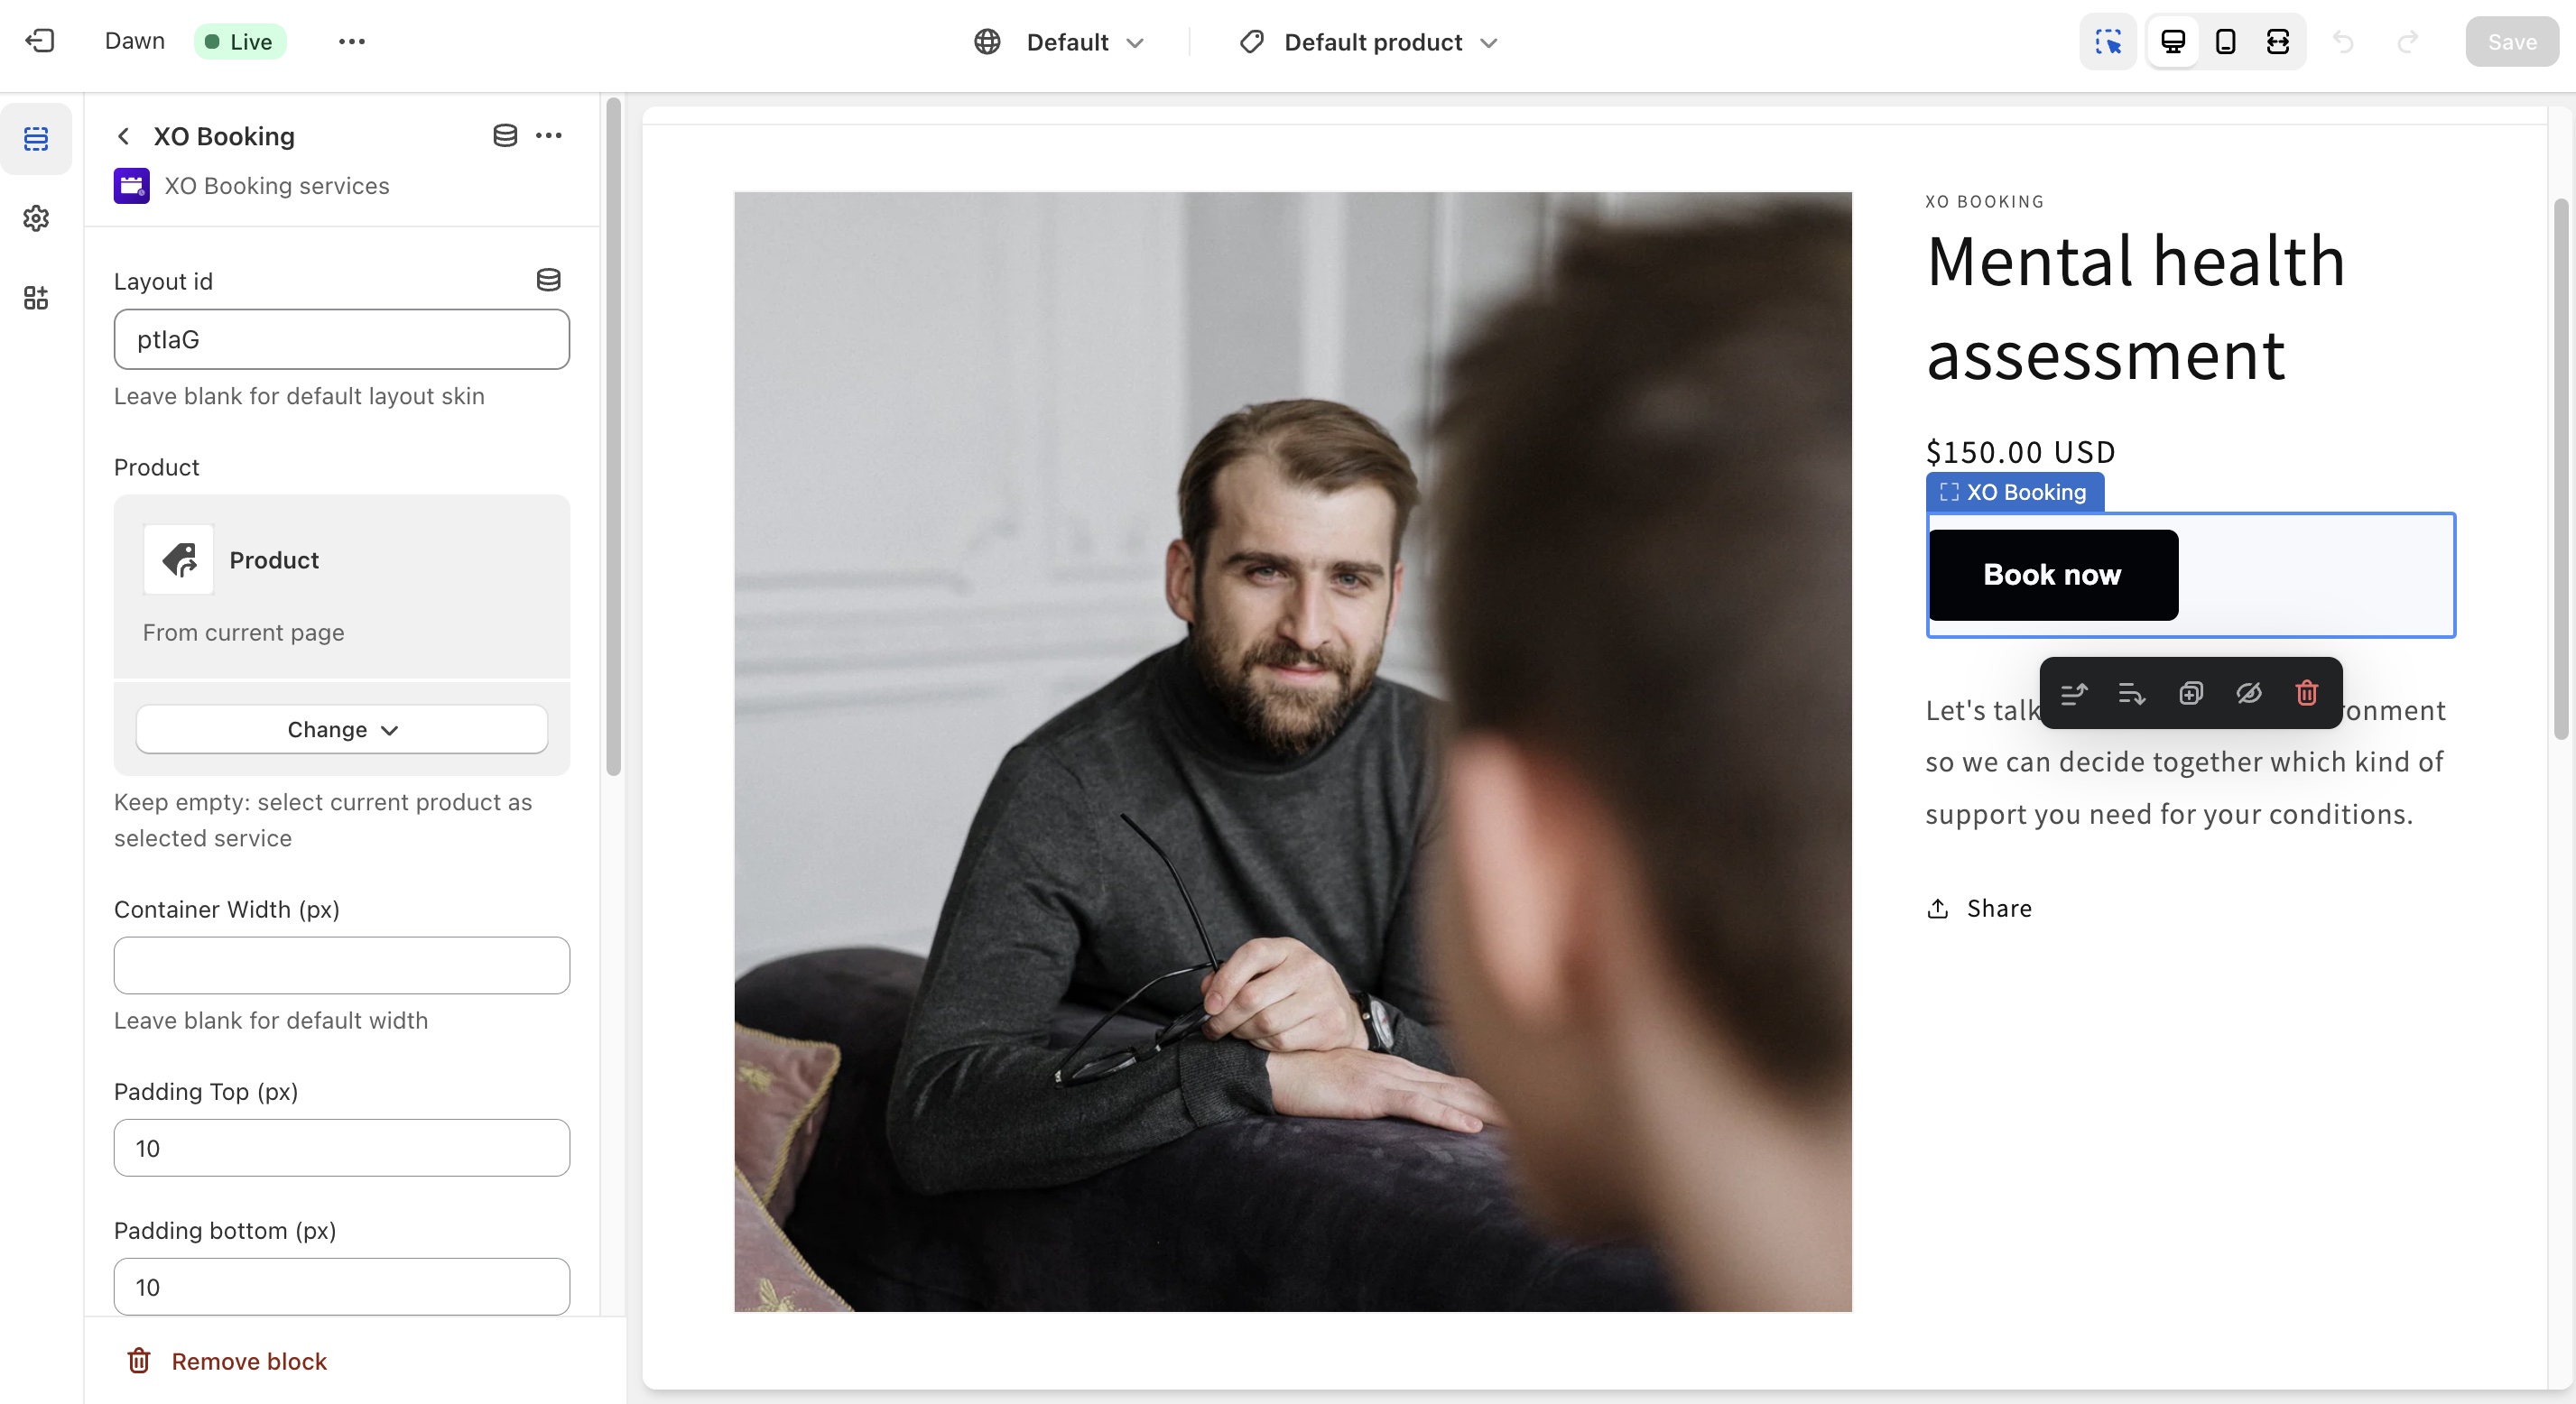
Step 5: Move the booking button to the position you want on the product page. You can hide other buttons as well.
Step 6: Paste the ID of the layout
Step 7: Click on the Save button to save the button into the template.

You can then check if the button is working well on your store by viewing the theme. Click on the three dot button then select View.