Quick start
Here are the steps to quickly start using XO Booking
1. Setup information
Go to Settings to set up basic store's information.
-
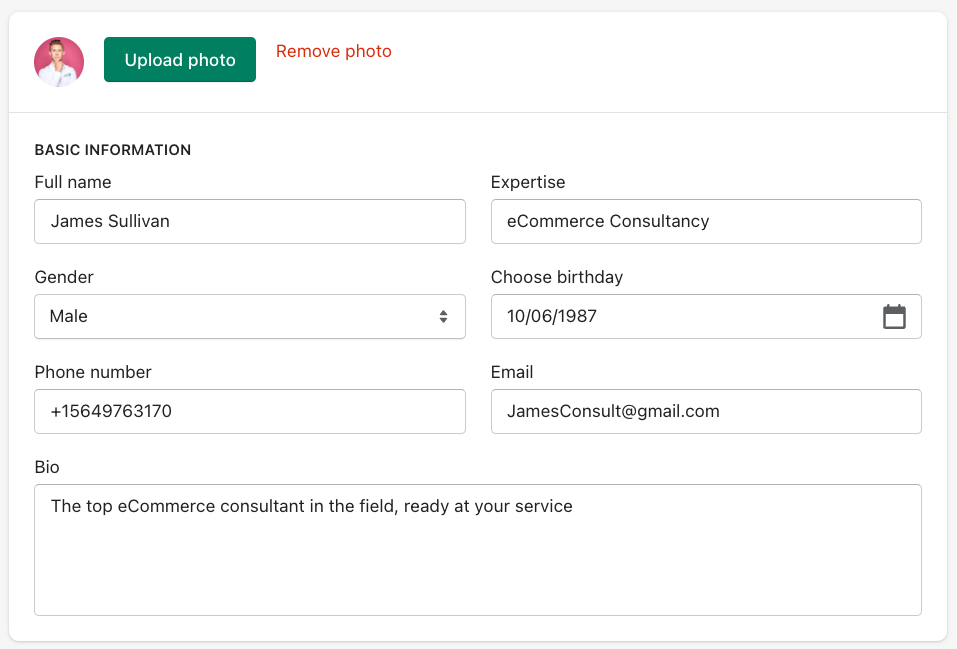
In Expert, set up your business' information, and upload an avatar for yourself.
-
In Work time, set up your business's work time. Customers can book an appointment inside these times.
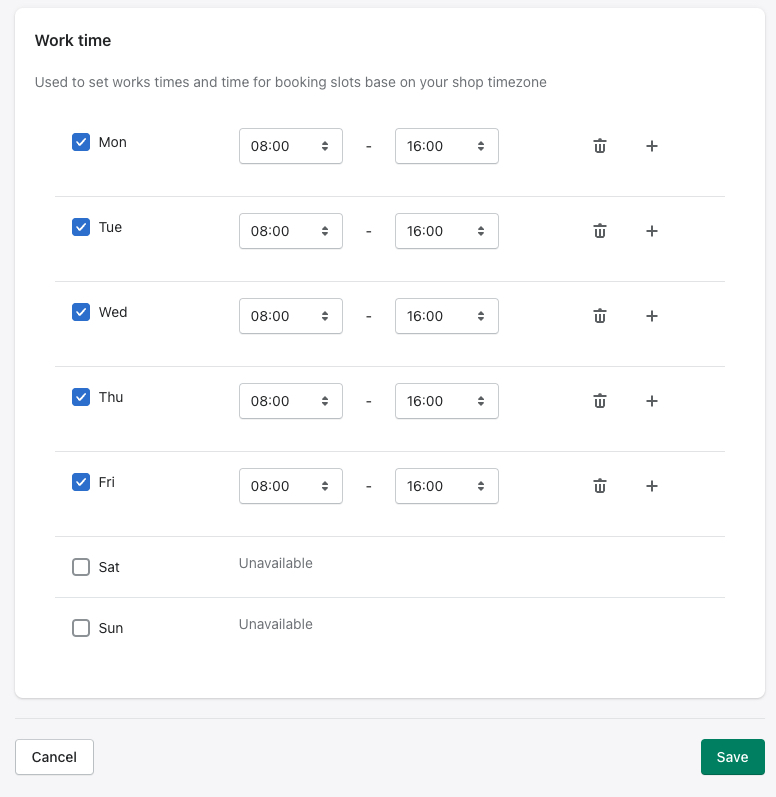
Click on the Save button to save information.
2. Setup services
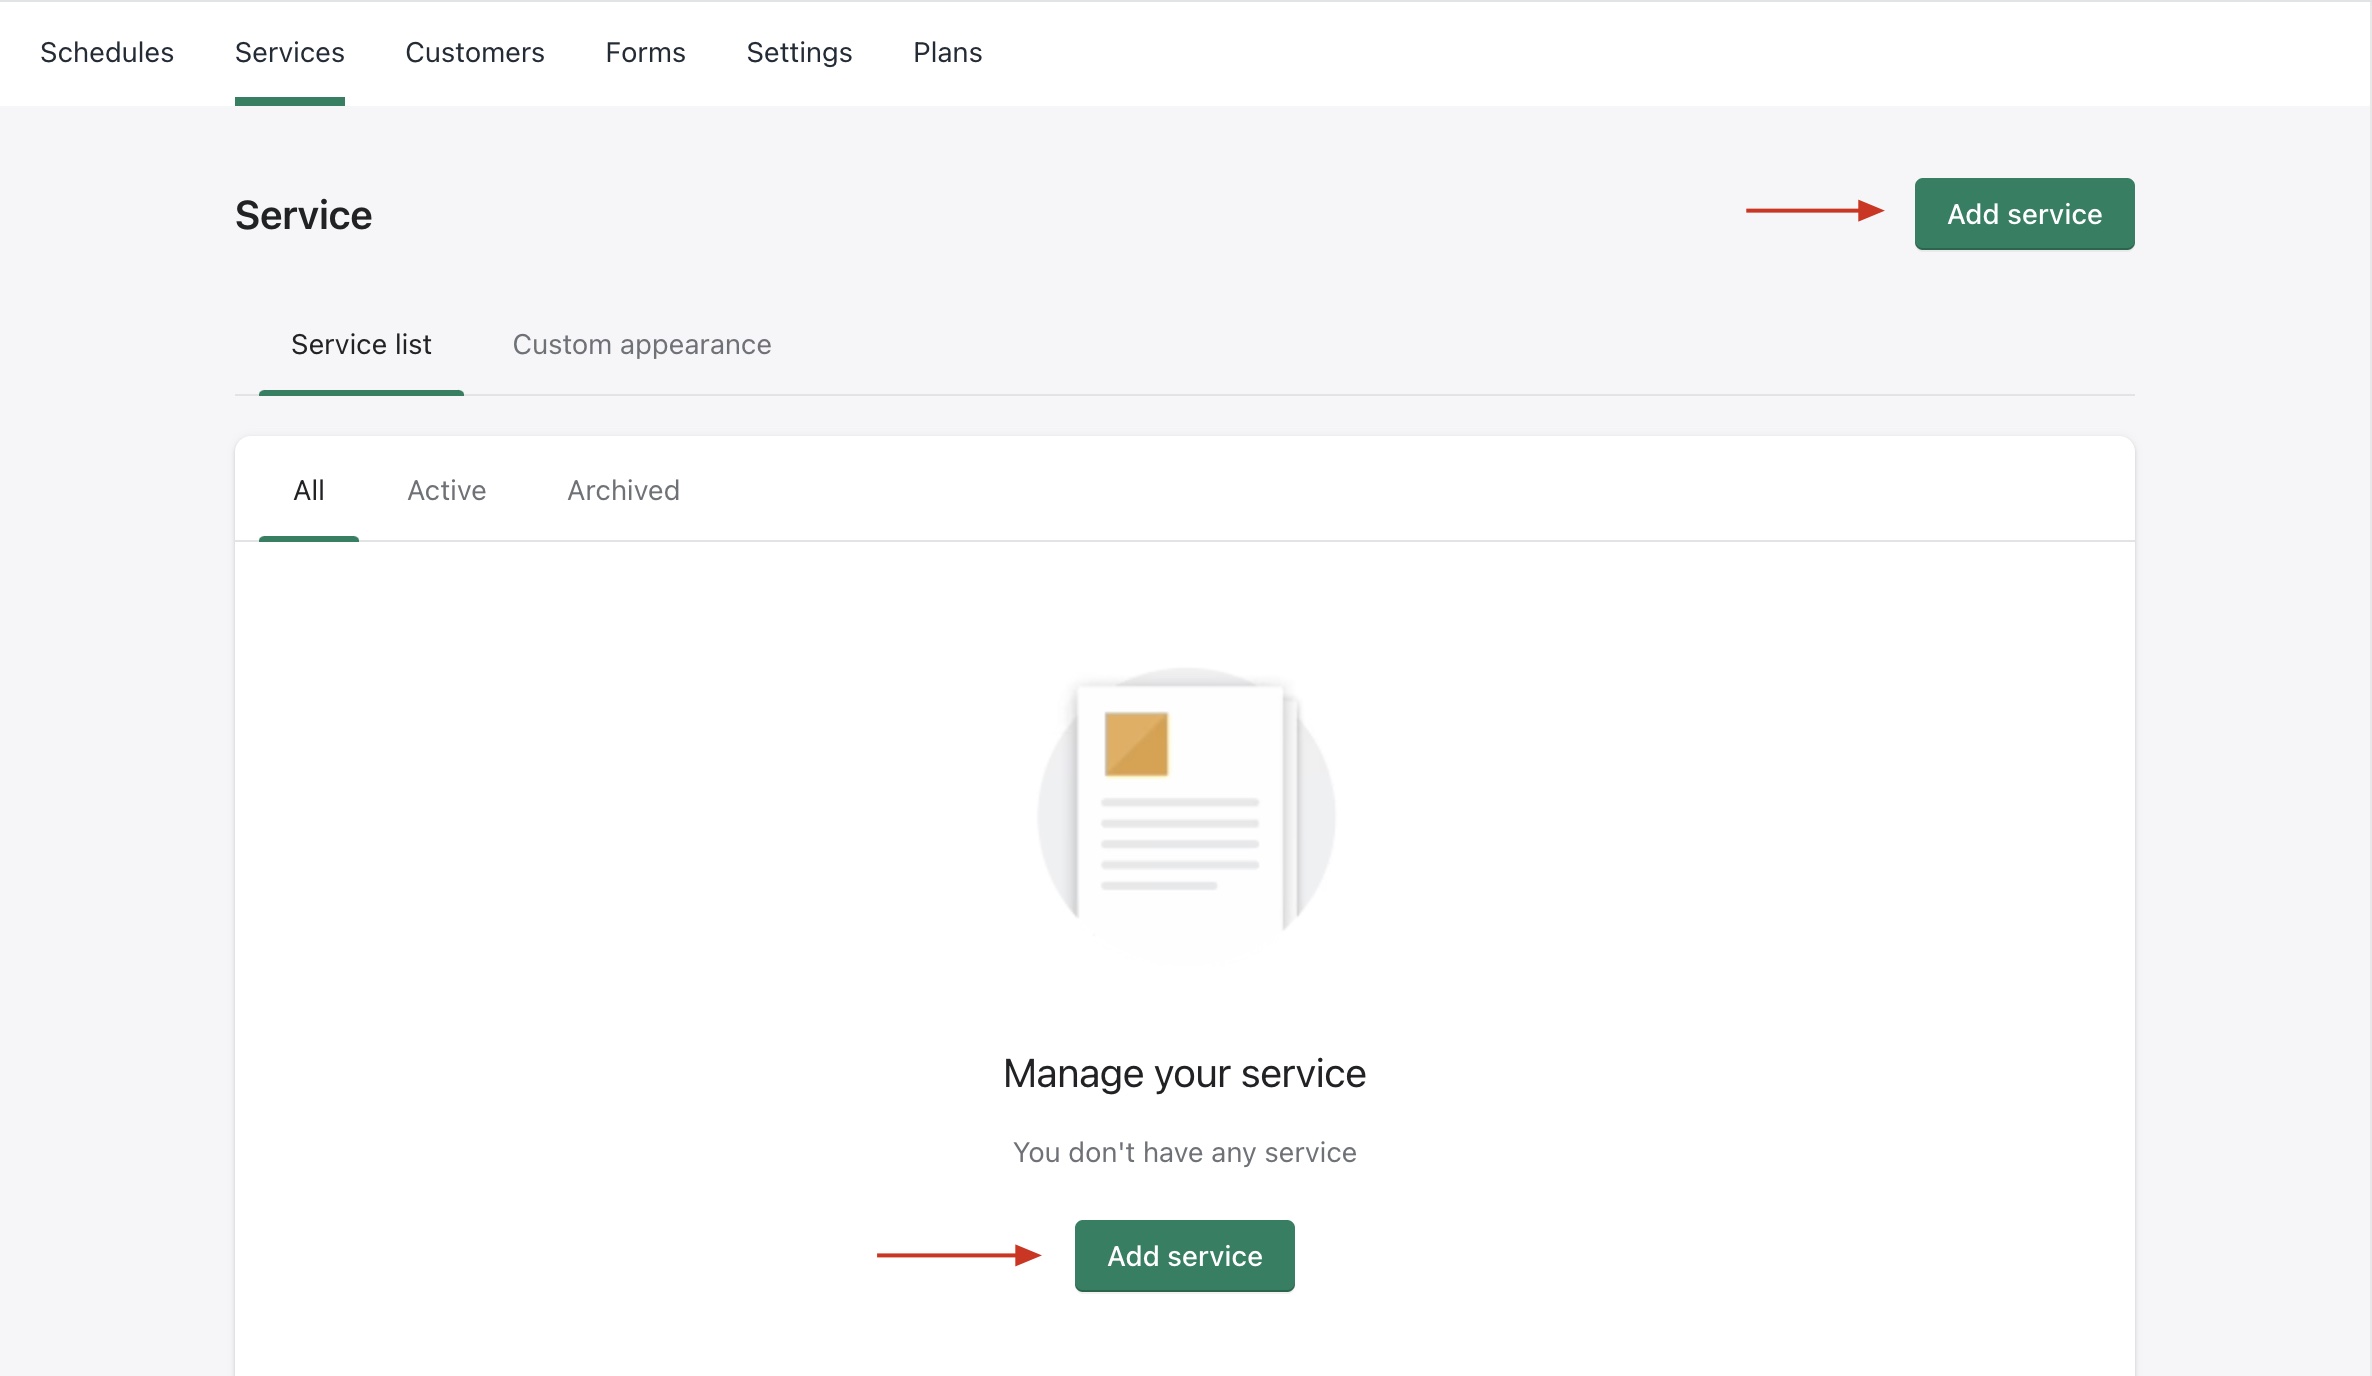
Go to Services to add a new service.
-
Click on the Add service button
-
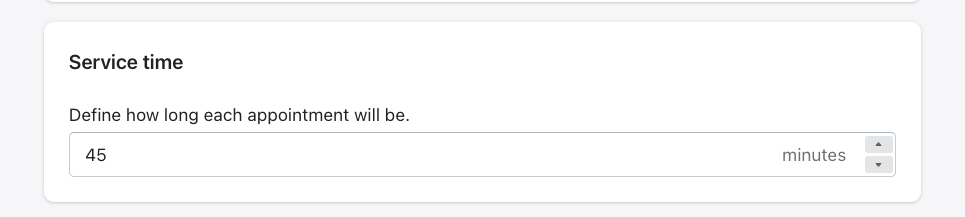
Write in the name and set the service time. Use custom description and image if you want. If not, the app will use your product's description and image.
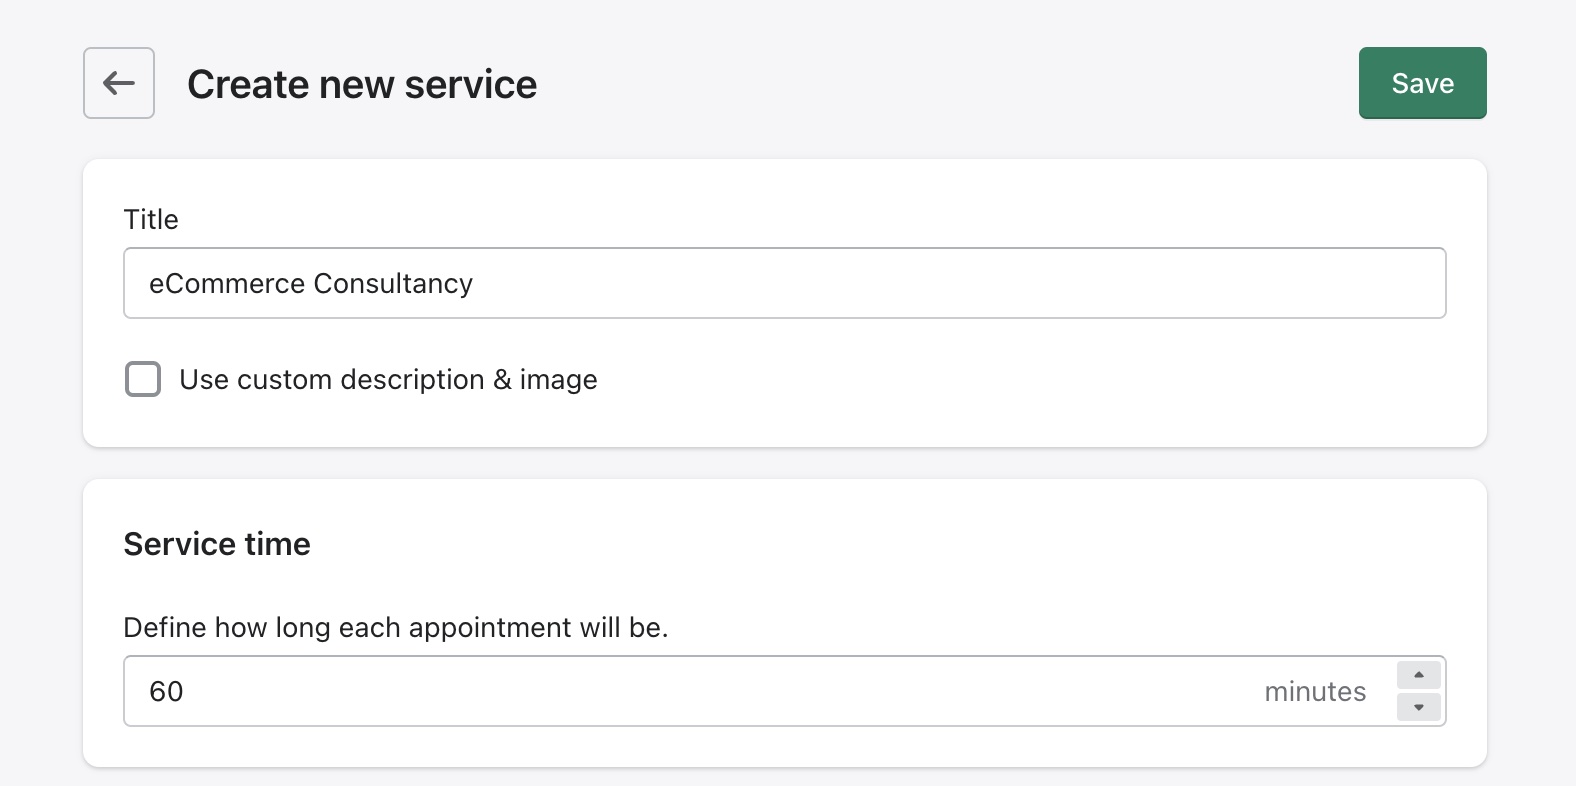
-
Choose a form for your service. There is already a form by default to collect the customer's name and email.
-
Add a product to your service. If you don't have a product, create a new one.


-
Select variants (if avaialable) to add into the service.
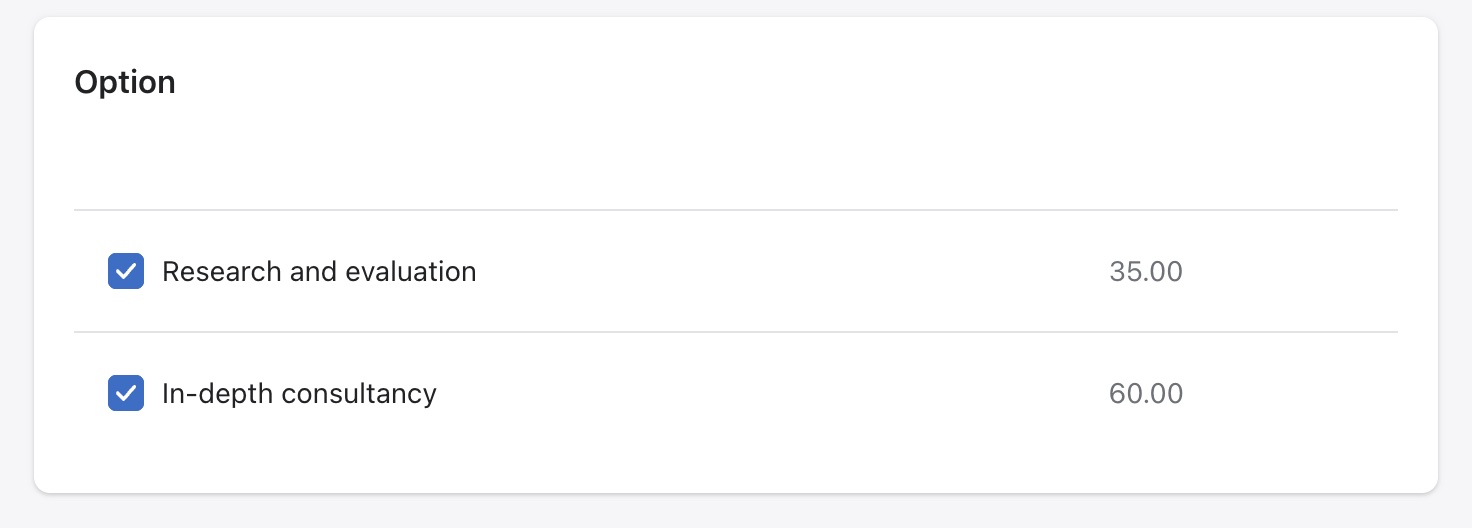
Click on the Save button to create the new service.
3. Create form (Optional)
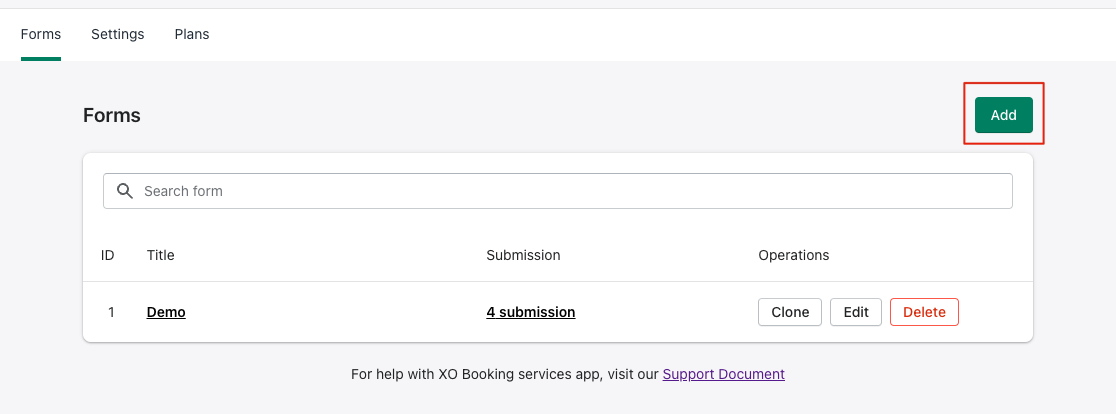
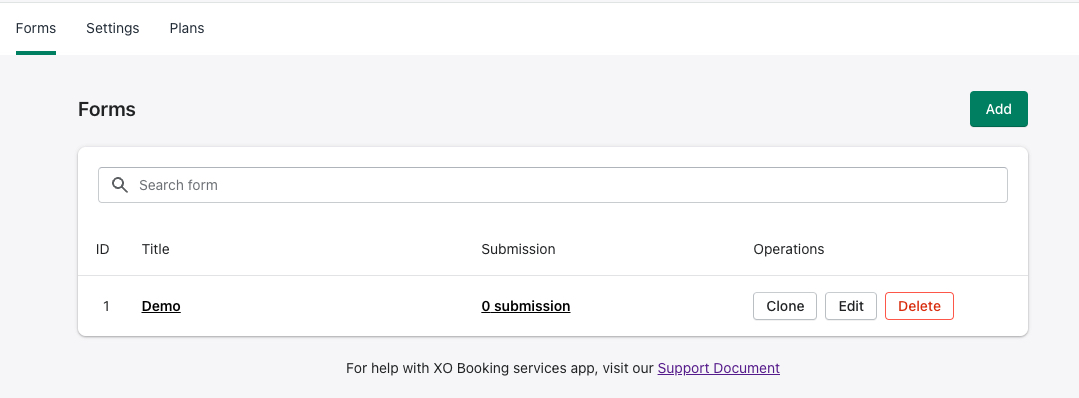
Form is a tool to collect customer information through the XO Booking widget. Go to Forms to add a new form.
- Click on the Add button:
- Write in the Title of your form, you can select to display this or not.

*Click on Add Fields then add the field you want into the form.
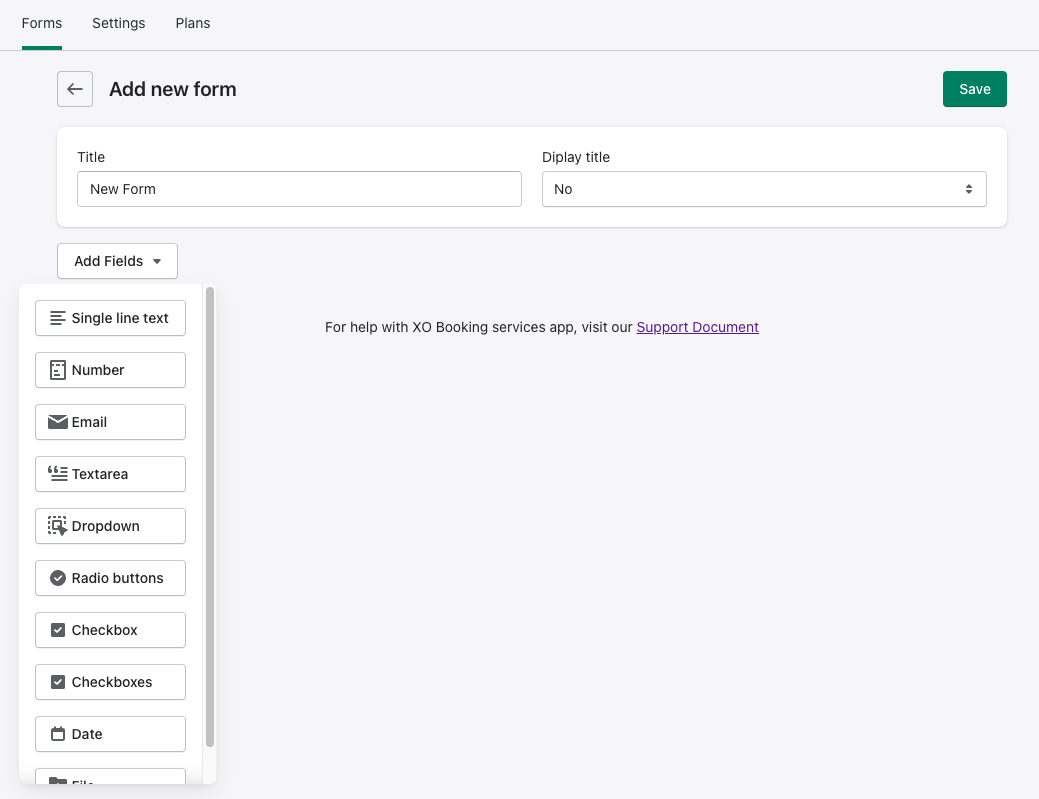
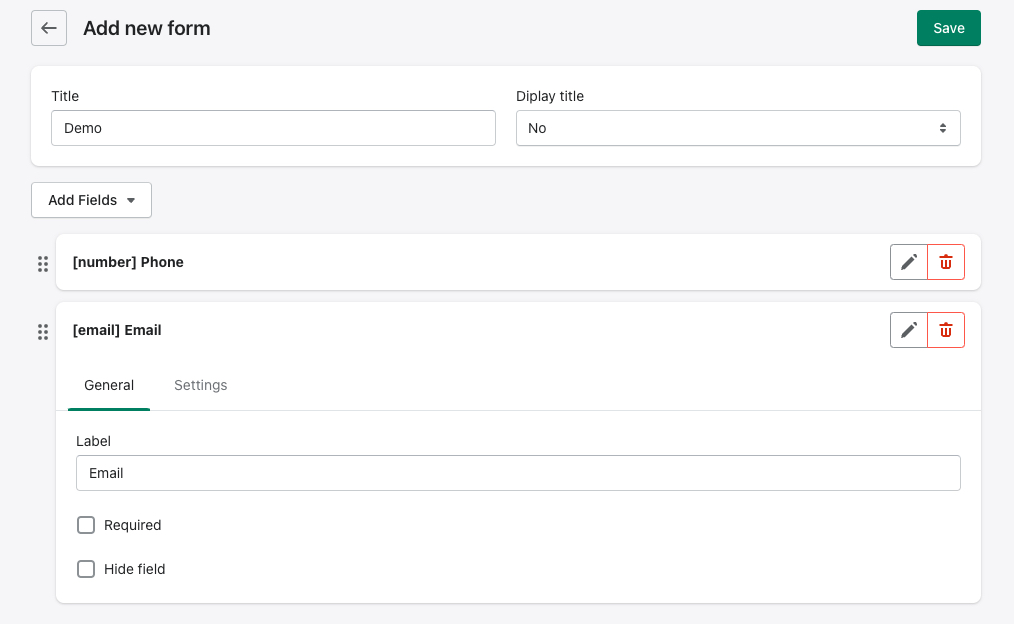
Then click the Save button to save your form
4. Enable app in theme
Go to your Shopify stores's themes and click on the Customize button
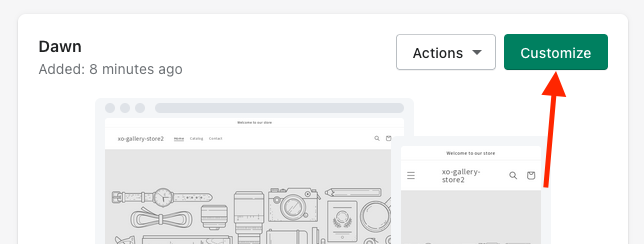
then select App embeds, and enable XO Booking.
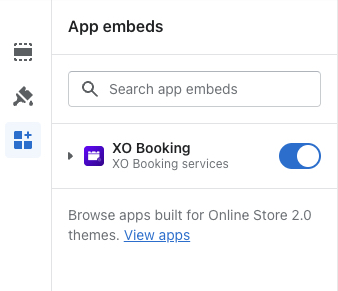
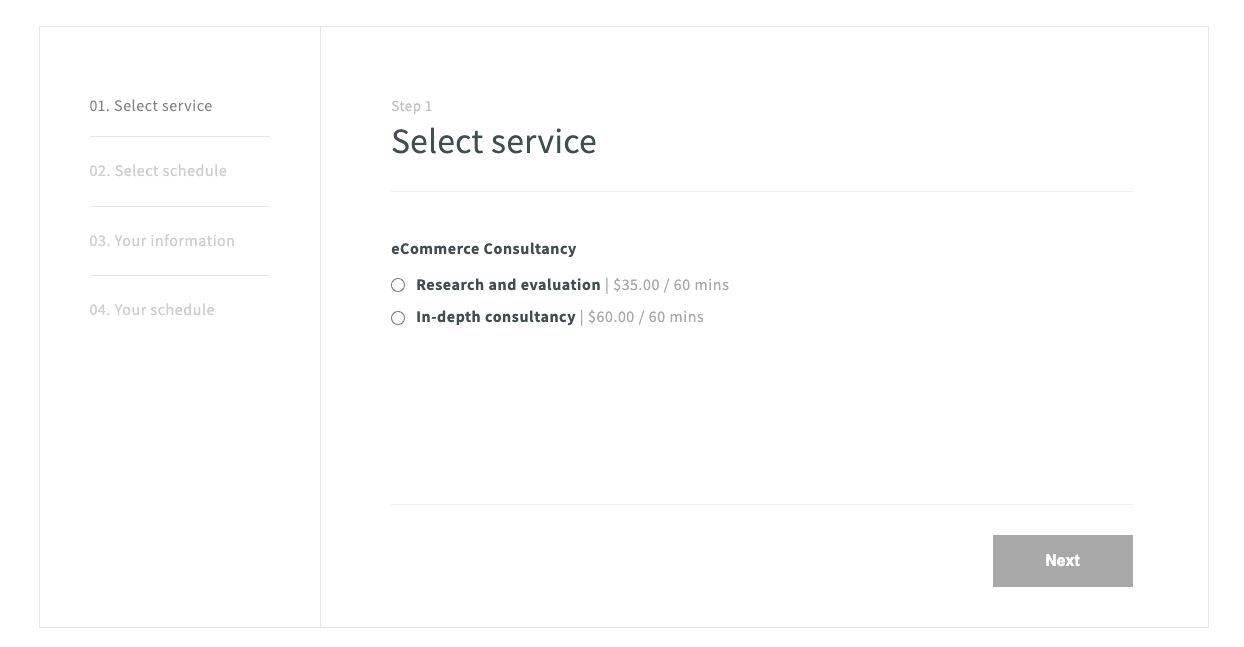
Now, you will be able to add XO Booking widget to the page of your Shopify store.
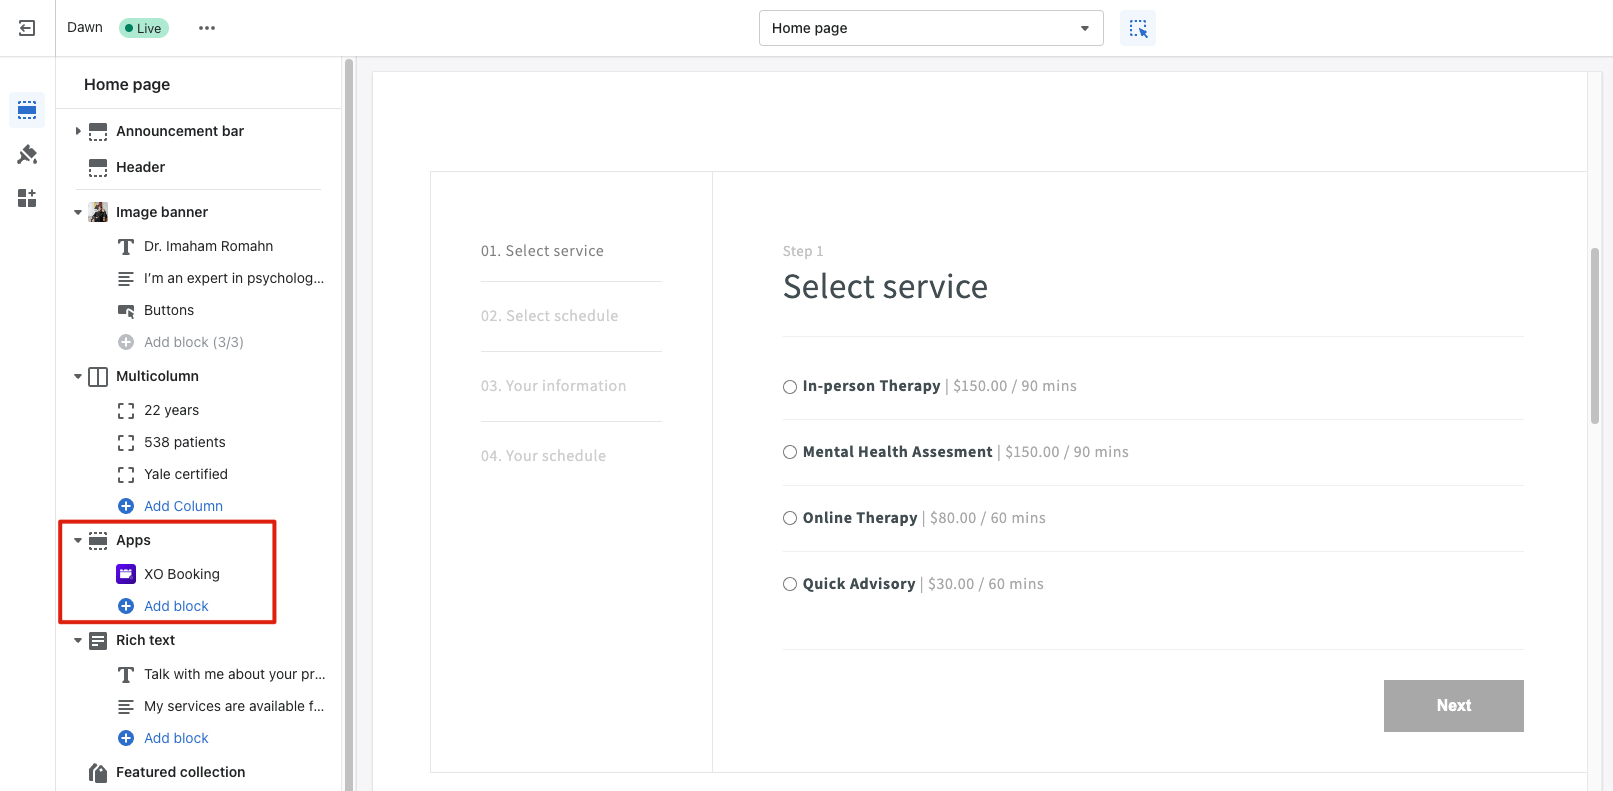
Then, you can see XO Booking on your storefront like this.