Forms
Introduction
Form is a tool to collect customer information through the XO Booking widget. When you set this up, you have 10 fields to add and edit that match various type of data.
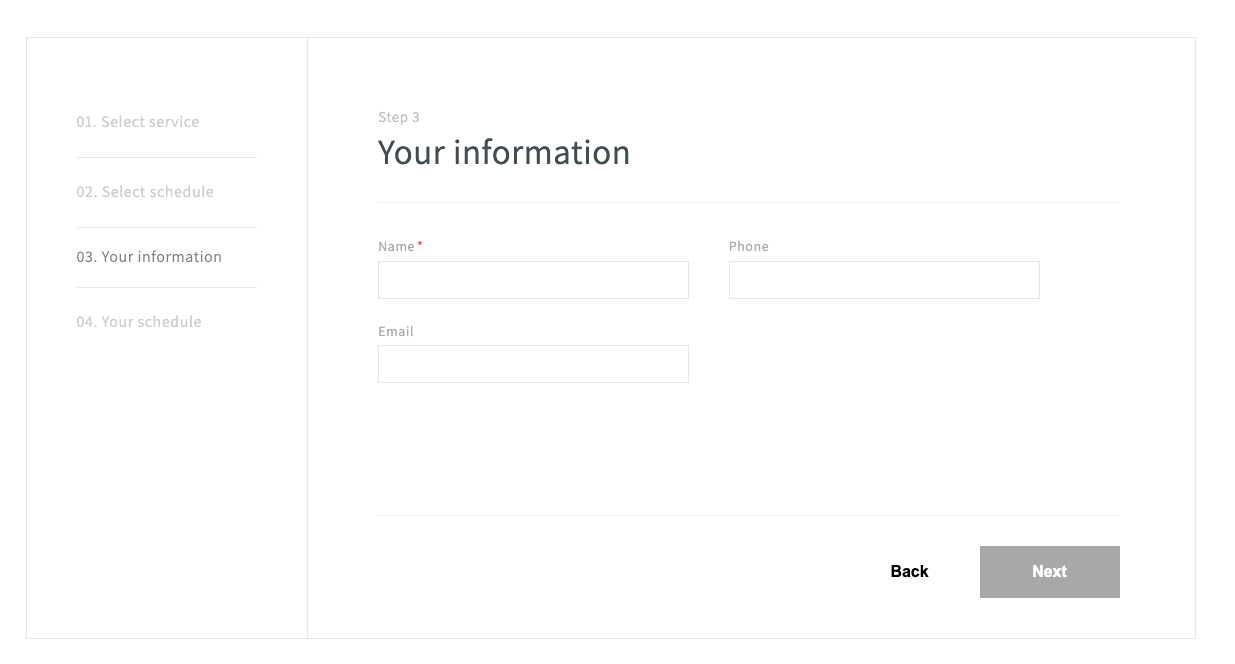
On the storefront, a form appears at the step 3 of booking an appointment and looks like this:
Create a new form
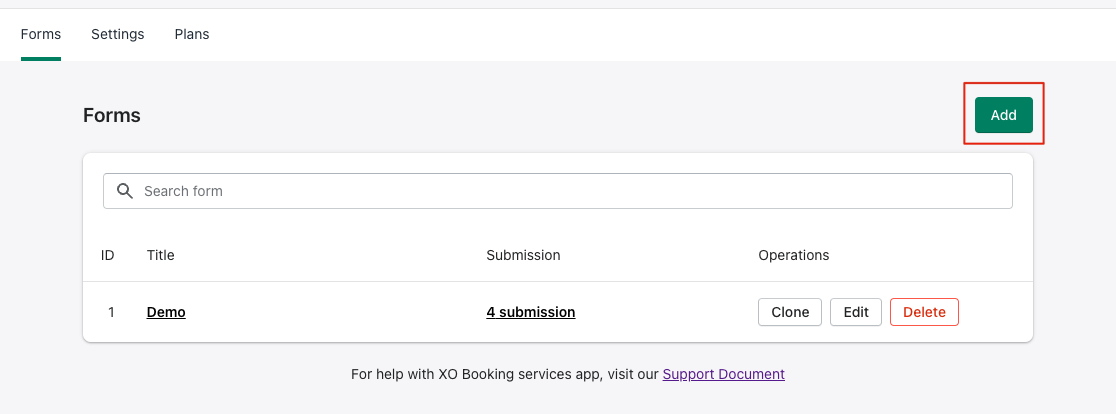
1. From Forms, click on the Add button:
2. Write in the Title of your form, you can select to display this or not.

3. Click on Add Fields then add the field you want into the form.
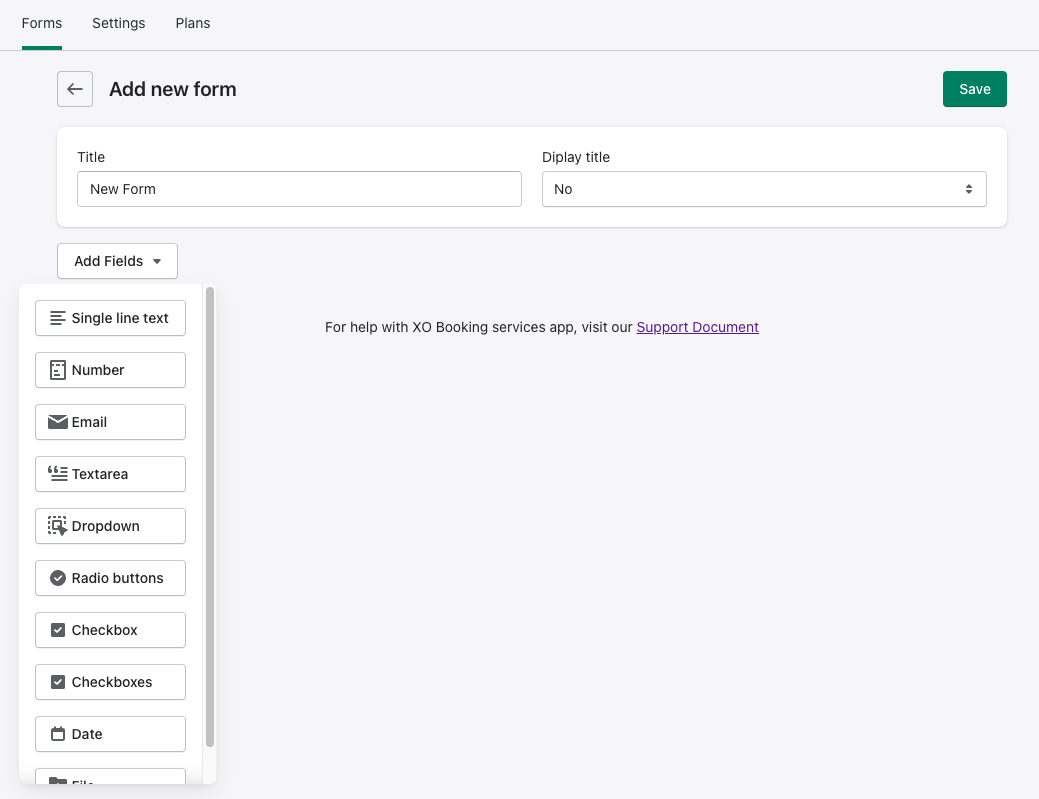
Then click the Save button to save your form
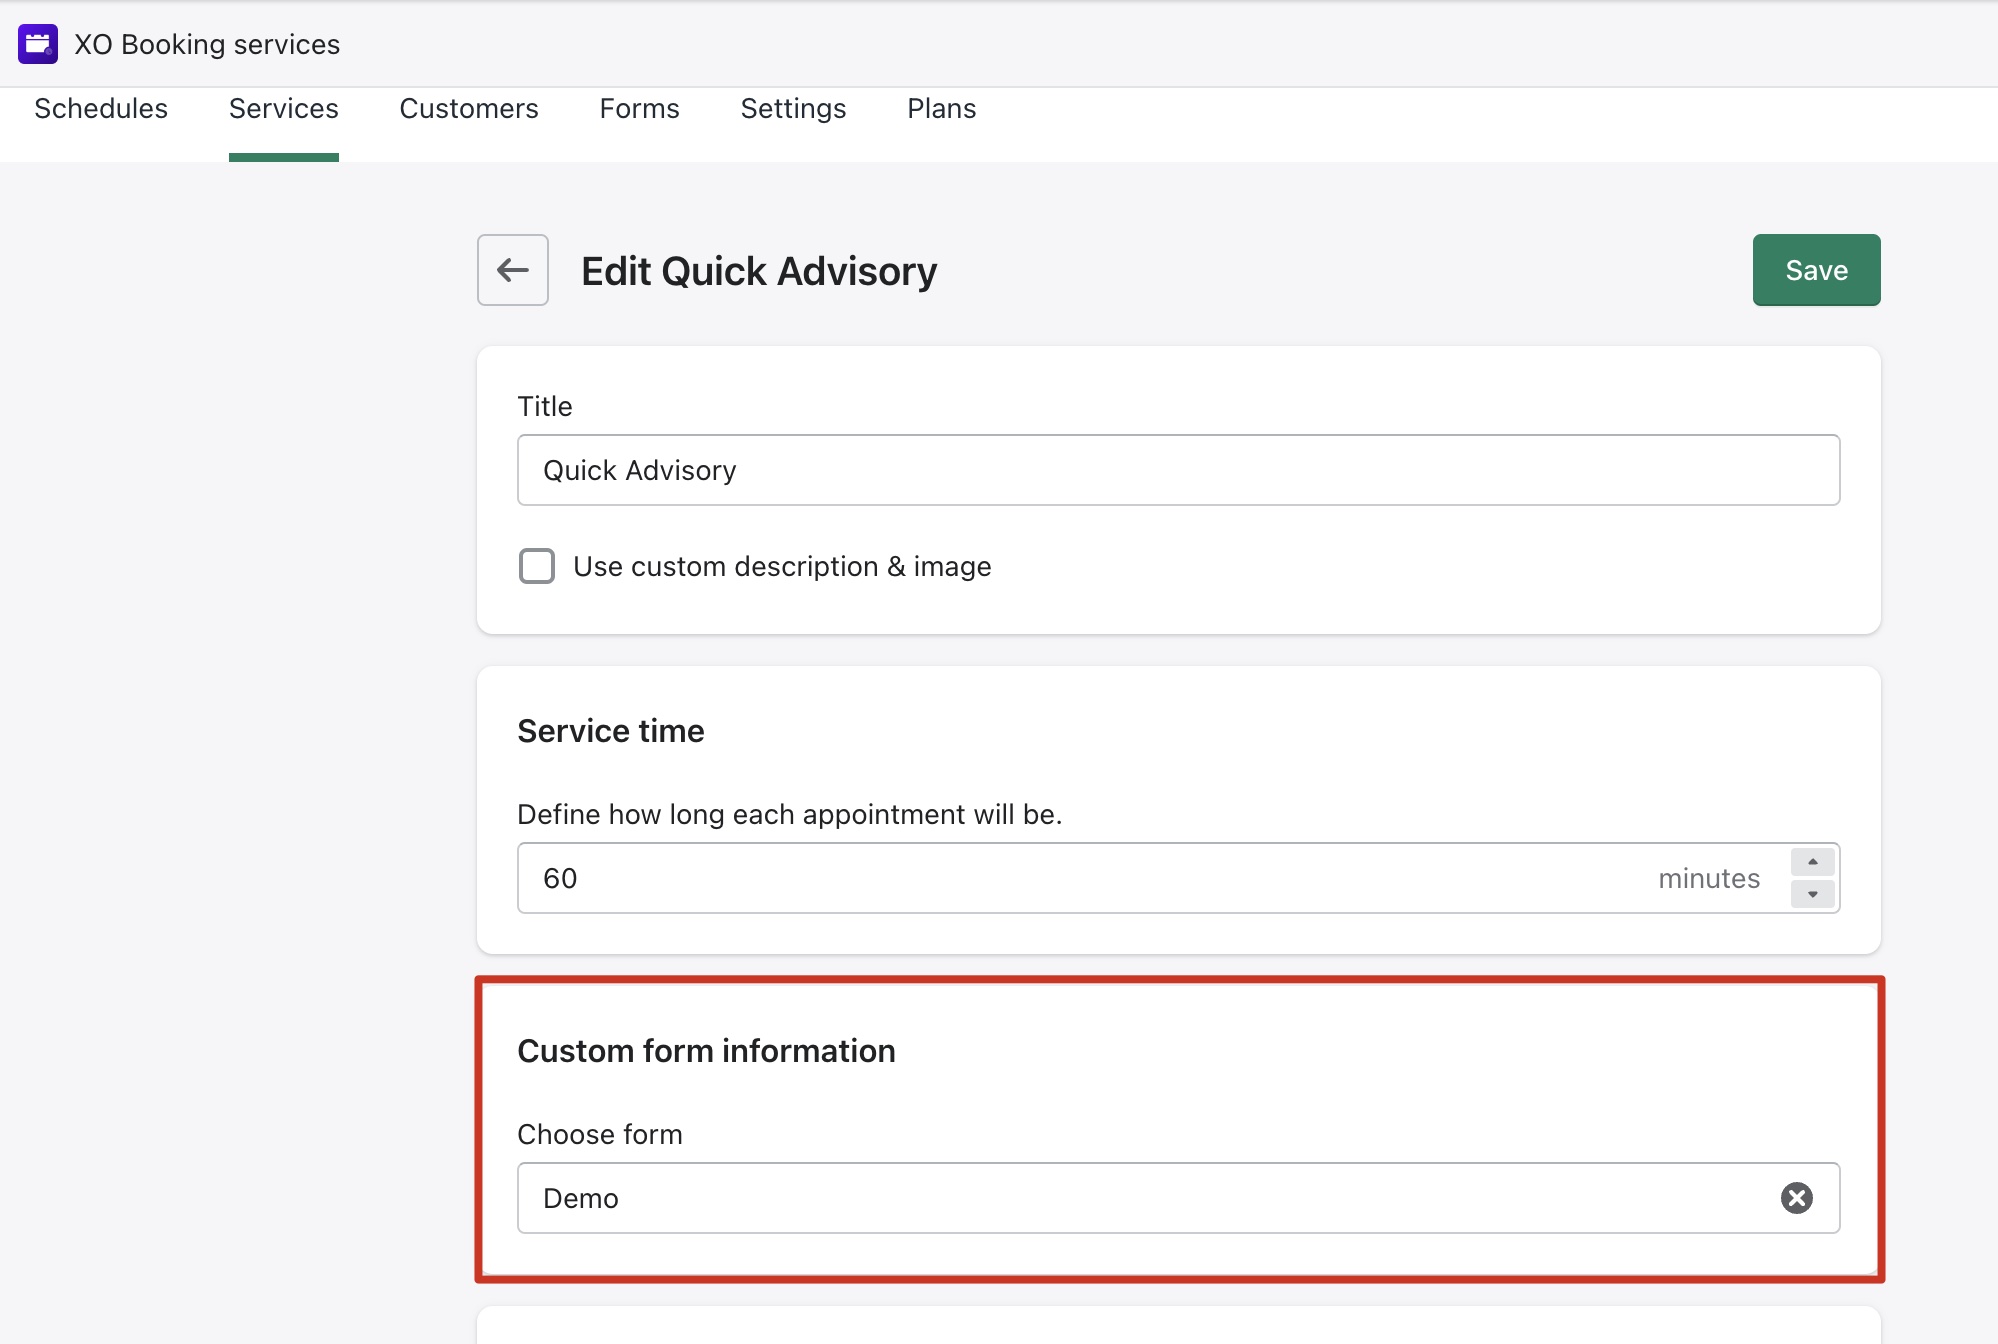
4. Then, select any service in the Services tab and choose the custom form for the service.
Form fields
XO Booking comes with a powerful form creator, in which you can add and edit multiple fields to make sure you can recieve all necessary information fron your customers.
You can customize the name of any field, and set it as Required or Hidden in the General.
Here are the form fields and how to use them:
1. Single line text
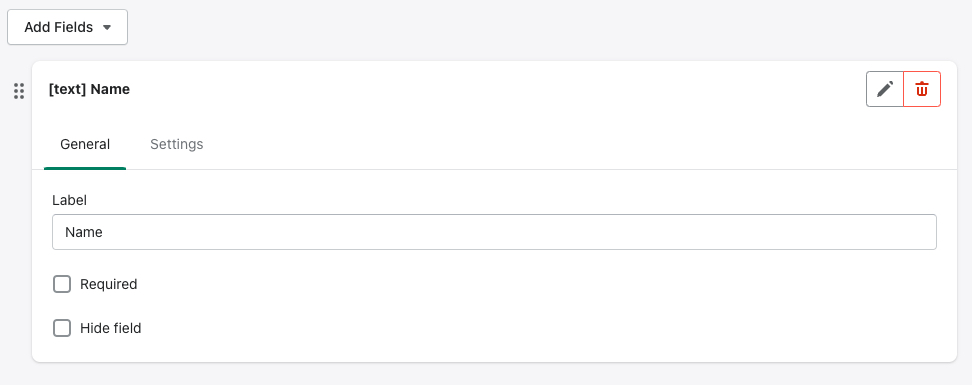
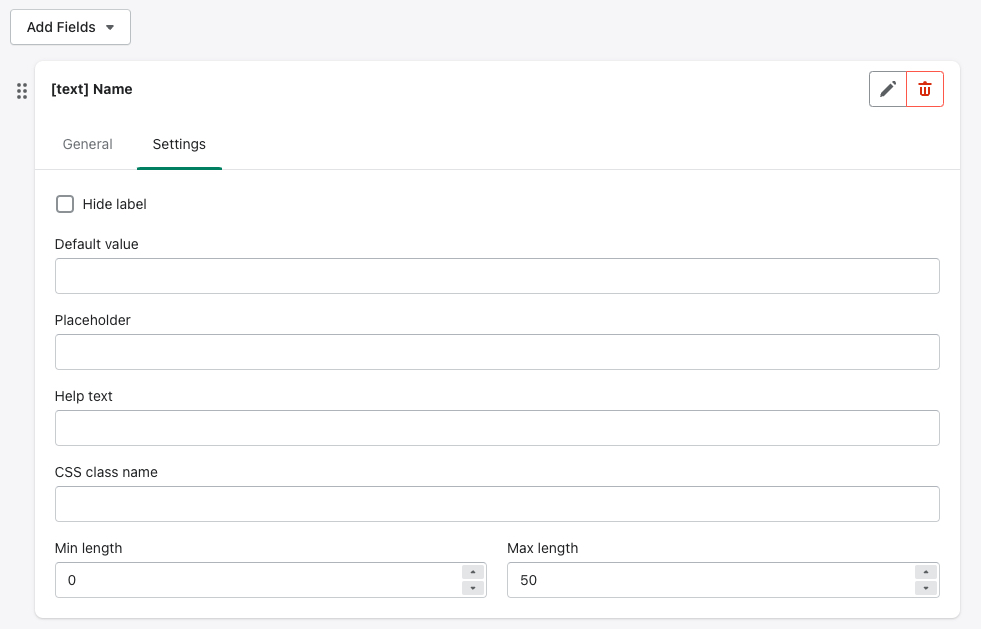
Users are able to write one line of text into this field, which is suitable for name.
2. Number
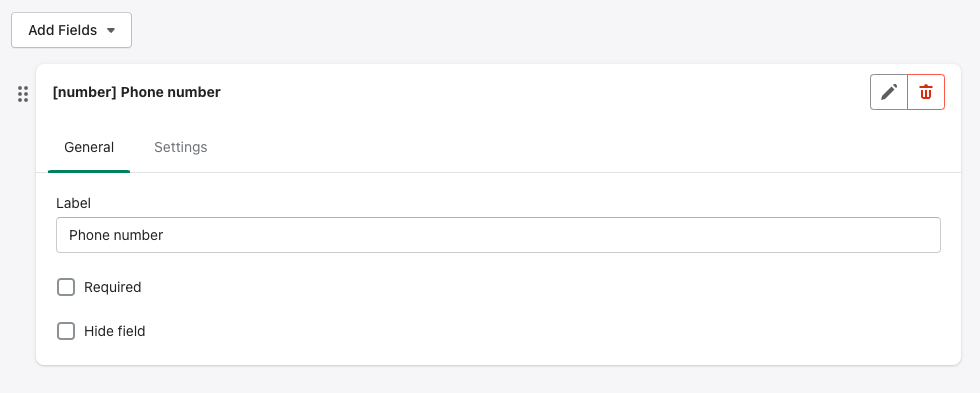
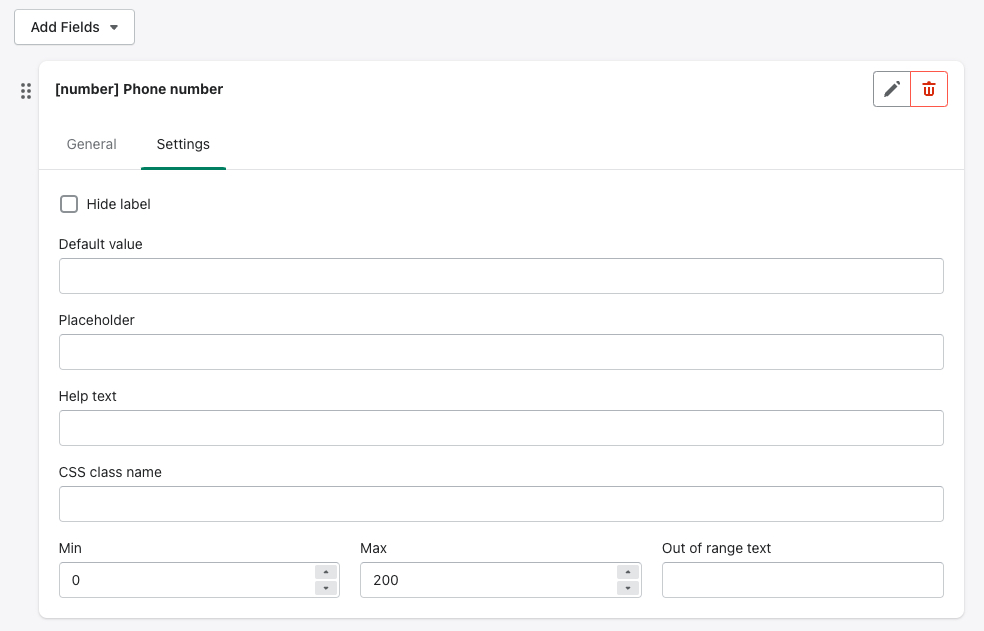
Users are able to write only numbers into this field, suitable for phone numbers.
3. Email
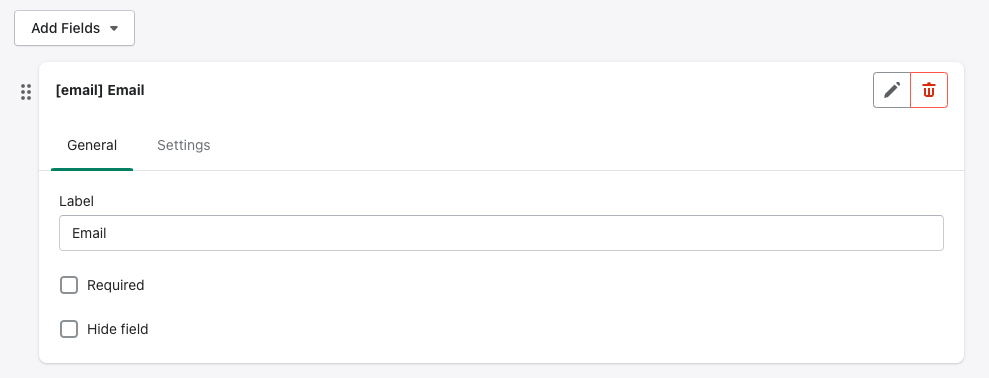
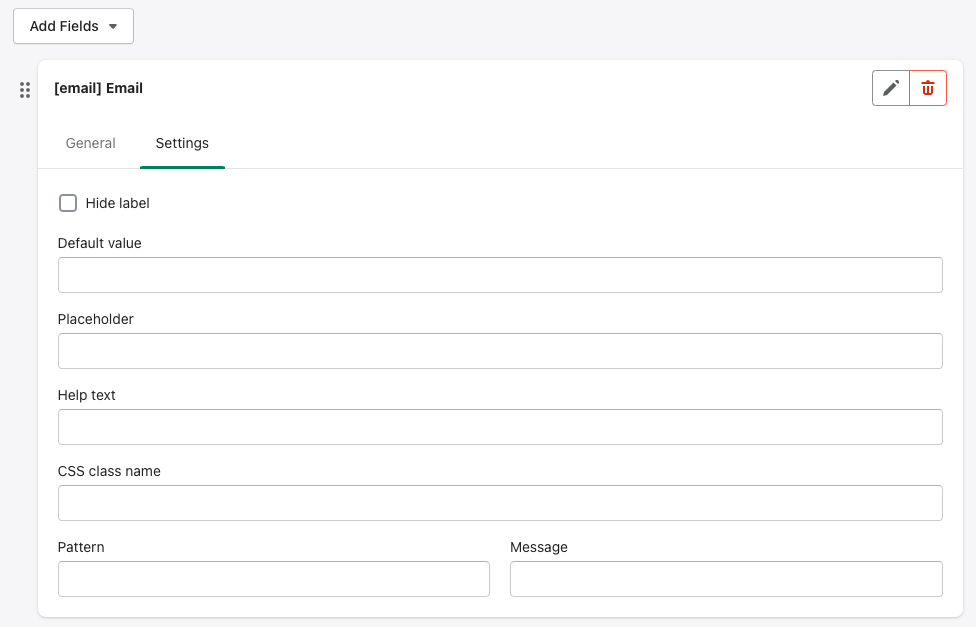
Users can only write email into this field, which contain @ and an email address.
4. Text area
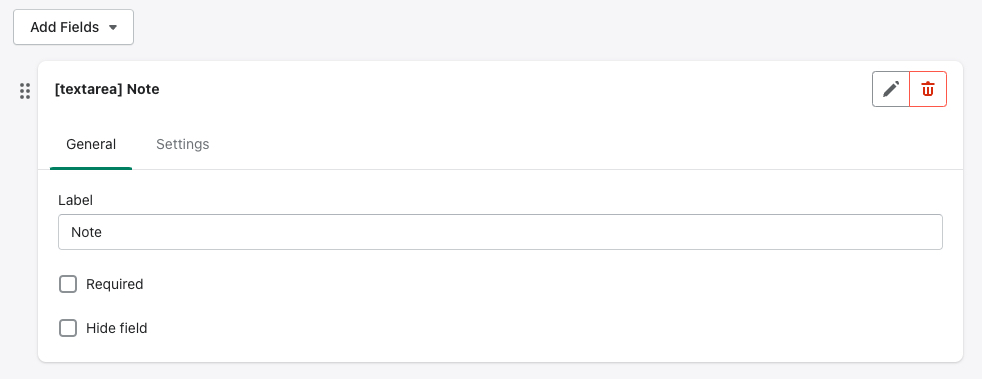
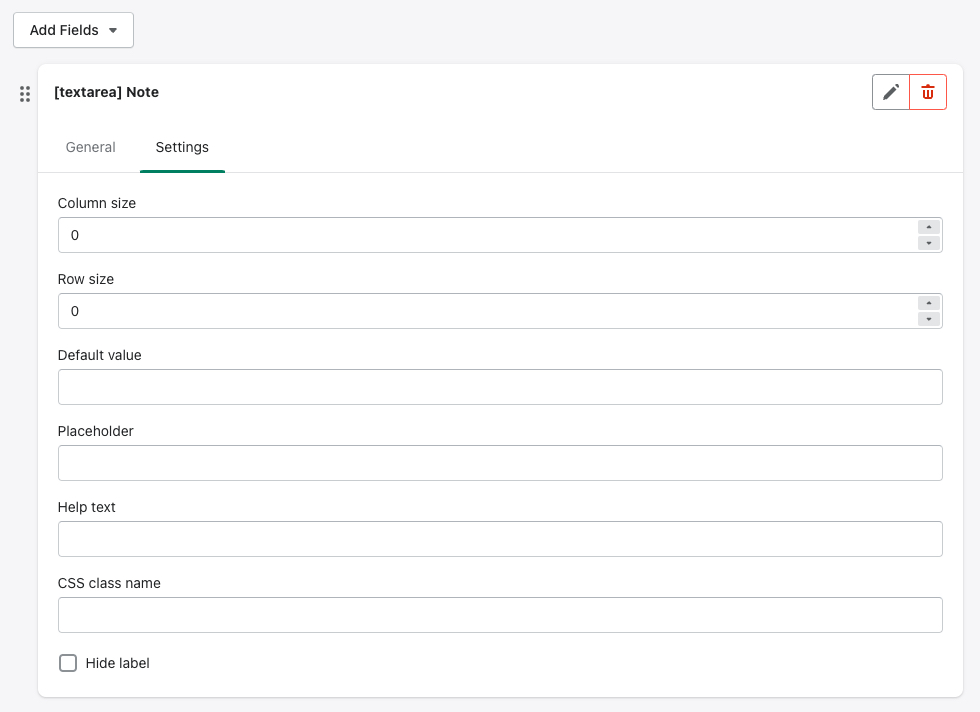
Users can write multiple lines of text content into this field, which is suitable for when they want to write a note.
5. Dropdown
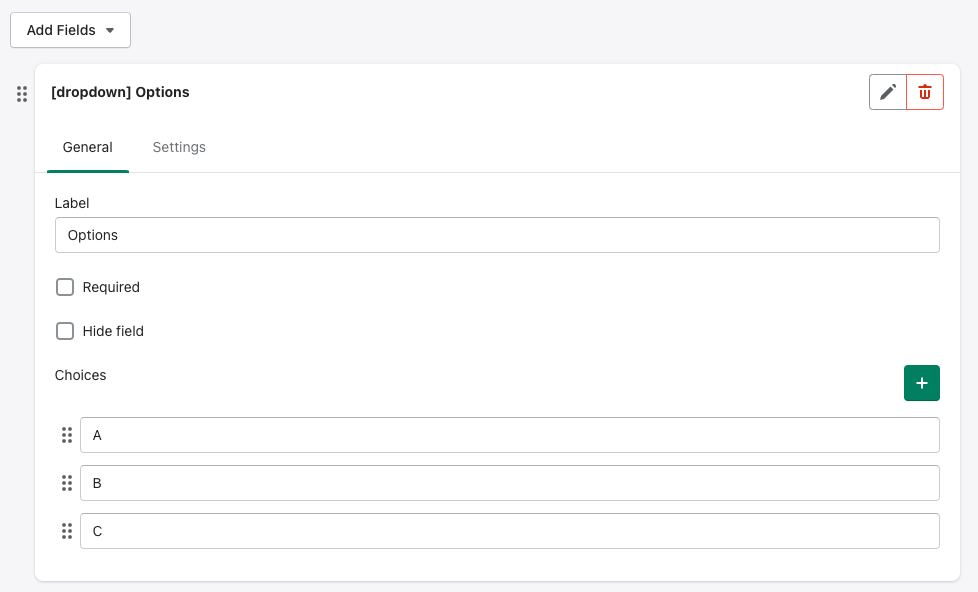
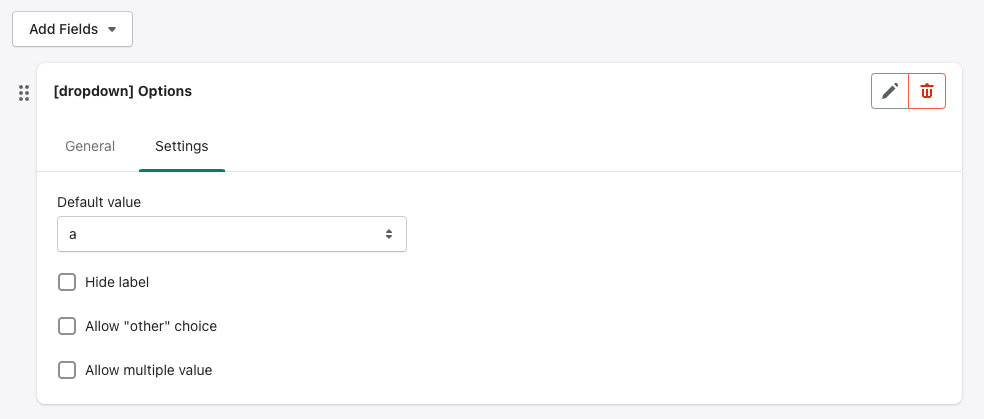
Users can select one or more choices from the dropdown.
You can customize the name of the options and decide that users can select multiple options or not.
6. Radio buttons
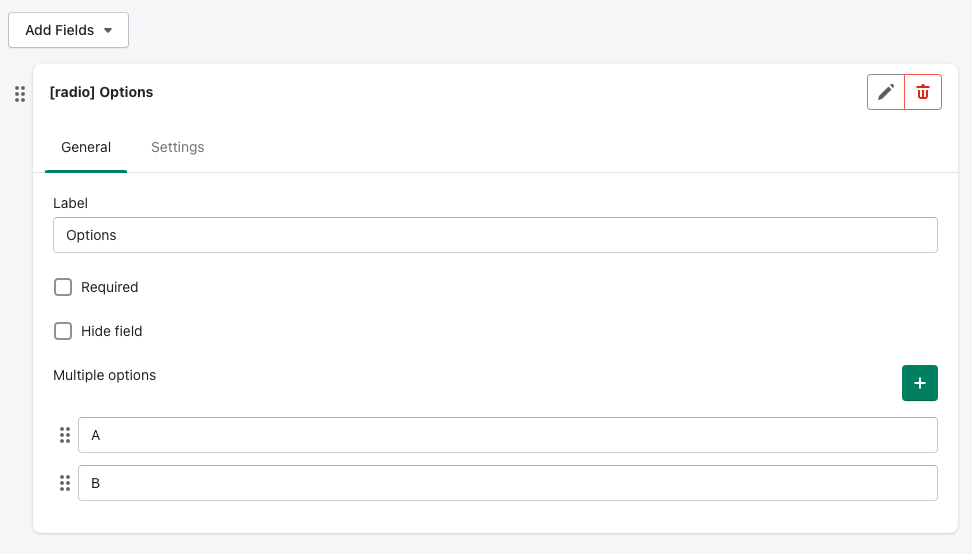
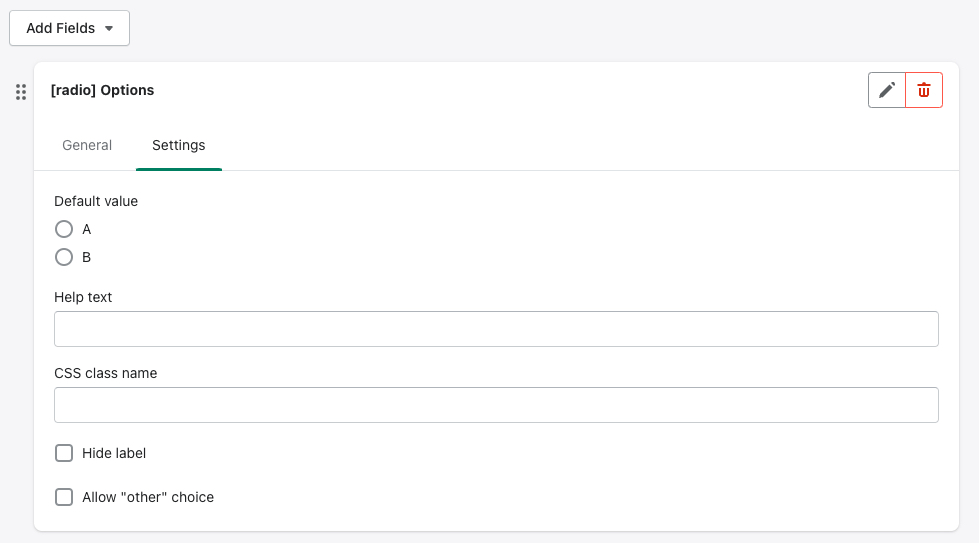
Users can select only one choice from the options avaialbale.
7. Checkbox
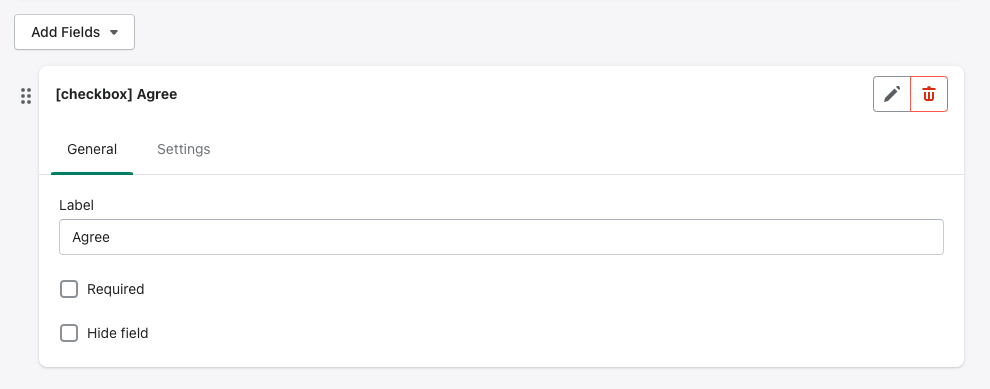
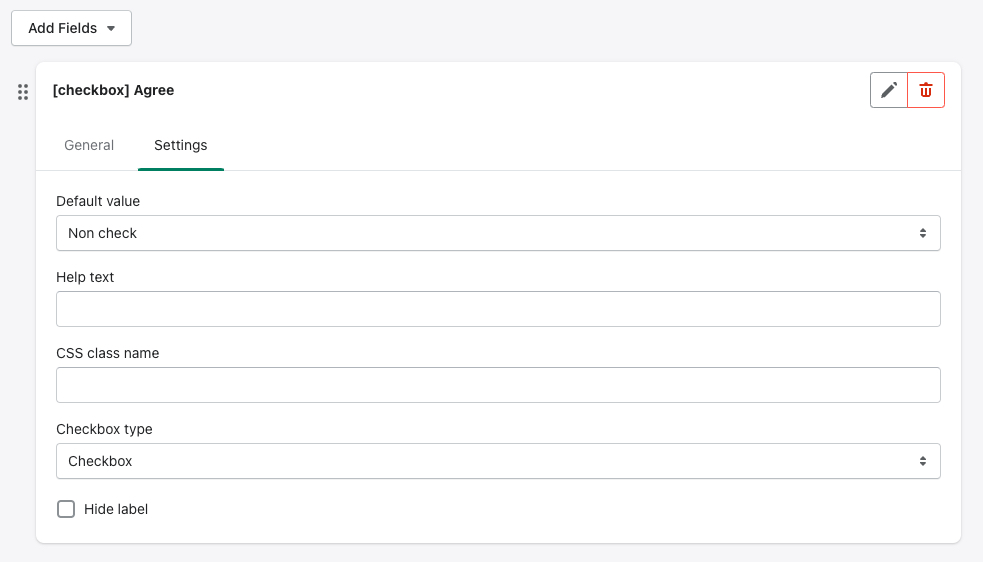
Users can check/uncheck the option as their answer.
8. Checkboxes

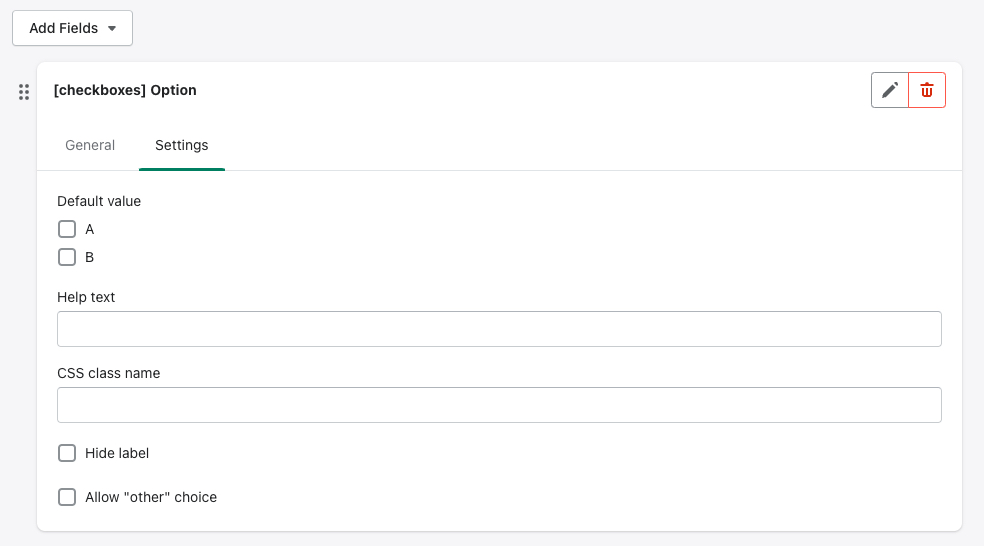
Users can check/uncheck multiple options as their answer.
9. Date
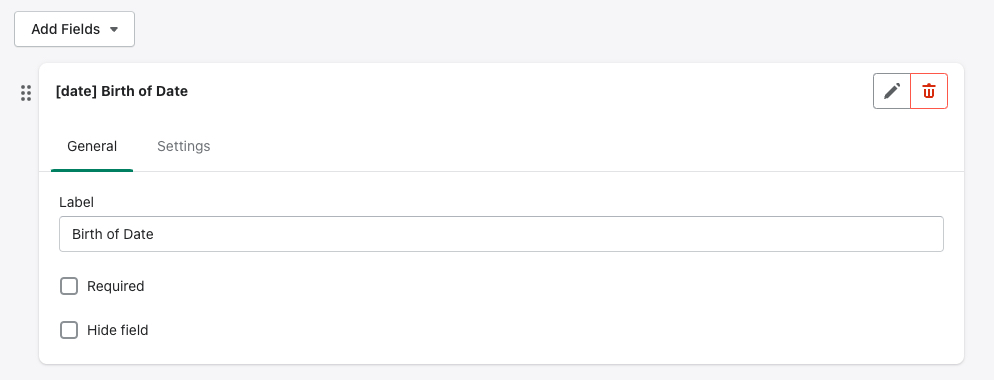
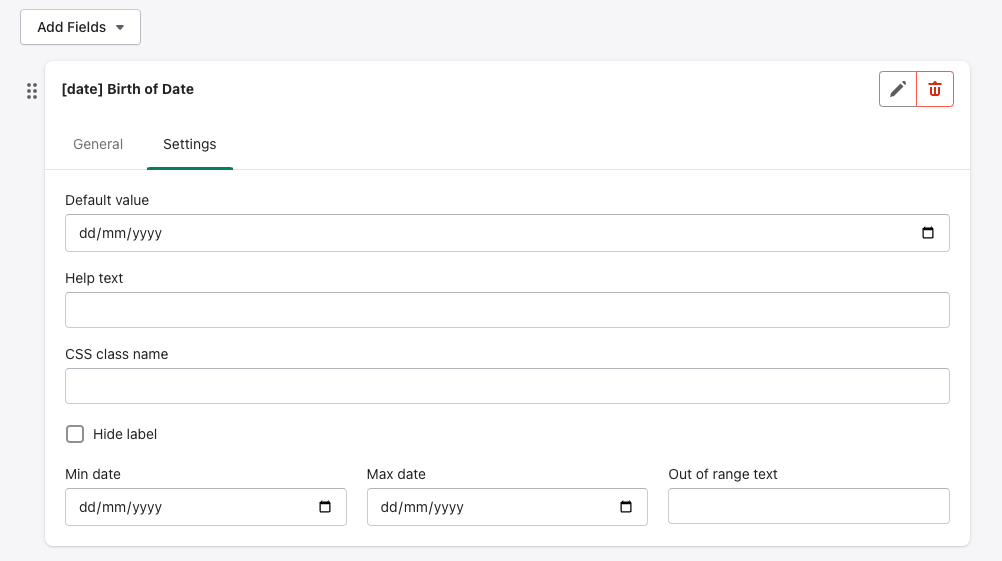
Users can choose a date through the widget.
10. File
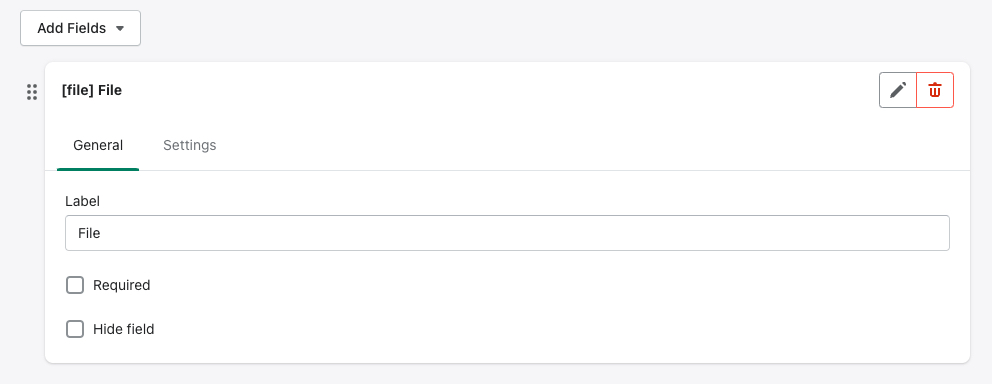
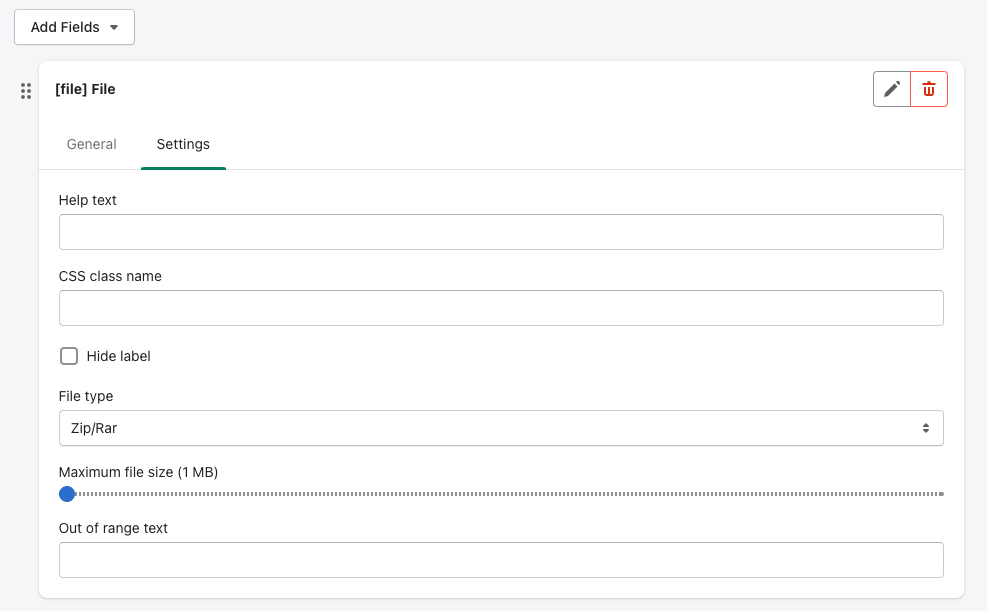
Users can upload a file through the widget and you can view them in the admin.
The available file types are:
- Image (PNG, IMG)
- Zip/Rar
The file size is from 1 MB to 20 MB
Form submissions
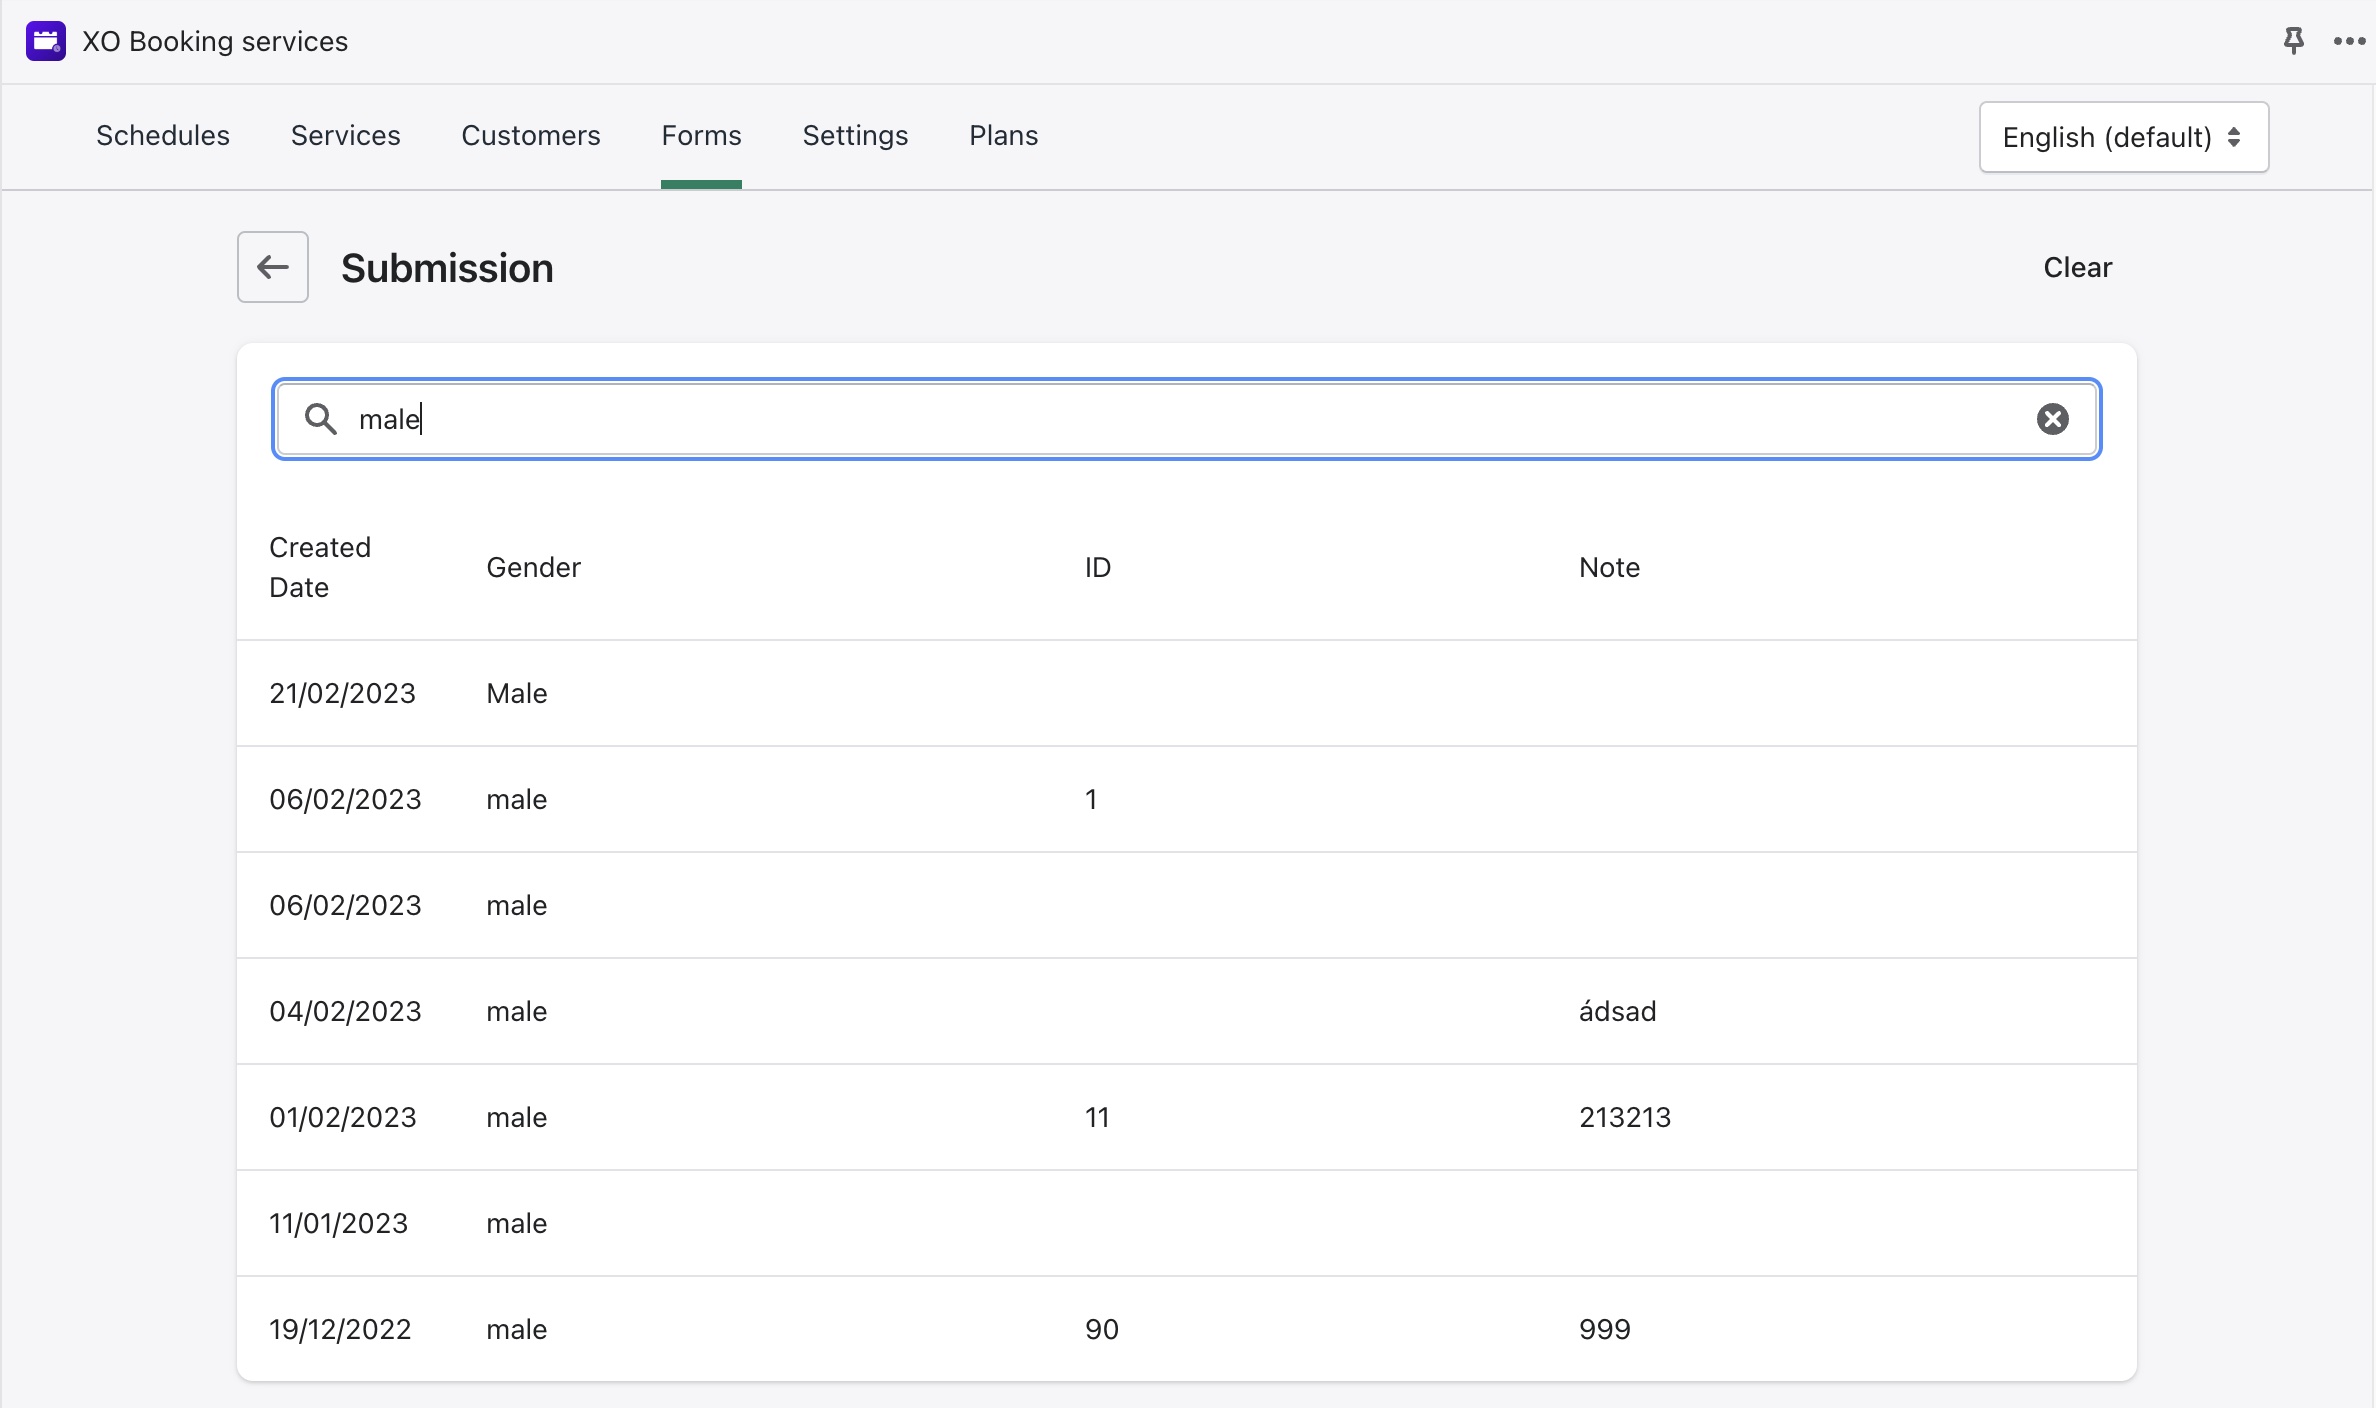
When customers fill out the form, you can view the data they submitted through the Submissions of each form, as highlighted in the image below.
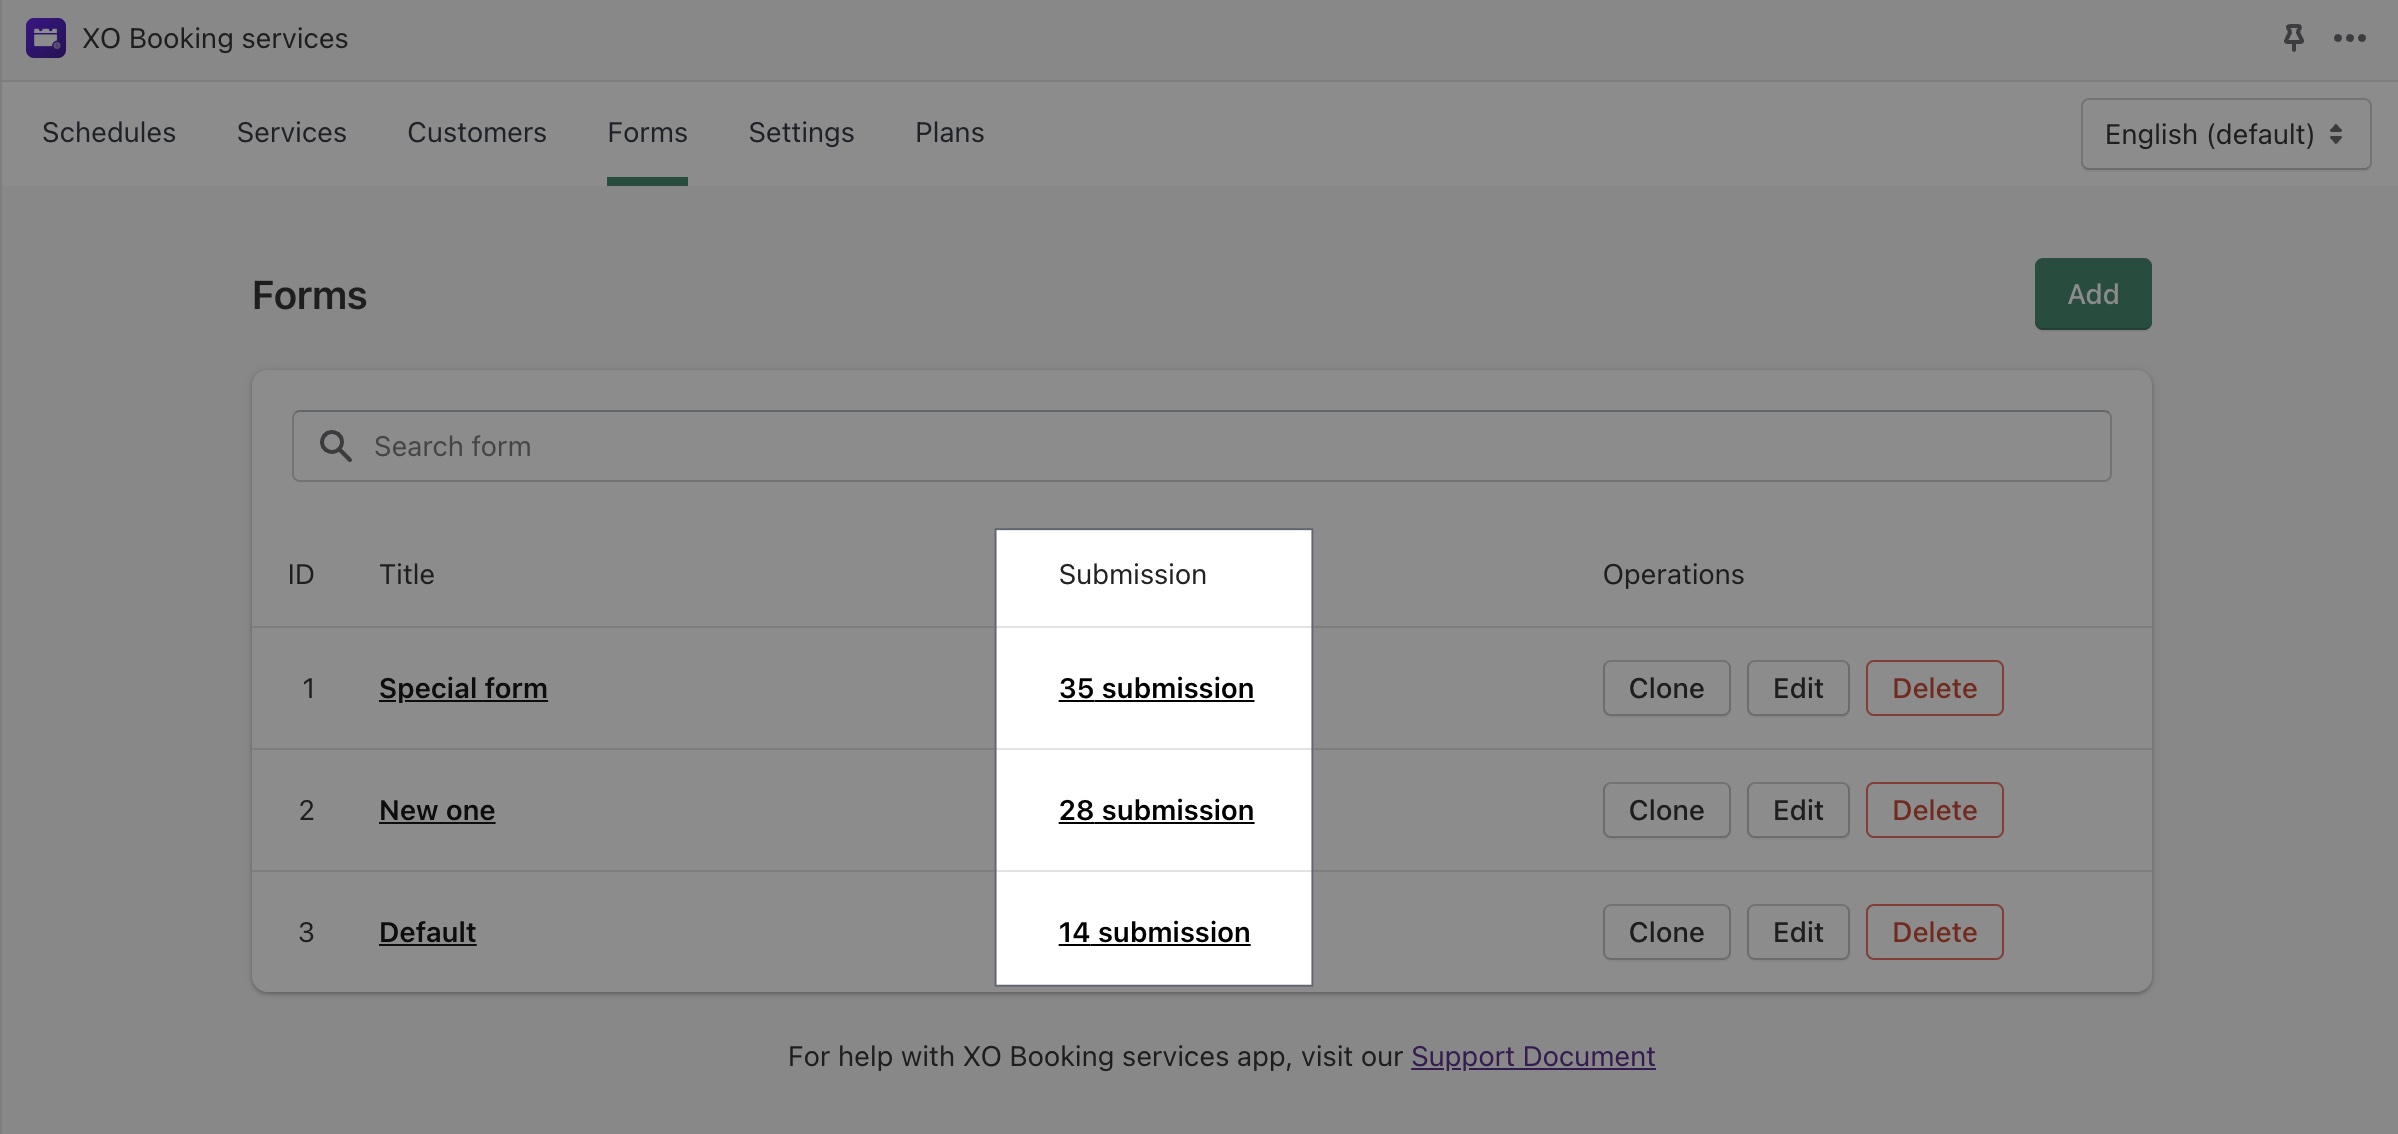
Click on any submission to view all the data inside the form.
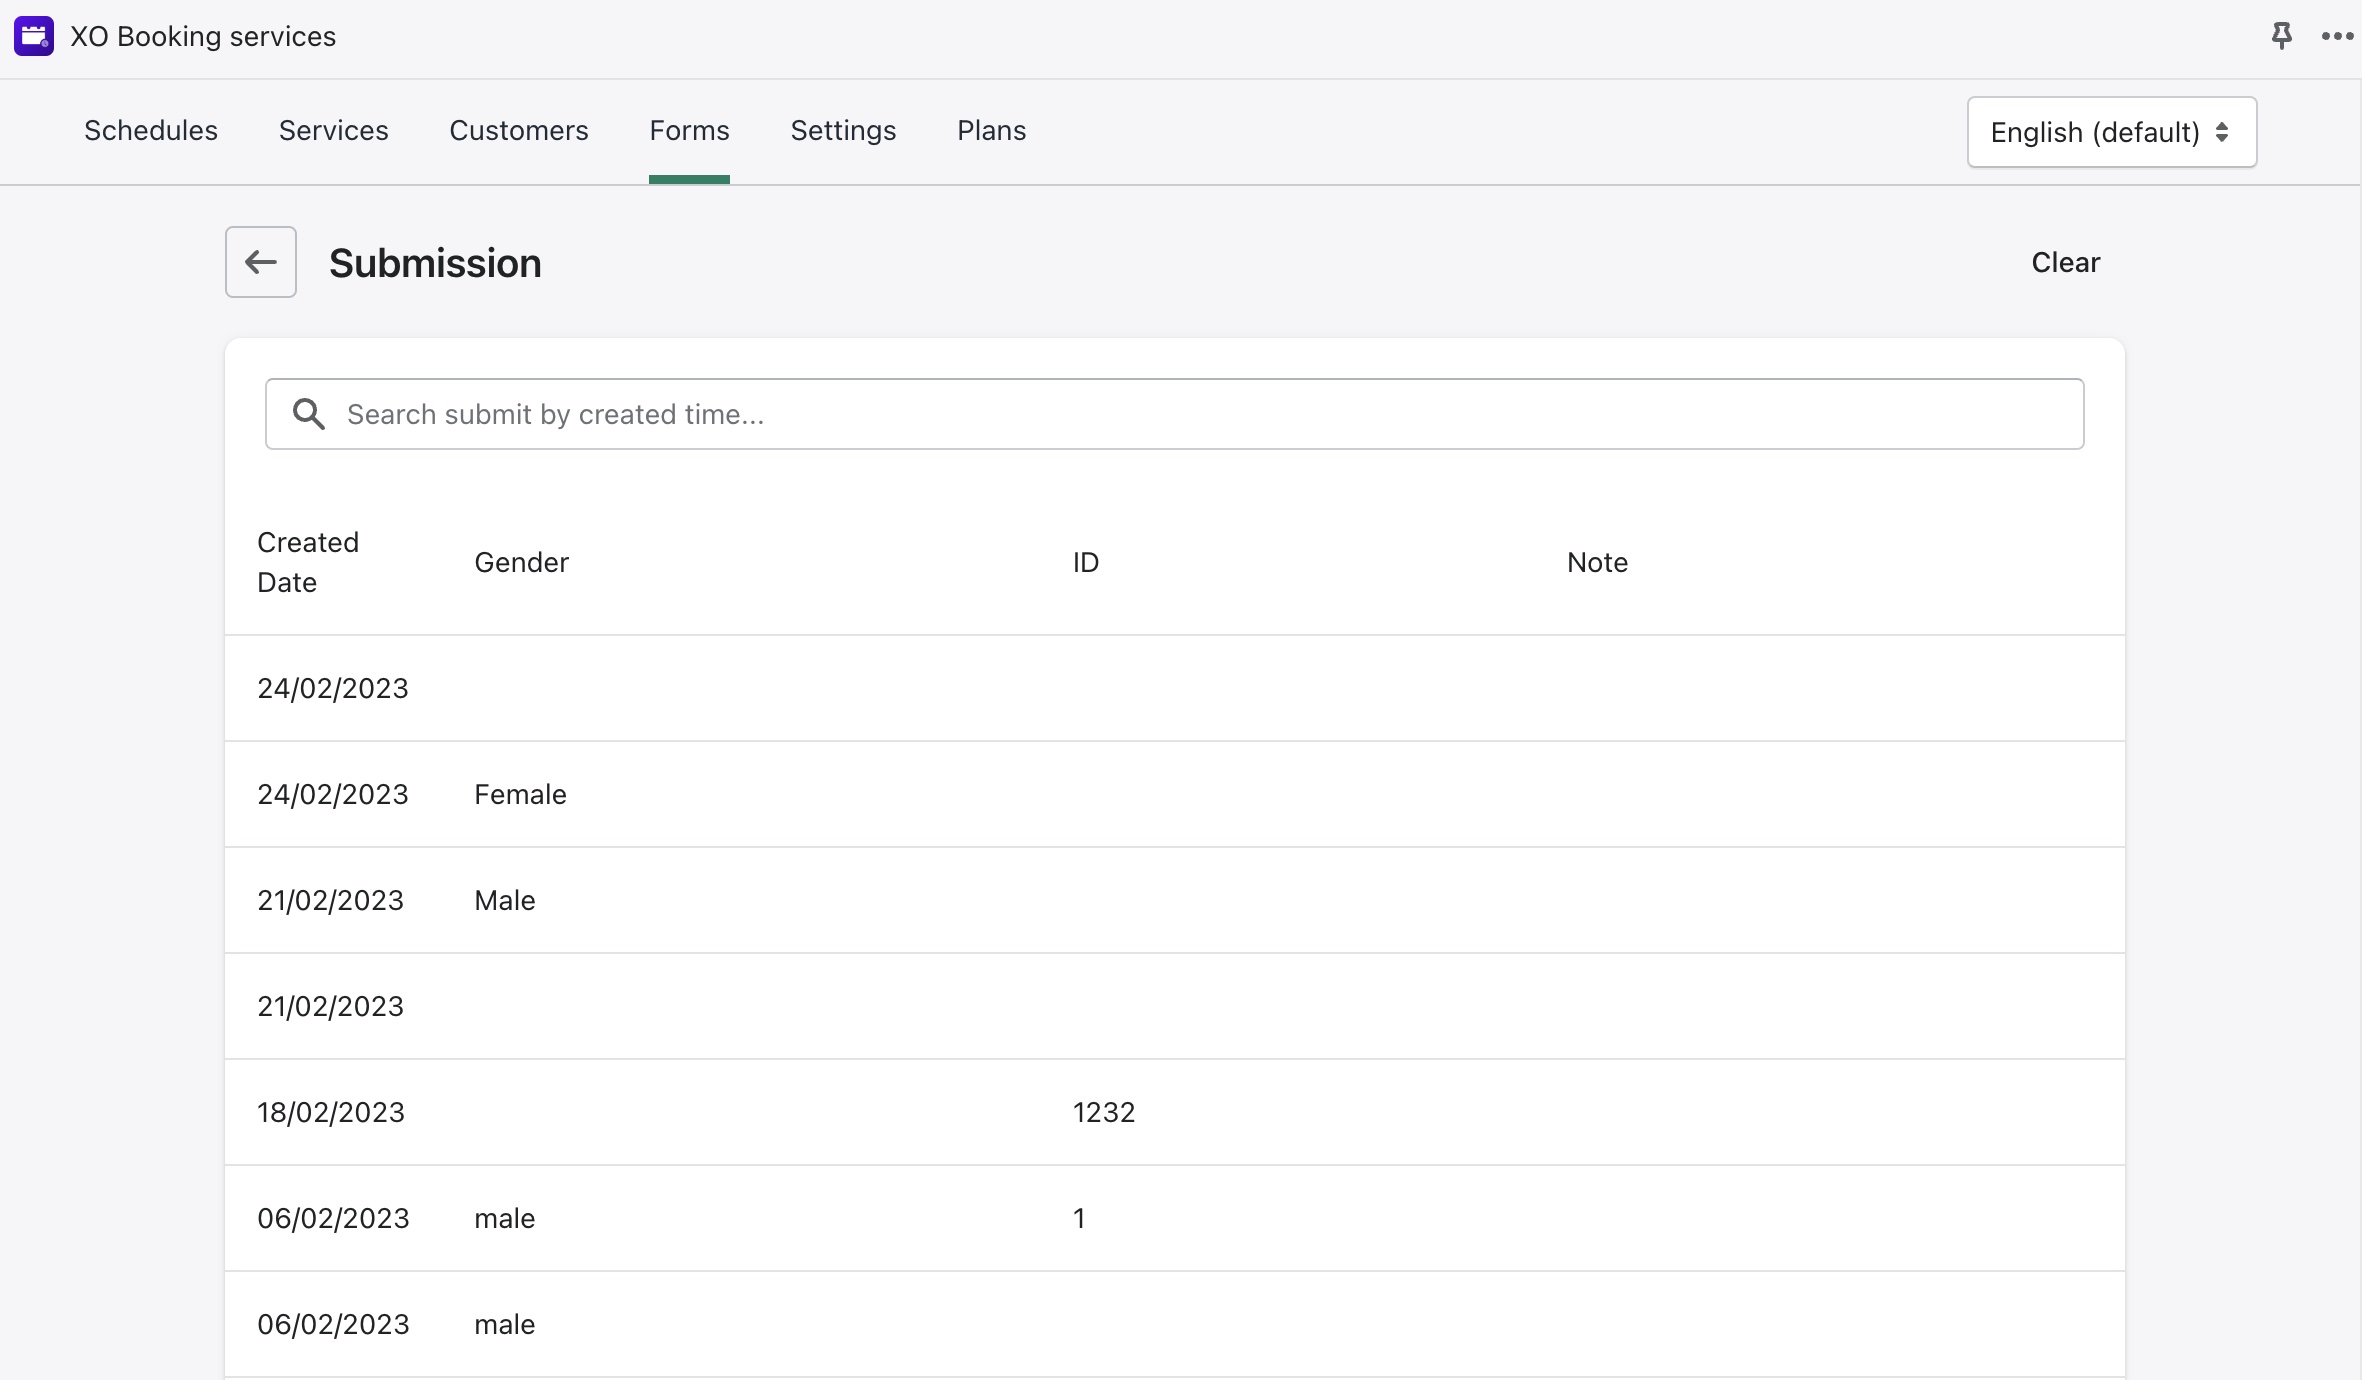
You can also use the search box to find the relevant information. Save you time and effort in finding the information you need quickly and efficiently
Type in the keyword you want to search for. This could be the name of a customer, the appointment date or any other detail you are looking for. As you type, the search box will start showing relevant results in real-time.