Create stories
Create a new story
To create a story, click on the New story button on the homepage or on the Stories page. Then follow these next steps.
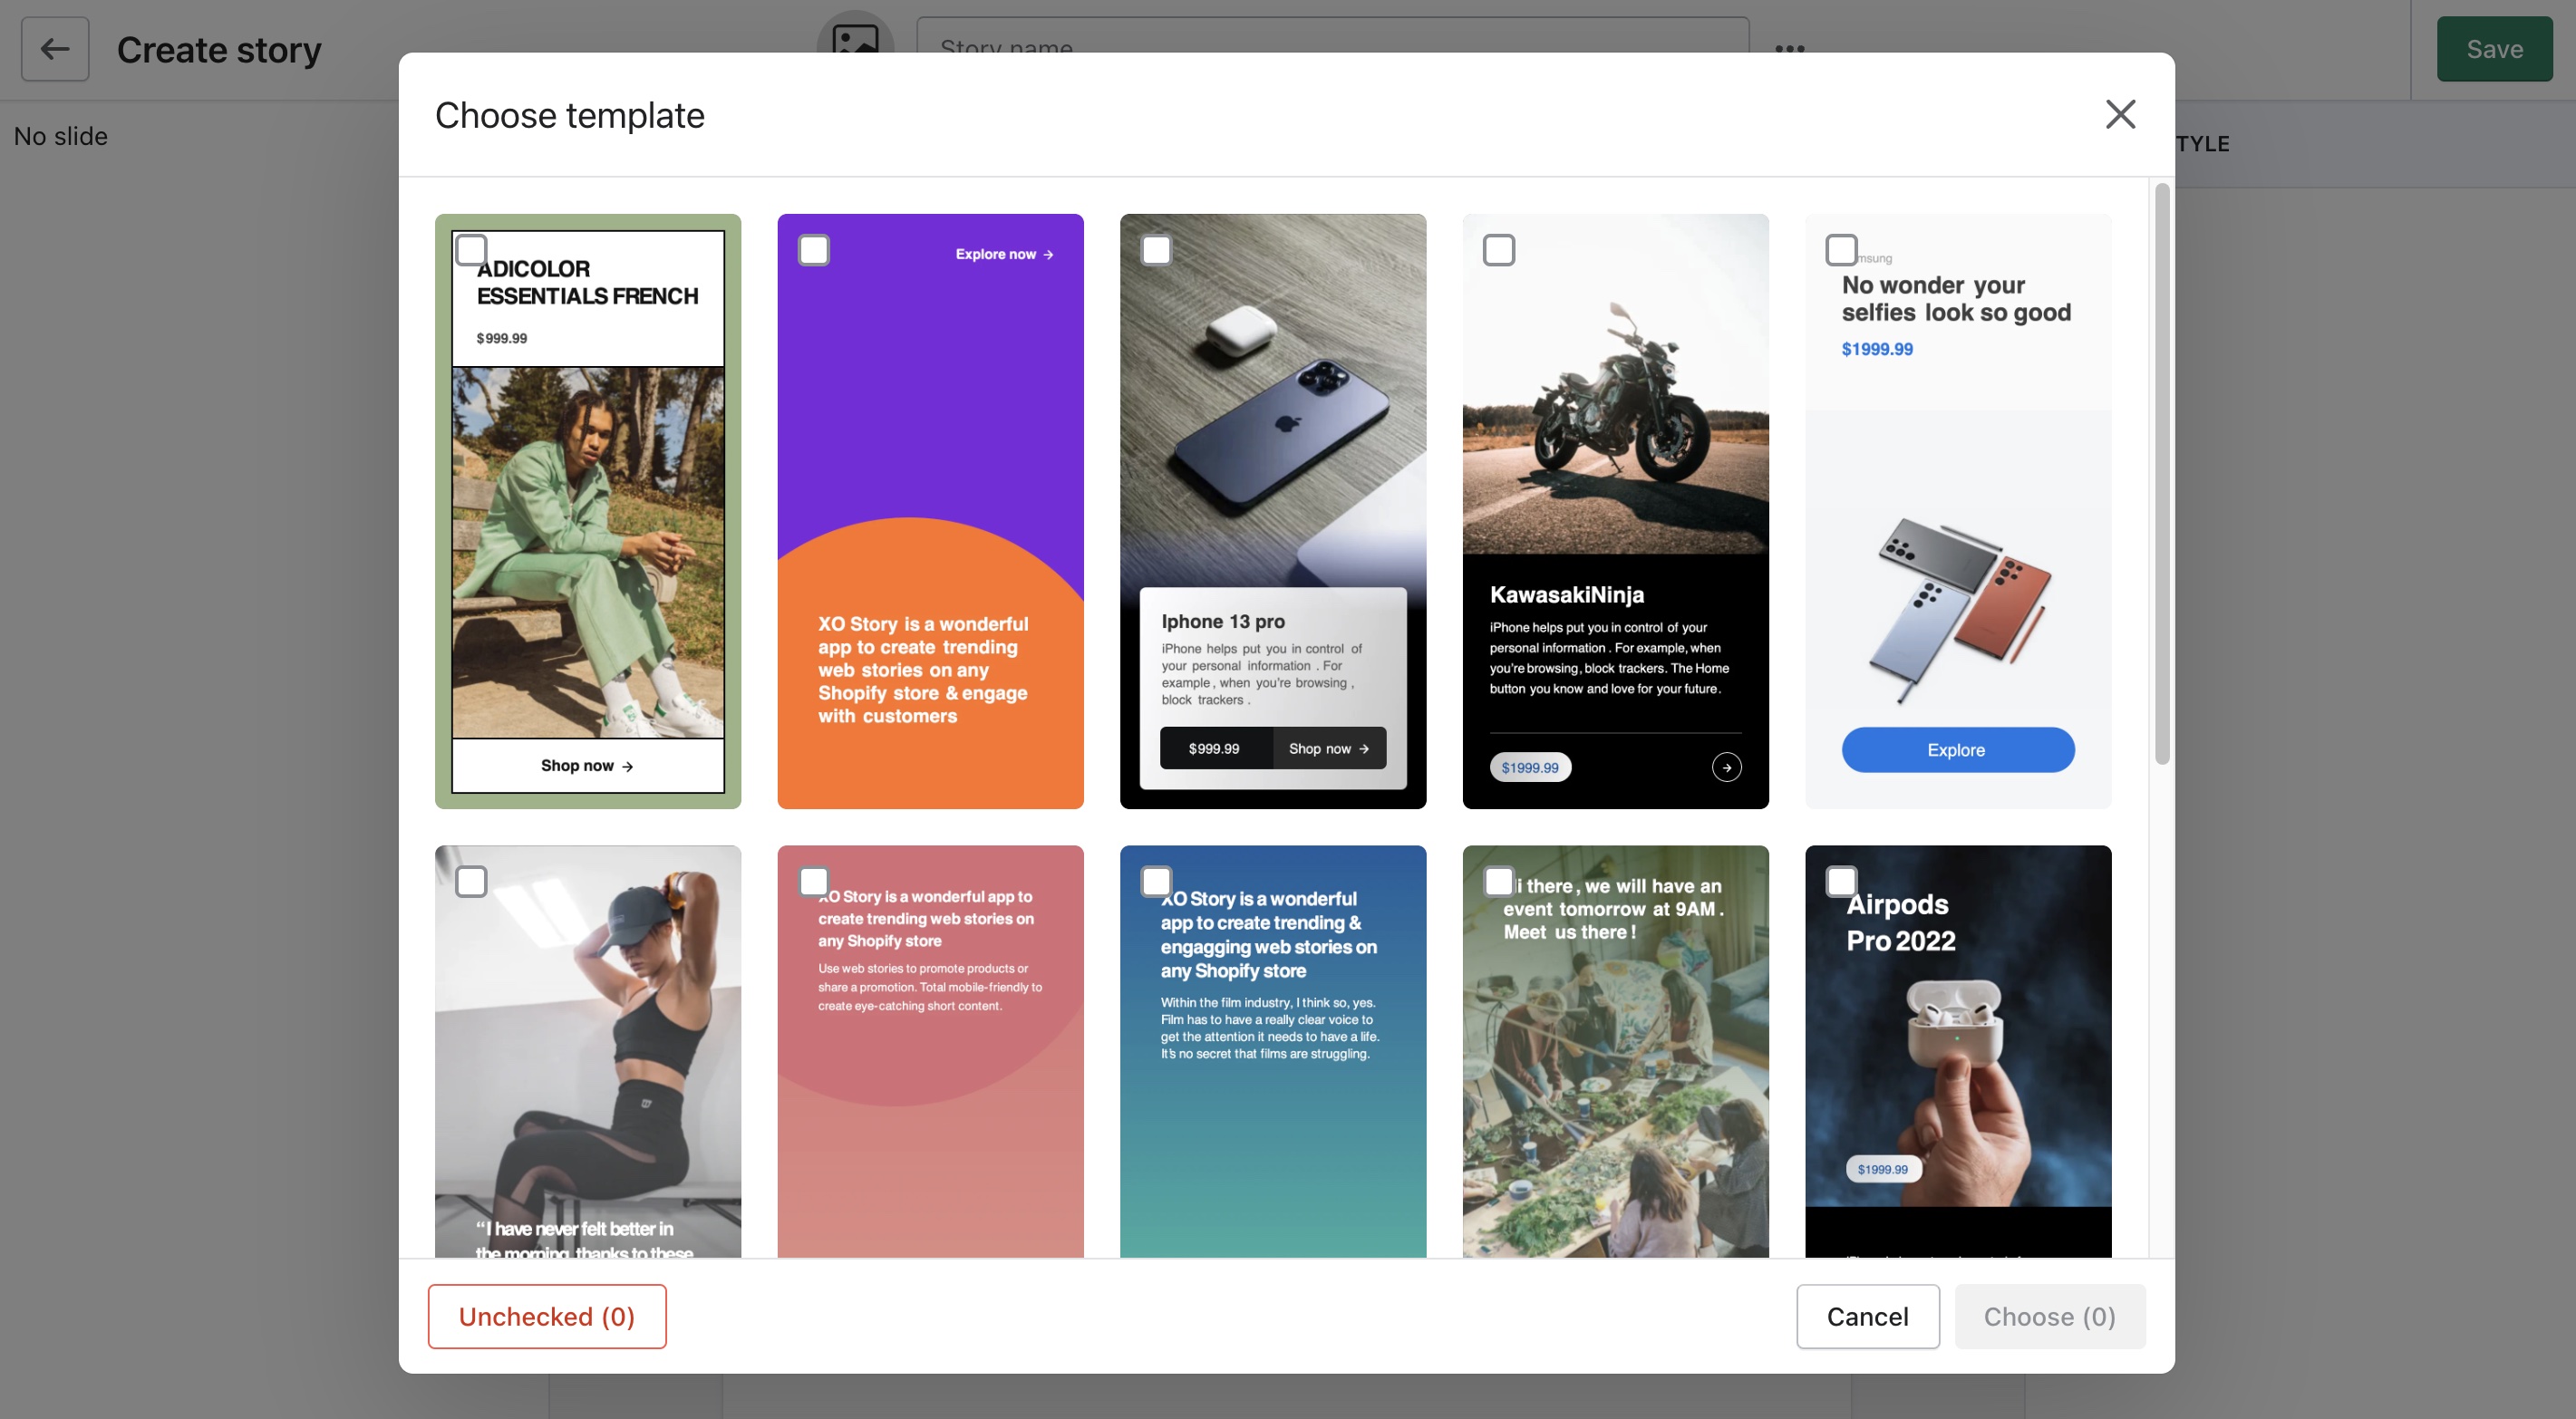
1. Choose a template.
XO Story feeds has templates for four many purposes - sharing products, sharing promotion, sharing blog, or sharing a story. Choose a slide to add into your story.
You can select many slides and see the number of slides to insert in the Choose button. You can also Uncheck to unselect all the slides you selected.
2. Edit the template
Inside the editor, edit different elements such as Heading & Price, Thumbnail, Button, and Background
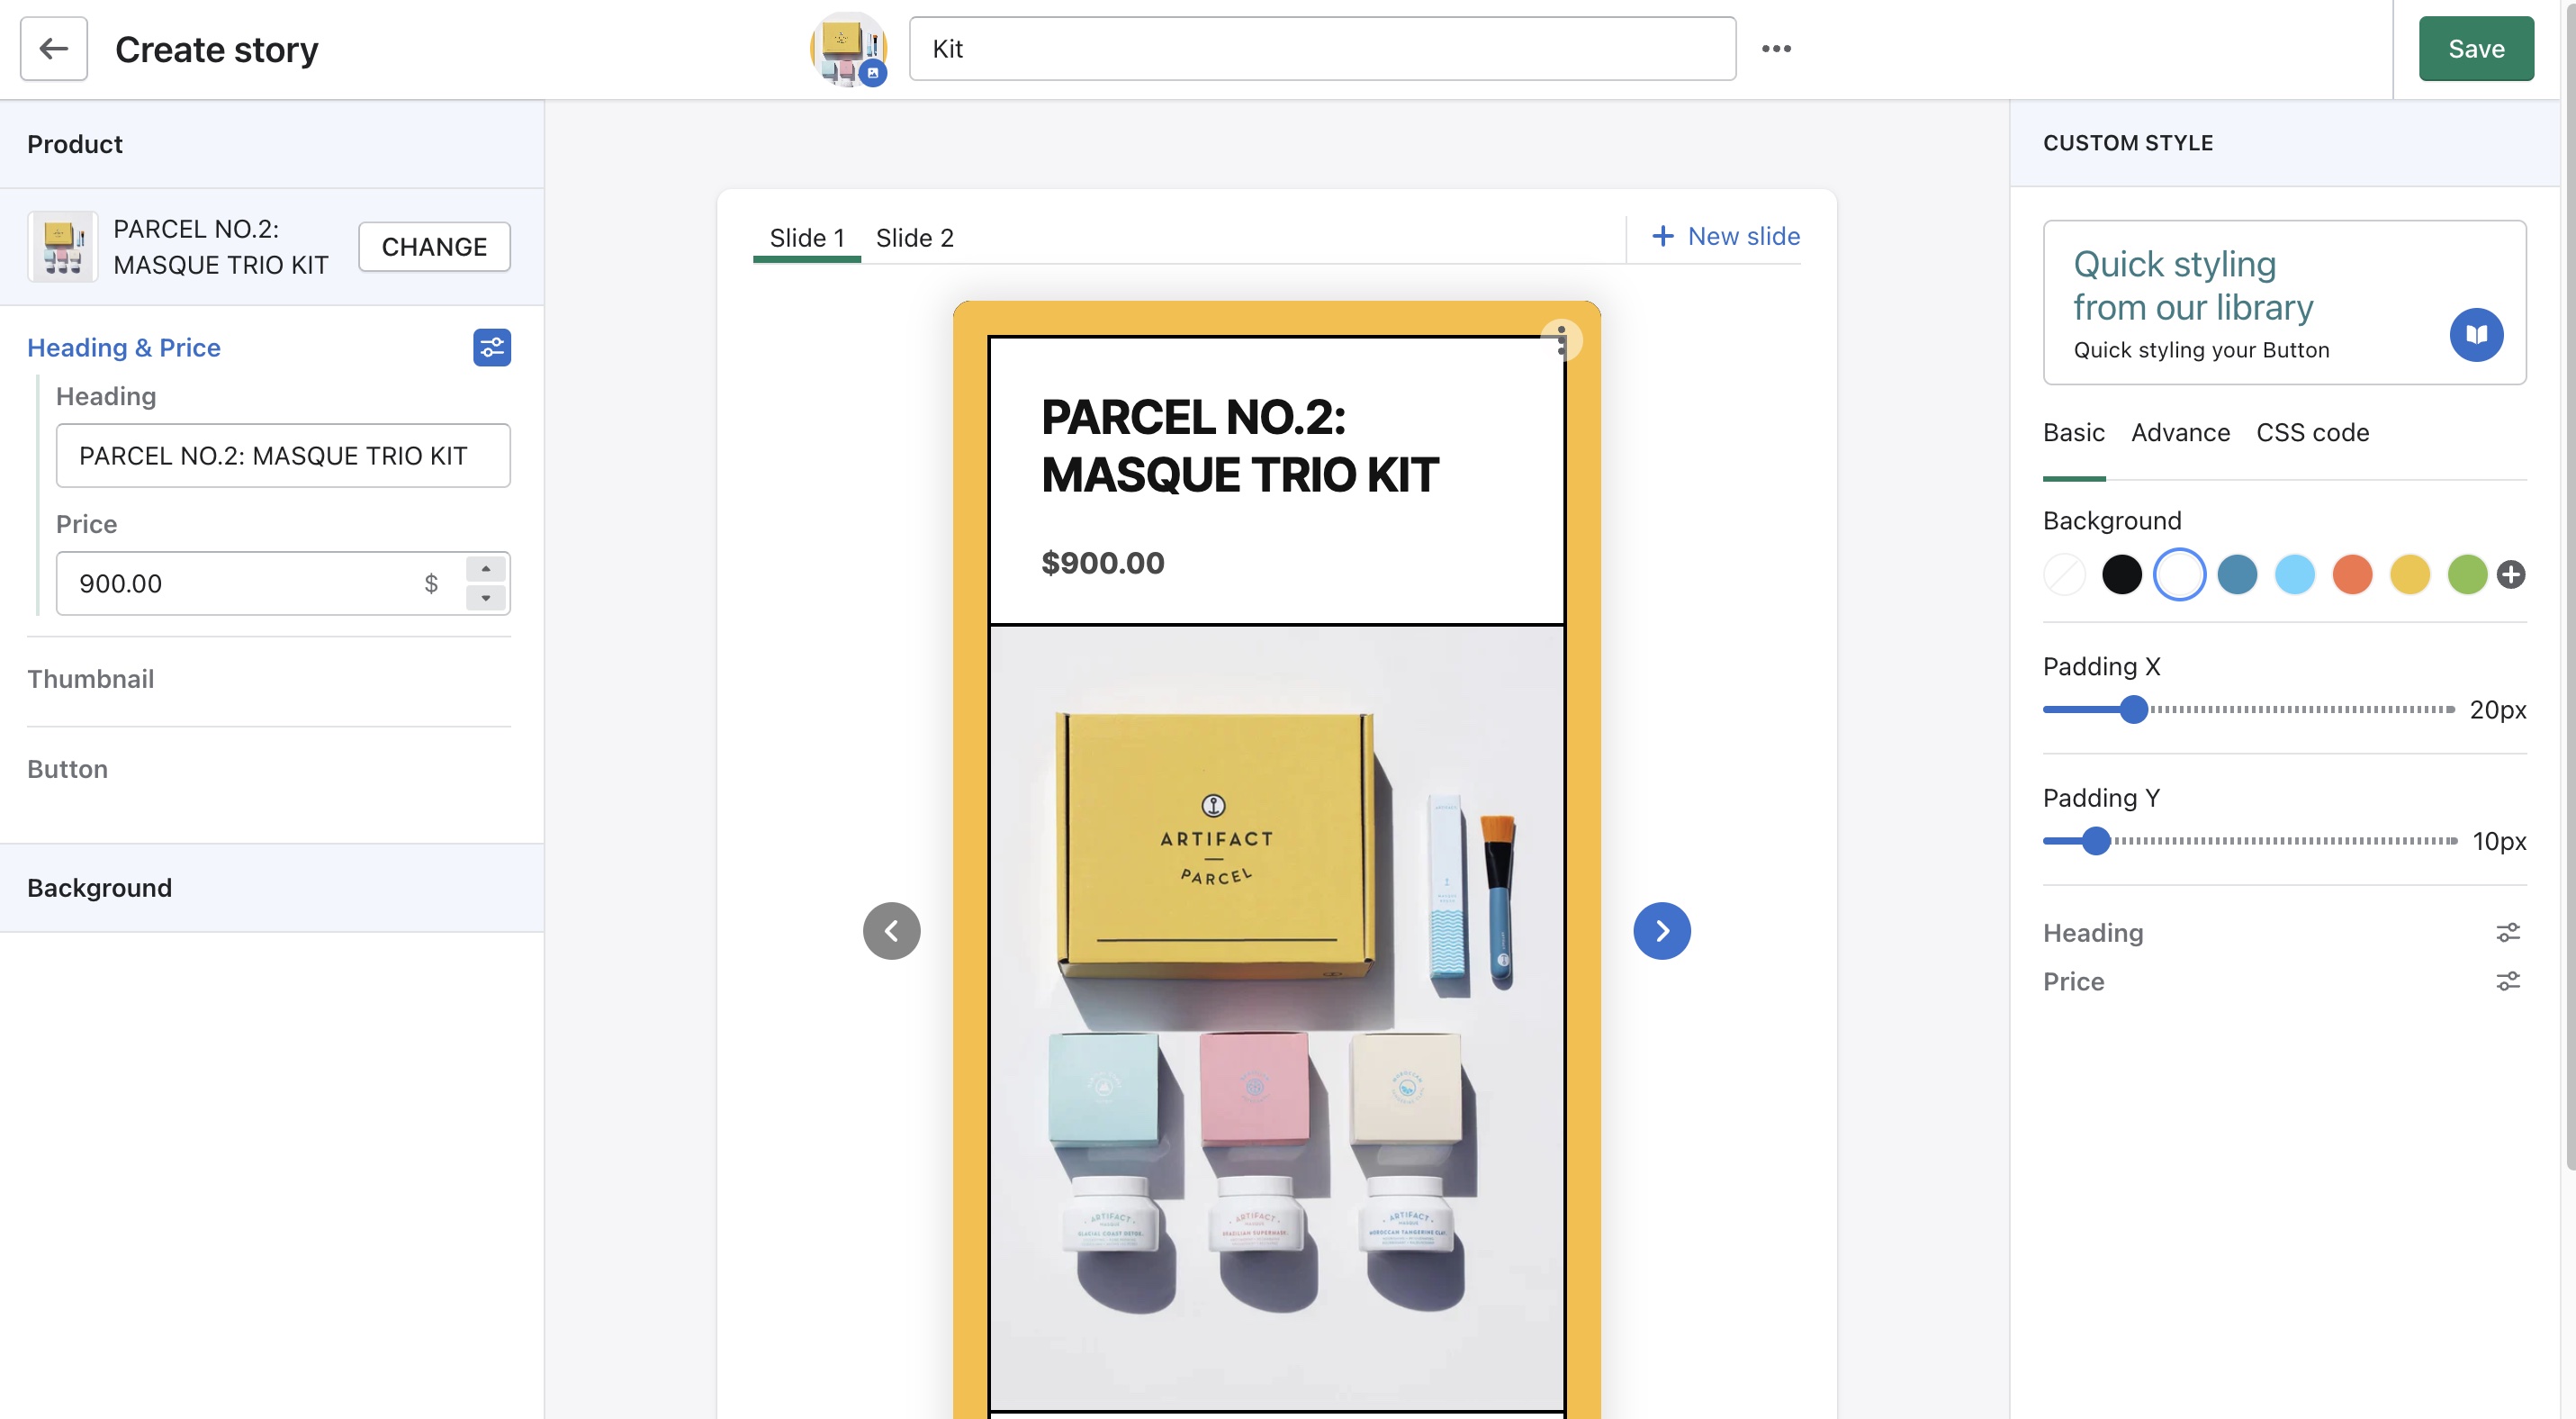
You can also edit further when clicking on the Advance tab, which lets you customize the look and feel of the element as you like. You can change the property to the deepest levels, and also add CSS codes if you want.
3. Publish the story
3.1. Insert name of the story (if not the name will be Blank Story)
3.2. Select a thumbnail cover (optional)
If you don't insert any thumbnail, the first slide will act as the thumbnail of the story.
3.3. Add hashtags (optional)
Click on the Save button to publish the story. You can now add this story to any feed and then add the feed to any page on your Shopify store.
Edit a story
Inside the story editor, customize your story’ elements through the board on the left.
1. Slide
Each story contains at least one slide that you can edit. Click on the New slide button to choose a template and create a new slide. You can also hold and drag to move the position of a slide.
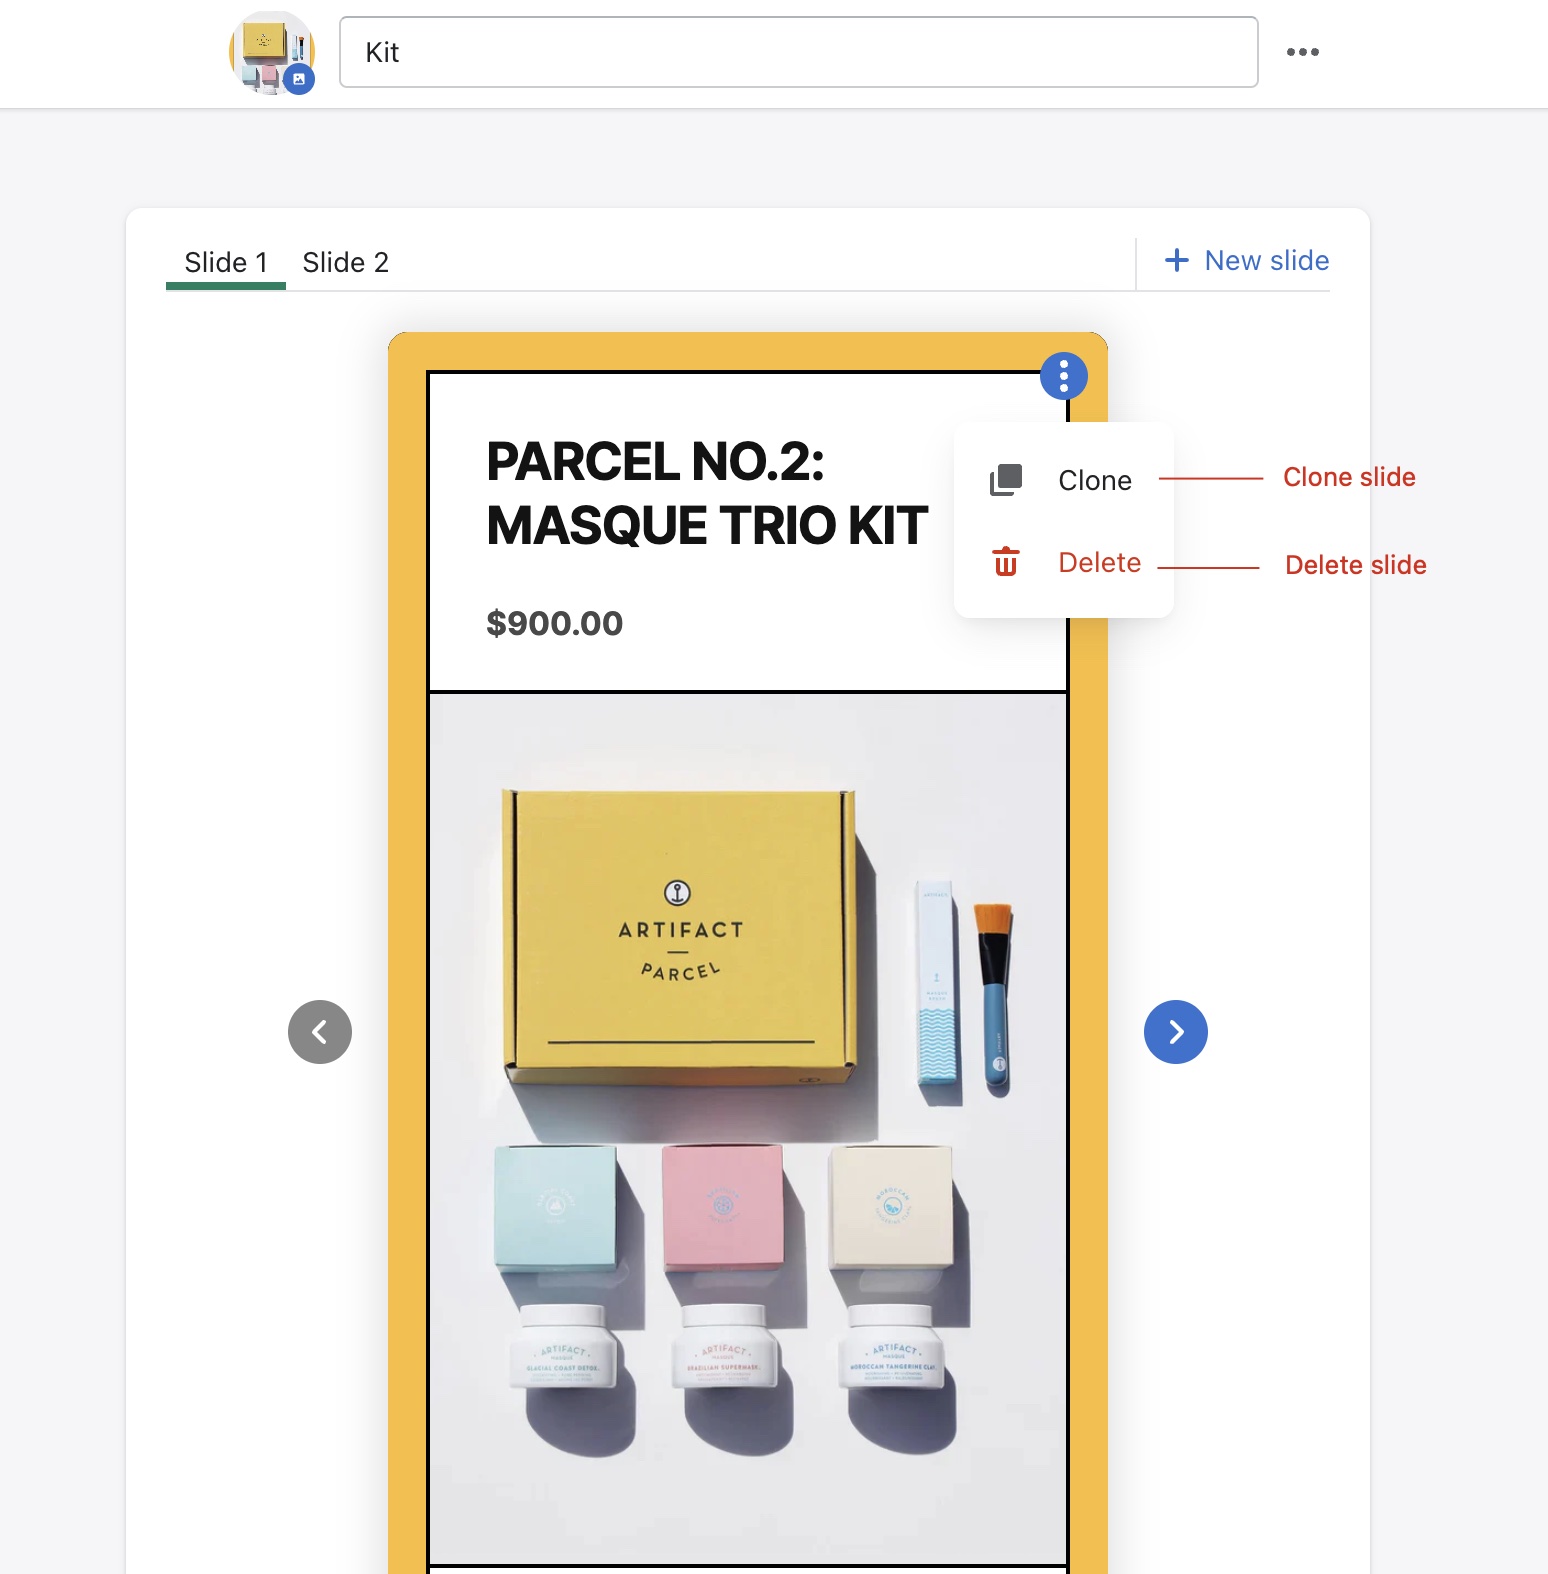
Clone/ Delete: Select clone to duplicate the slide inside the story, select Delete to delete the slide.
2. Background
2.1. Using color
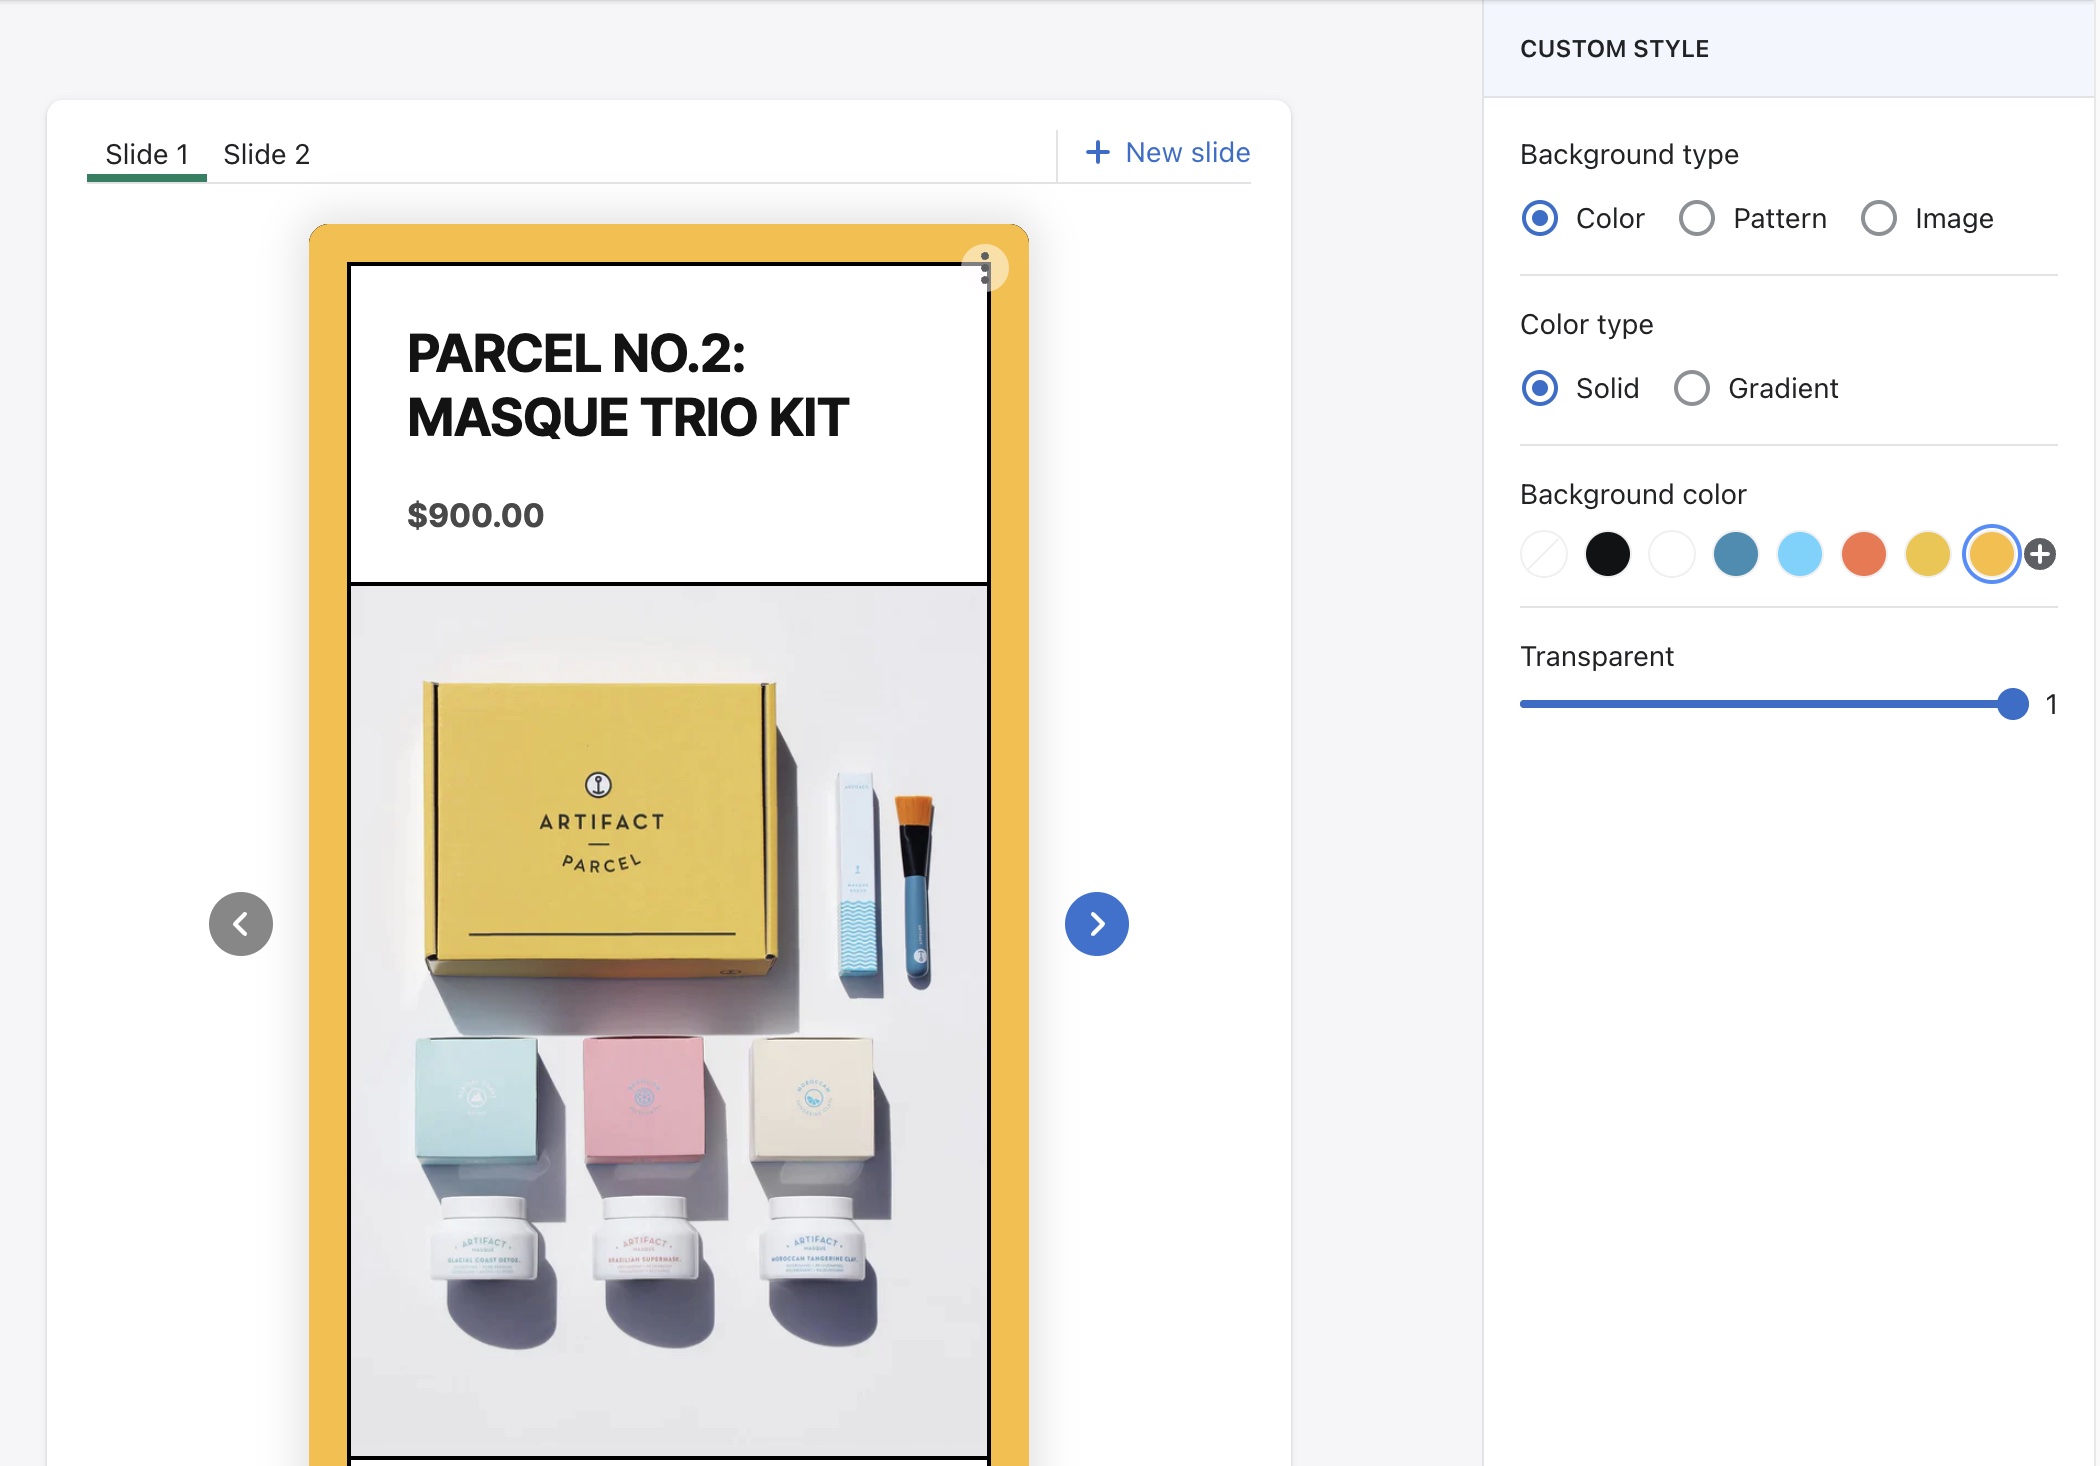
Select a color through the color picker to add to the background.
- Color type: Use solid or gradient color as the background.
- Background color: Use our quick selection to choose a color, or add another.
- Transparent: Change the transparency of the background.
2.2. Using pattern
We will add more patterns in the future to quickly add a stylish background.
2.3. Using images
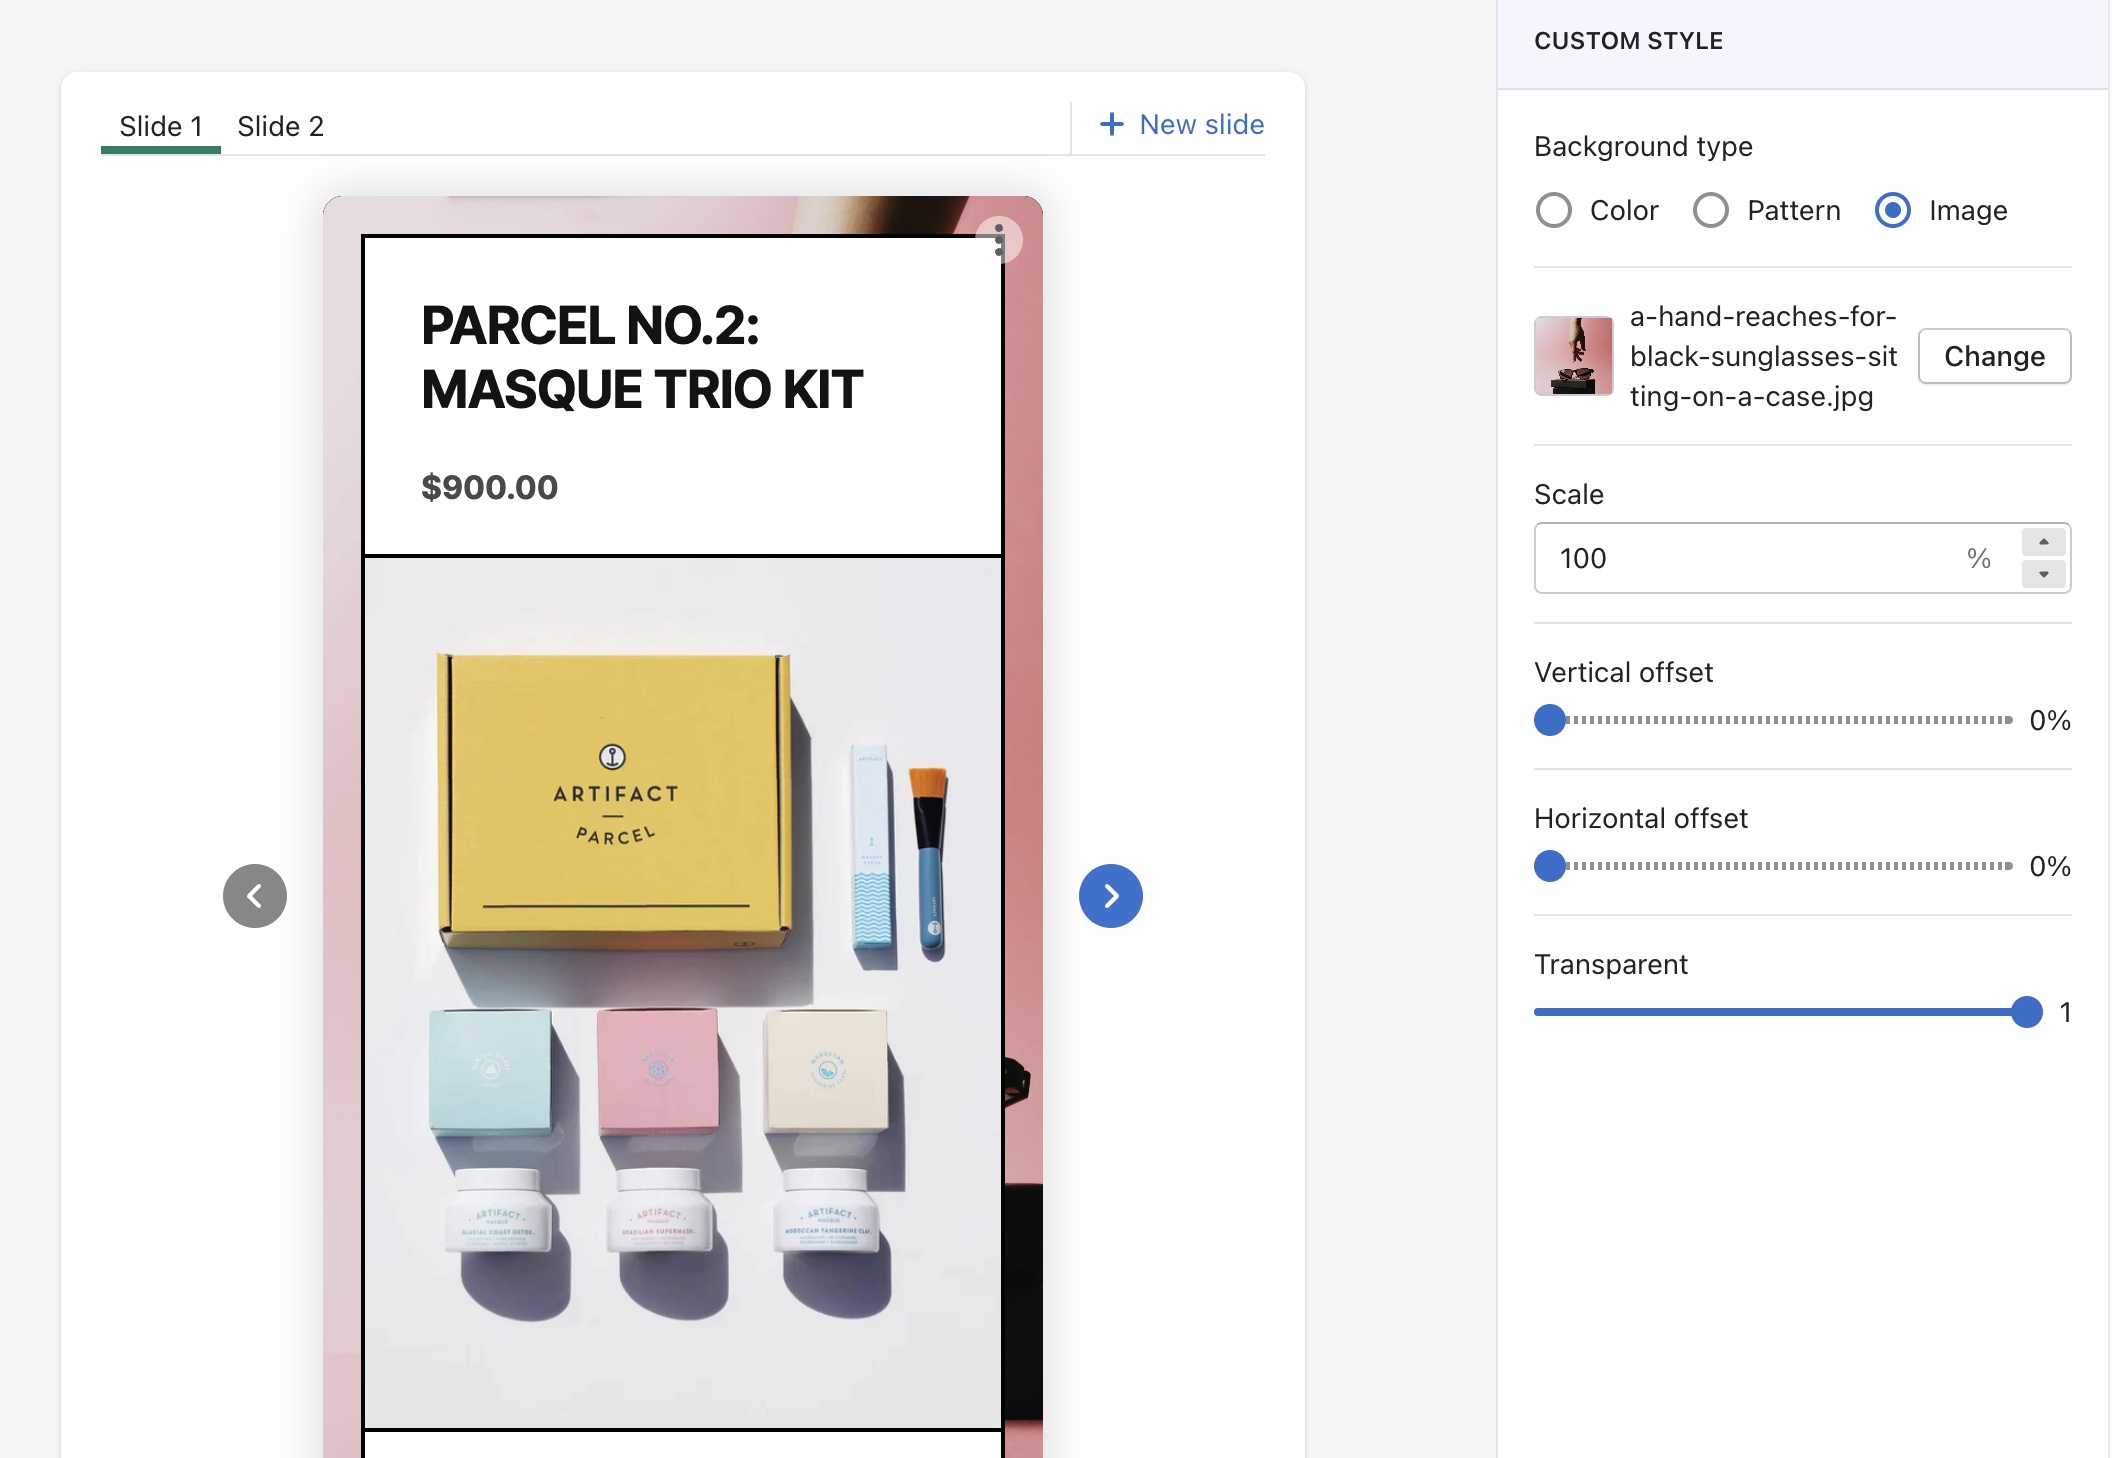
Select an image in your library or upload a new image as the background.
- Scale: Change the size of the image, 100% being its original size.
- Vertical offset / Horizontal offset: Change the position of the image by dragging the line.
- Transparent: Change the transparency of the background.
3. Element
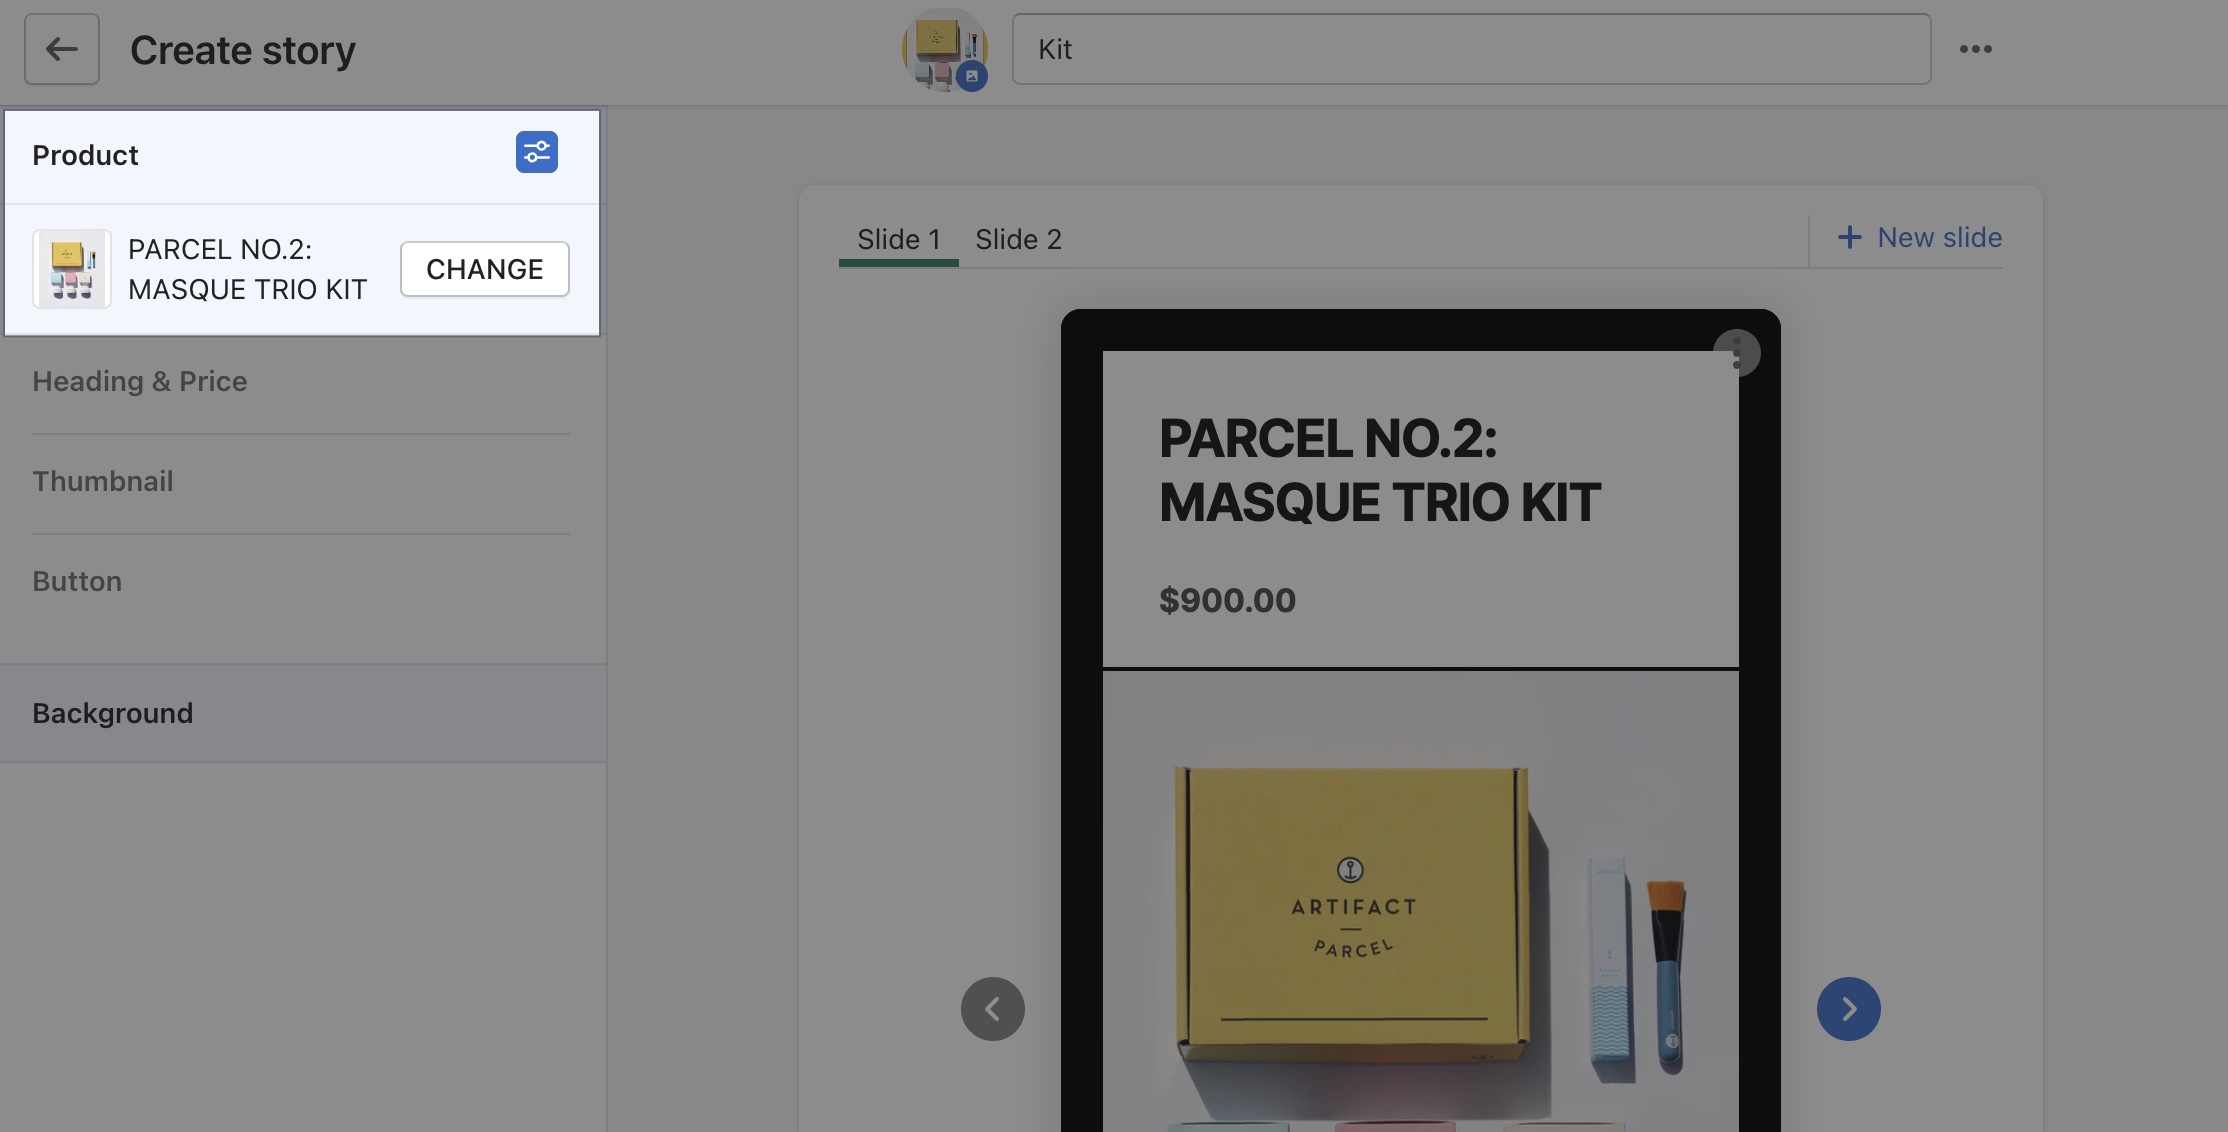
When clicking on the product, you will see a dropdown with elements to customize.
3.1. Heading and price
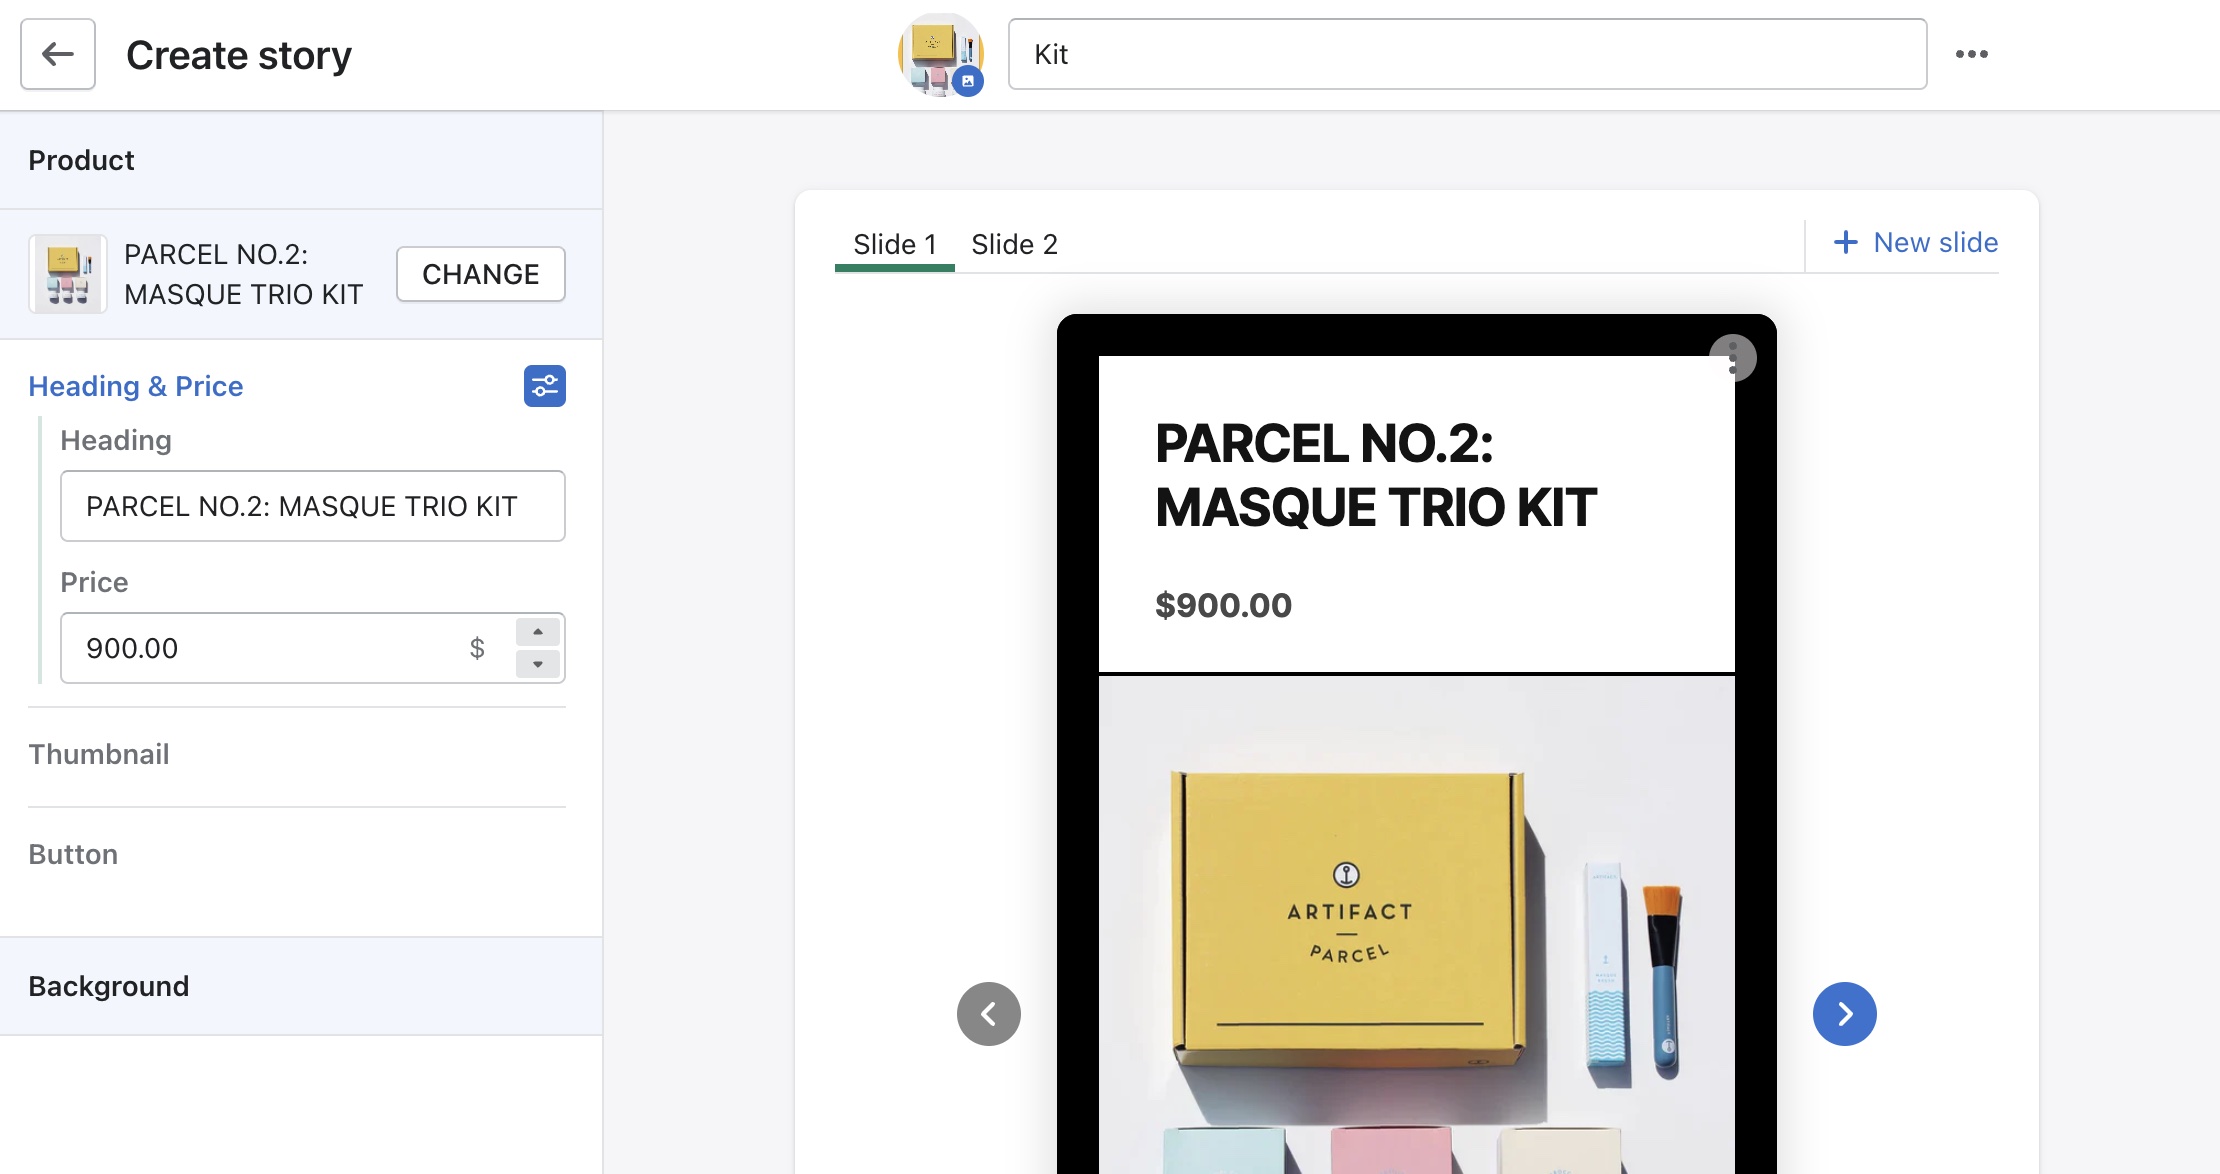
Change this as the biggest text on your story to highlight the message that you want to send out.
- Heading: This can be the title or the name of the product.
- Price: You can edit the price of the product after being imported.
3.2. Thumbnail
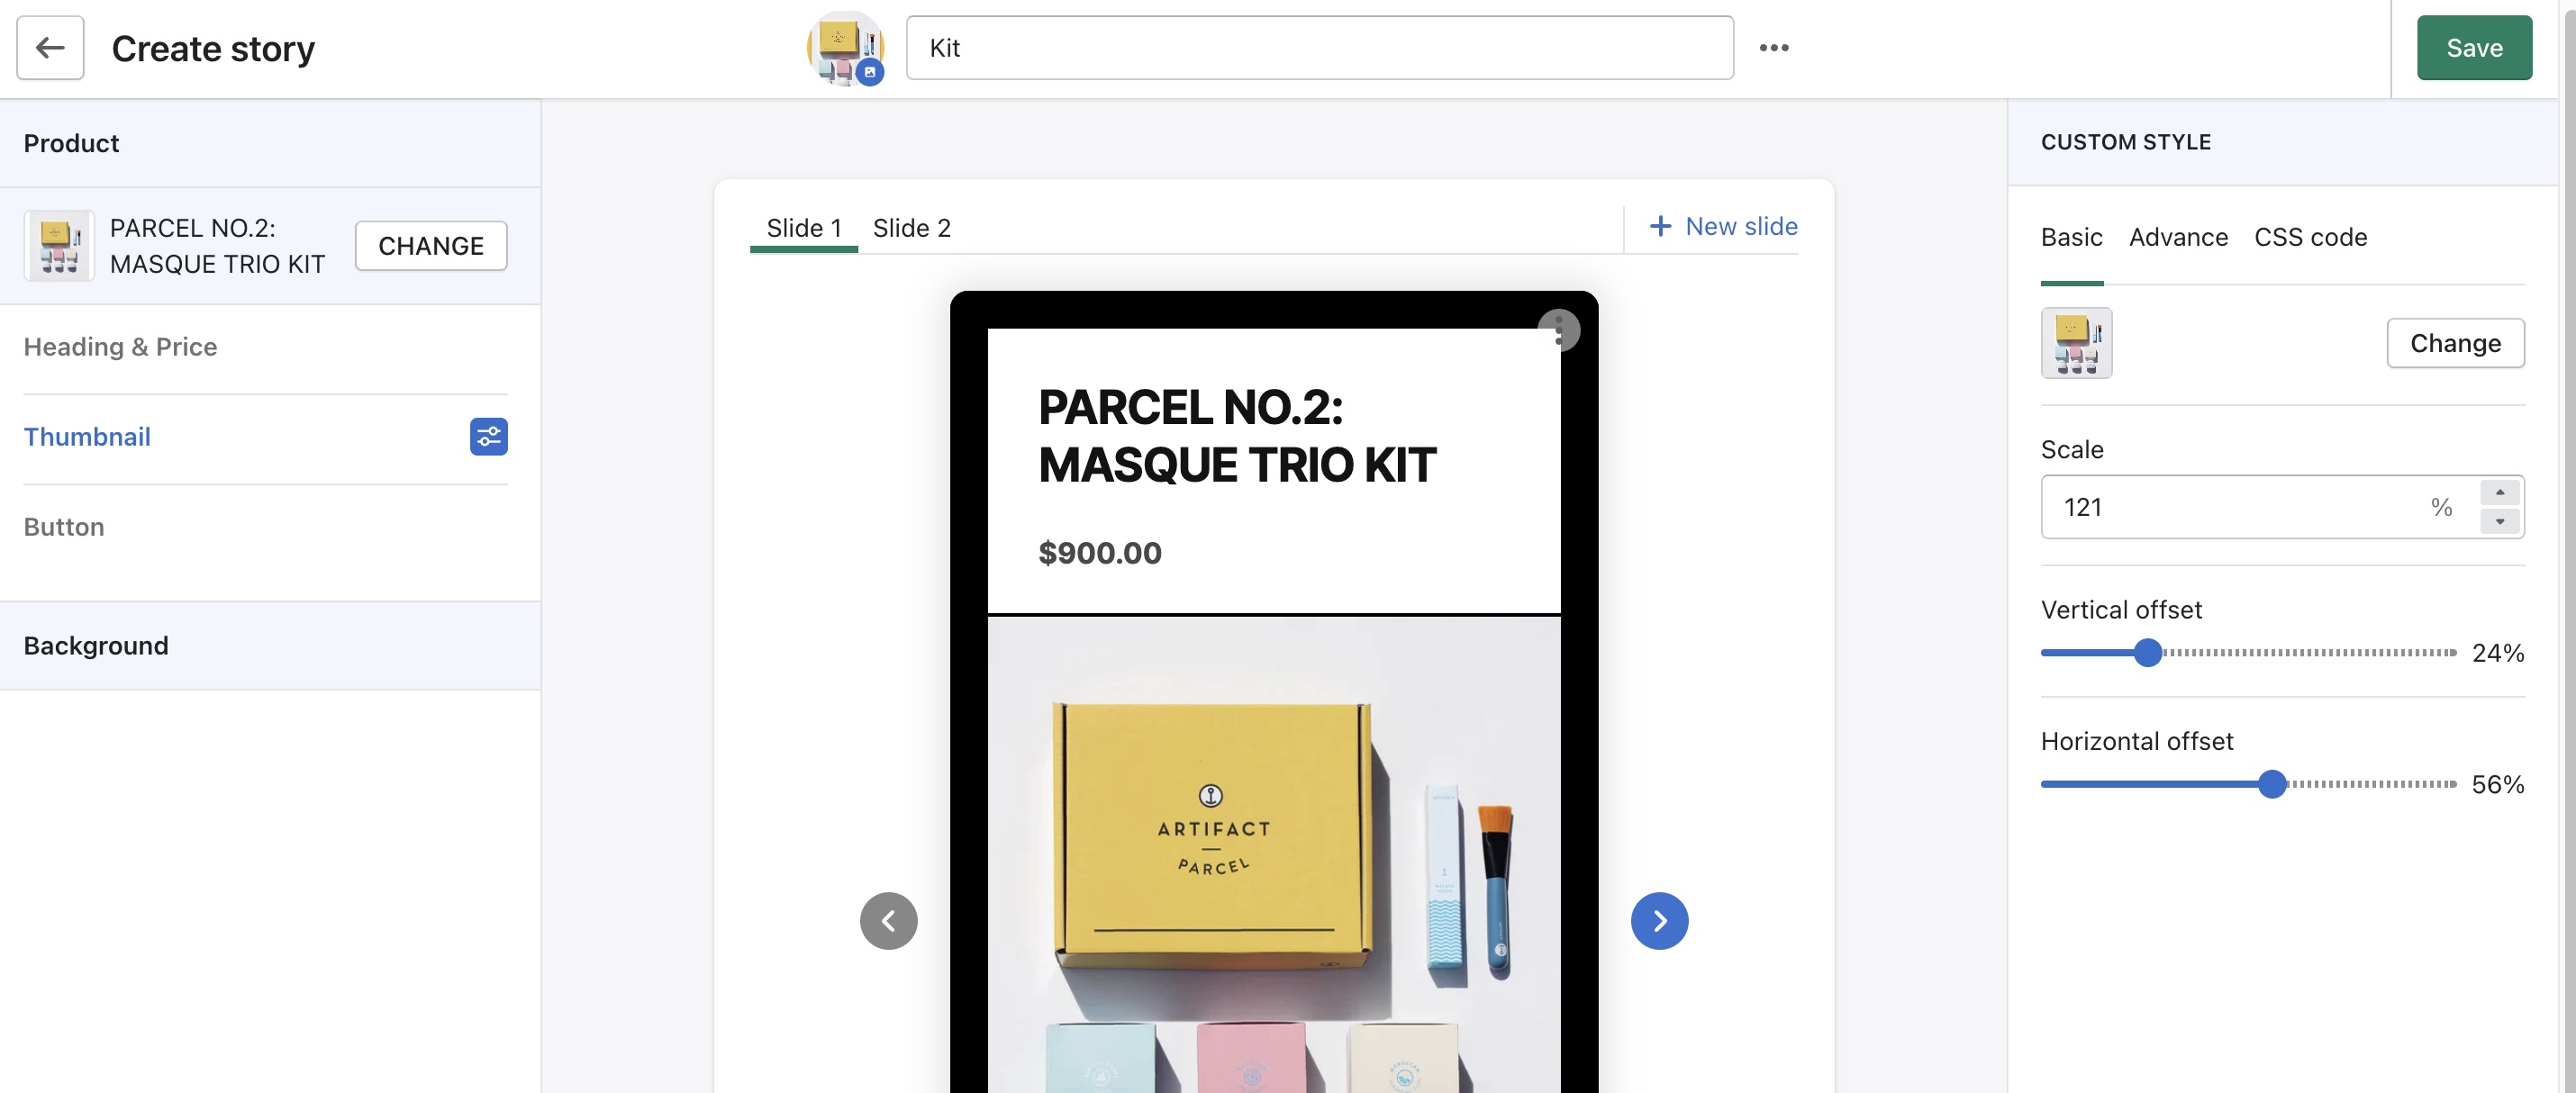
When you add a product to the template, the image of the product will be imported.
You can change and edit the image of the product, and add any more advanced editing if you want.
3.3. Button
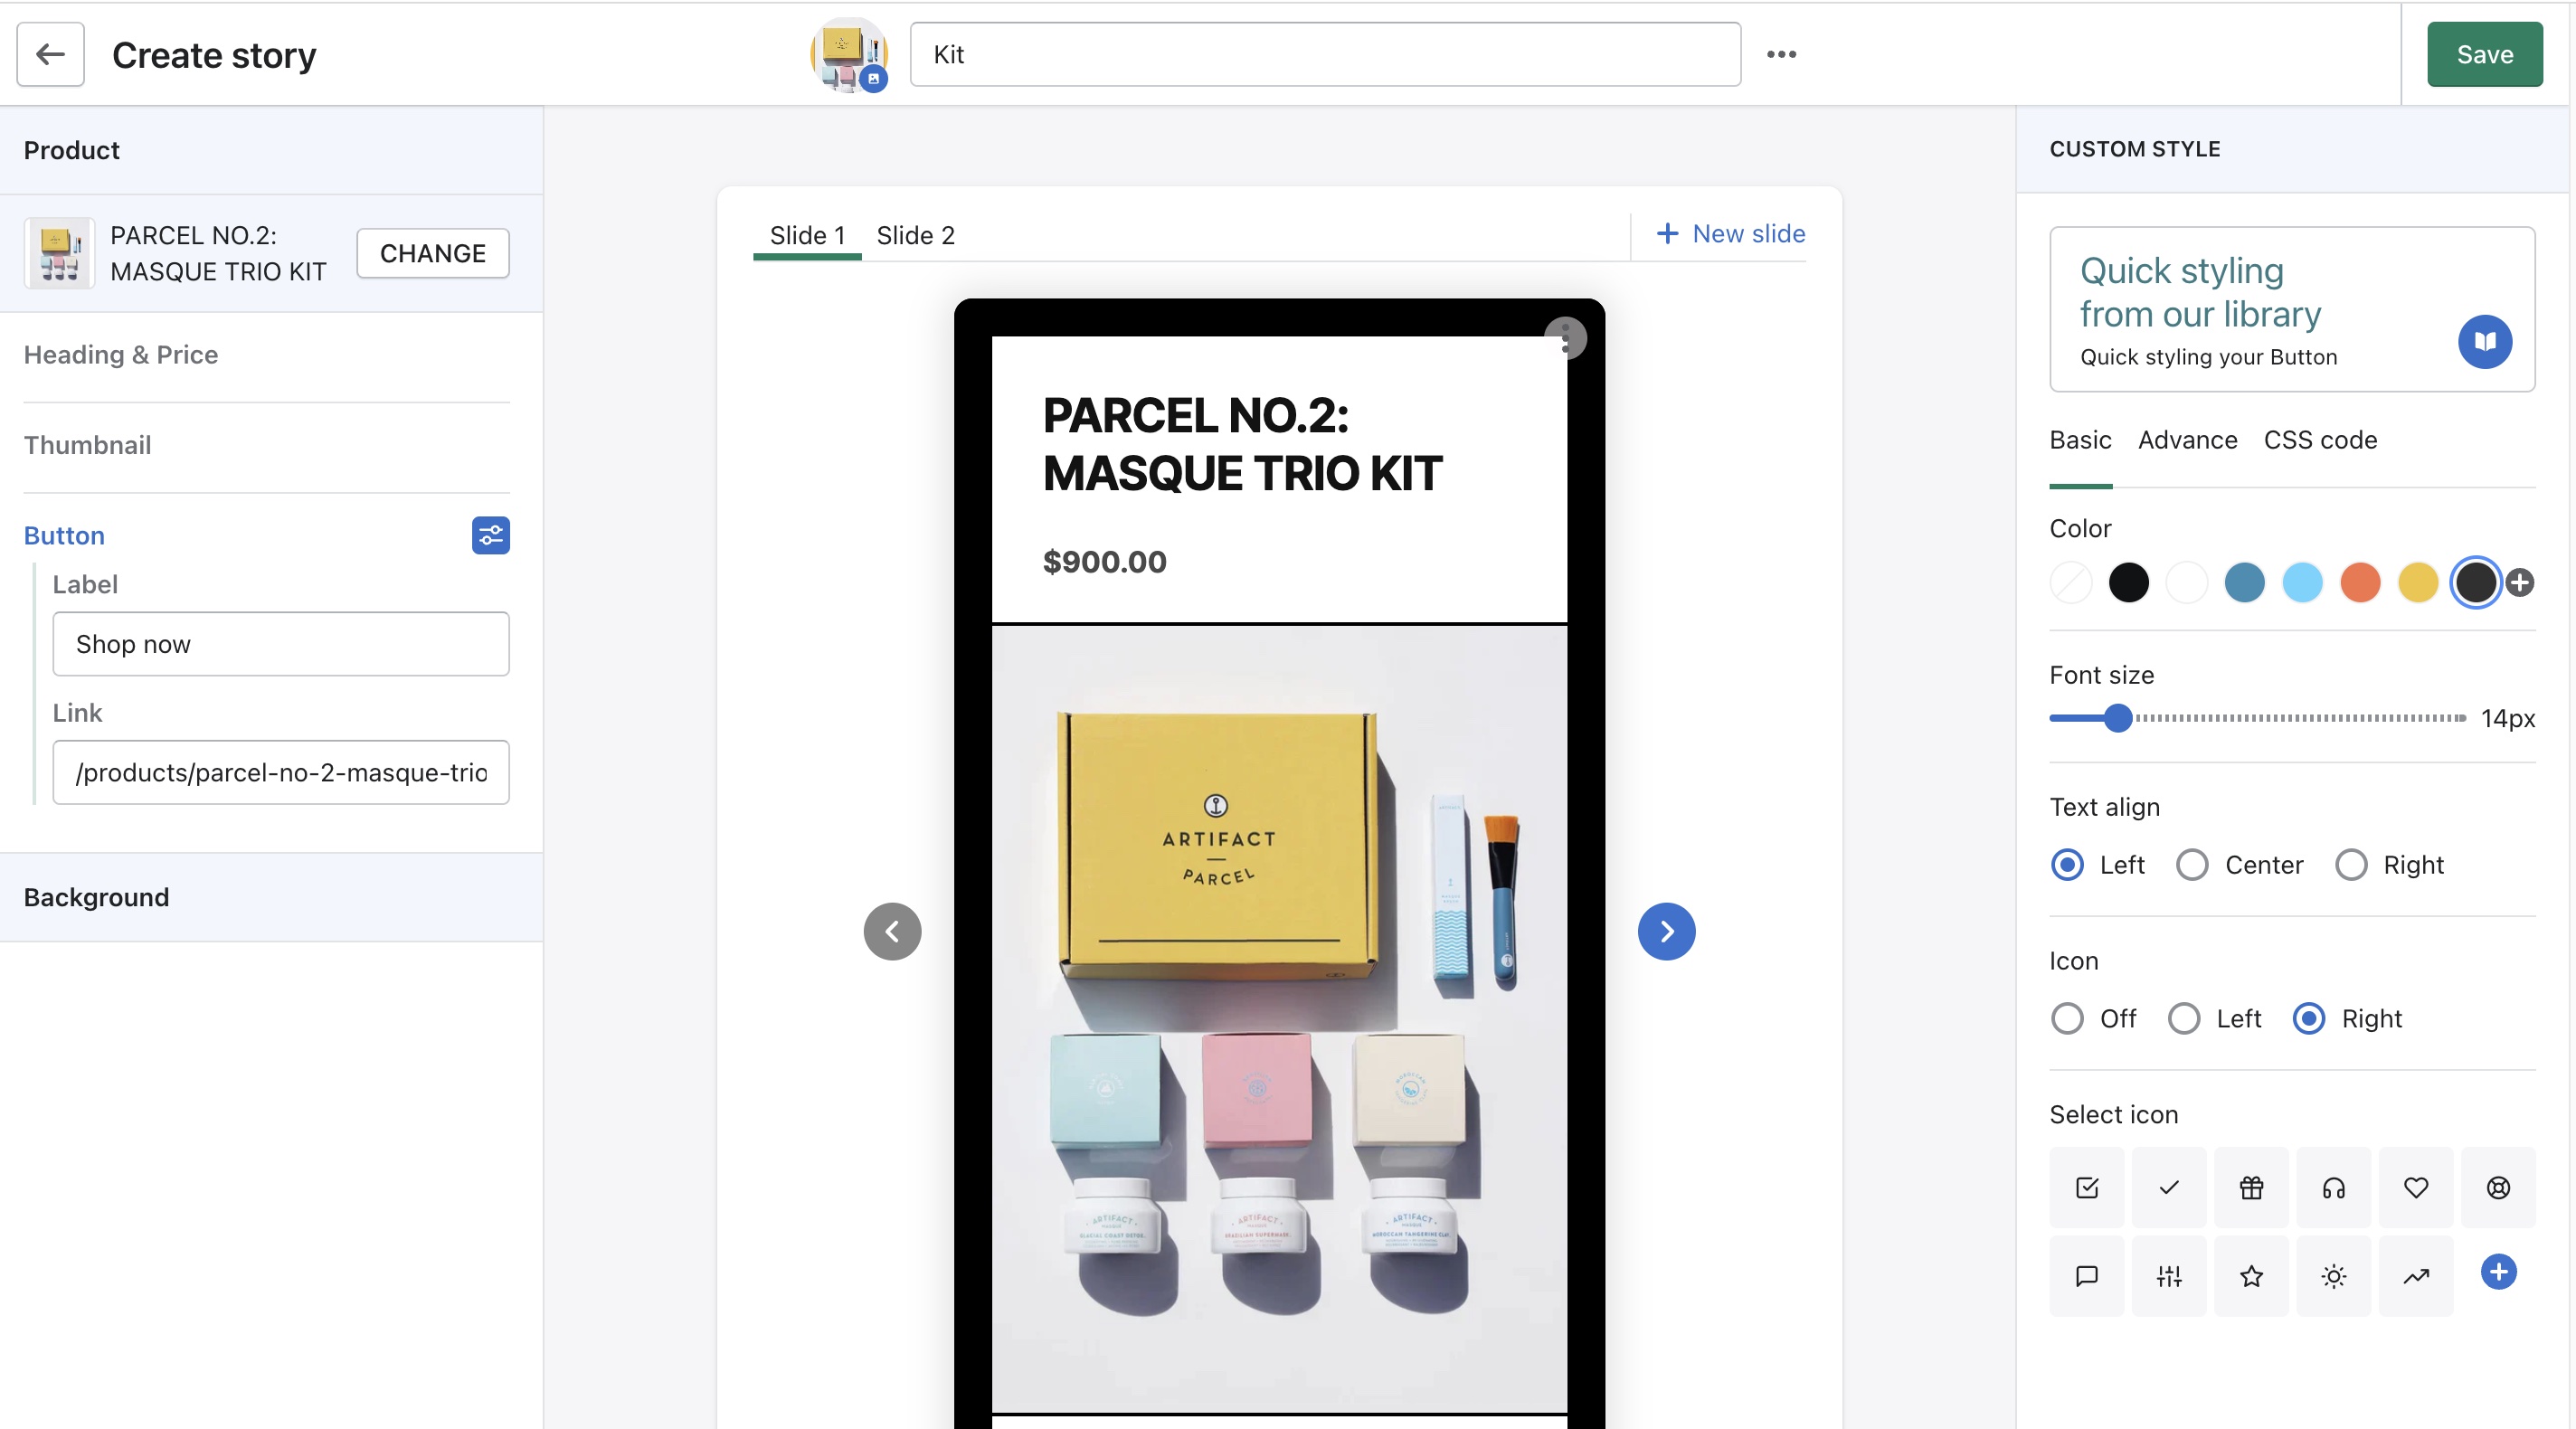
A button is an important CTA to encourage viewers to take actions.
- Label: Change the label of the button. Leave the box blank to have no label.
- Link: Change the link of the button. By default, it takes the link of the product imported.
You can also use the right panel to edit the button with color, font size, text align, and icon.
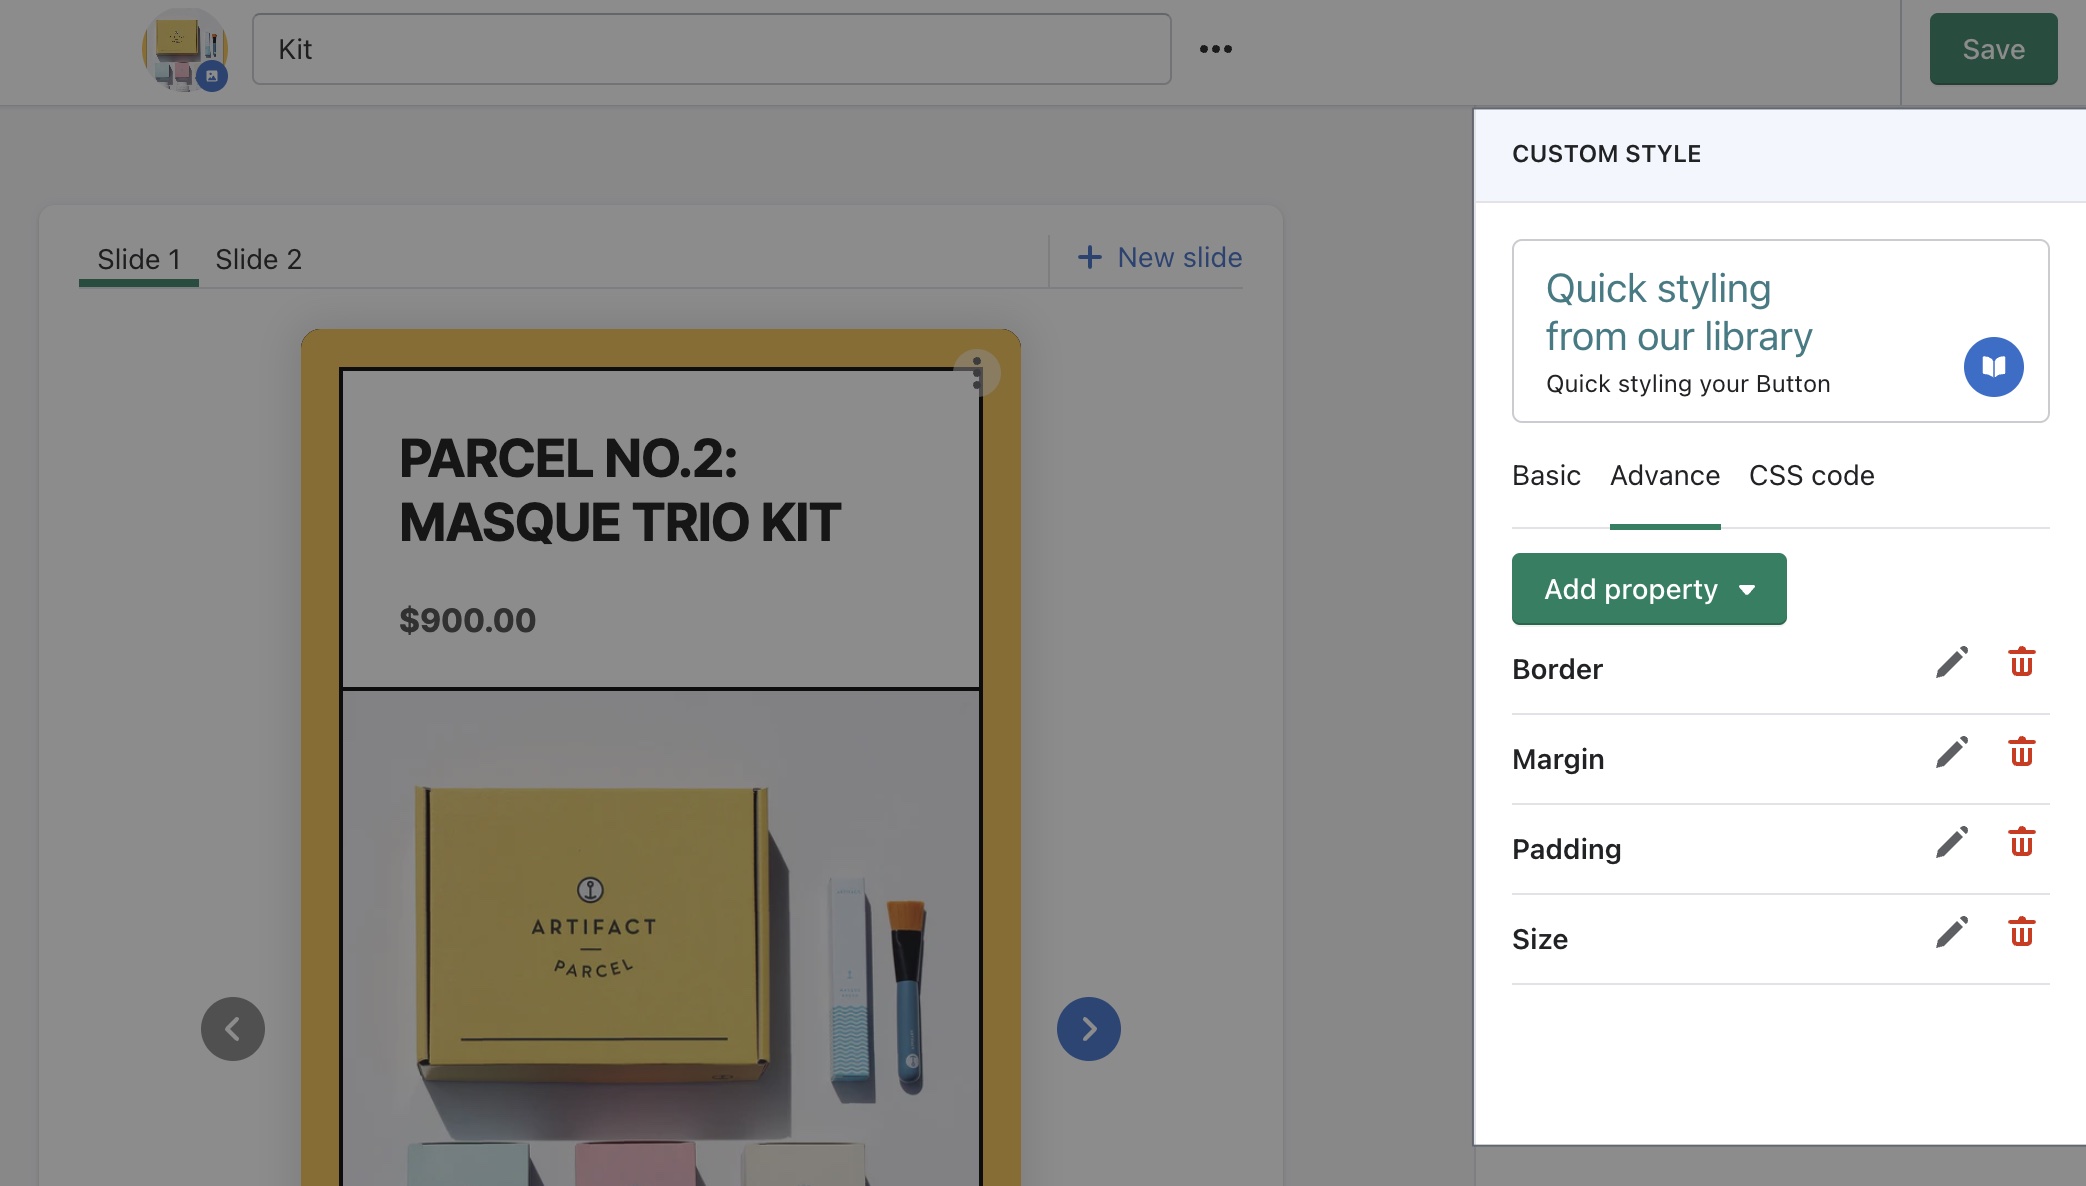
4. Advance
Each element inside the template can be edit further by click on the Advance tab and add multiple properties into the element
- Background: None, Solid color, Gradient
- Border: Individual side, Border width, Border color, Border style
- Border Radius: Individual side
- Font: Font size, Font style, Font decoration, Font family
- Text: Color, Text align, Text transform
- Margin: Individual
- Padding: Individual
- Opacity: Percentage
- Box Shadow: Position, Blur, Spread, Color, Inset / Outset
- Text Shadow: Position, Blur, Color
- Transform: Scale, Rotate, TranslateX, SkewY, Transform origin X, Transform origin Y
- Transition: Property, Duration, Function
- Position: Left, Right, Top, Bottom
- Size: Width, Height
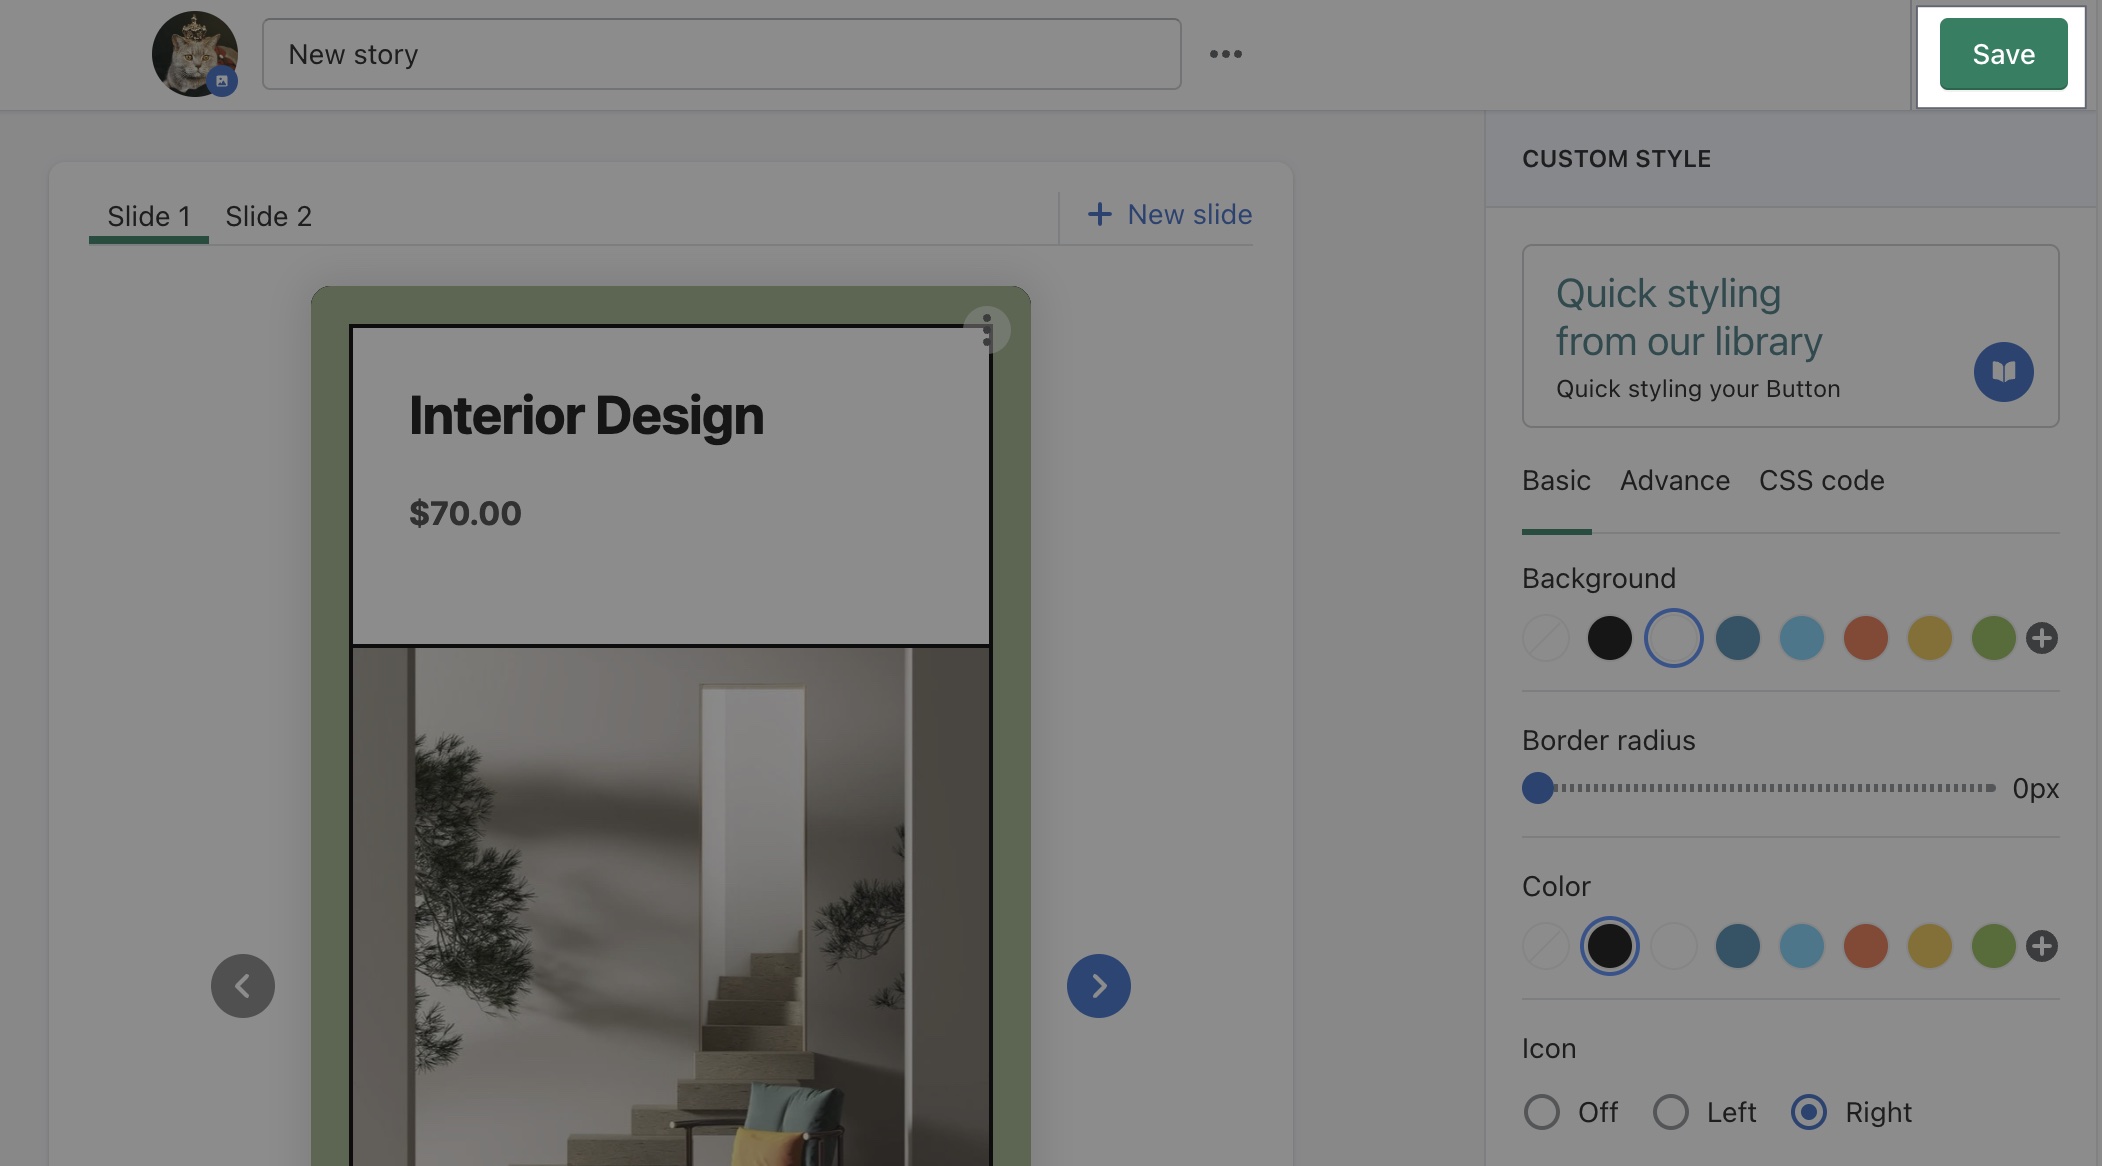
When you are done styling, click on the Save button to save all the changes you made.
Save a story
If you are editing a story and decide to quit, click on the Save button at the top right. This will save your progress of editing so far with the story.
If you click on the Back button without saving first, all your progress will be lost.
Preview a story
This feature is coming soon, allowing you to view the story on the browser before publishing to know if you have created the best flow for your story.
Add a story's cover image
Choose a cover thumbnail by clicking on the image button. Click Save to save your cover, like mine with a cute kitty.

Add a story's hashtags
You can add hashtags to manage stories better. Click on the 3 dot button to add hashtag.
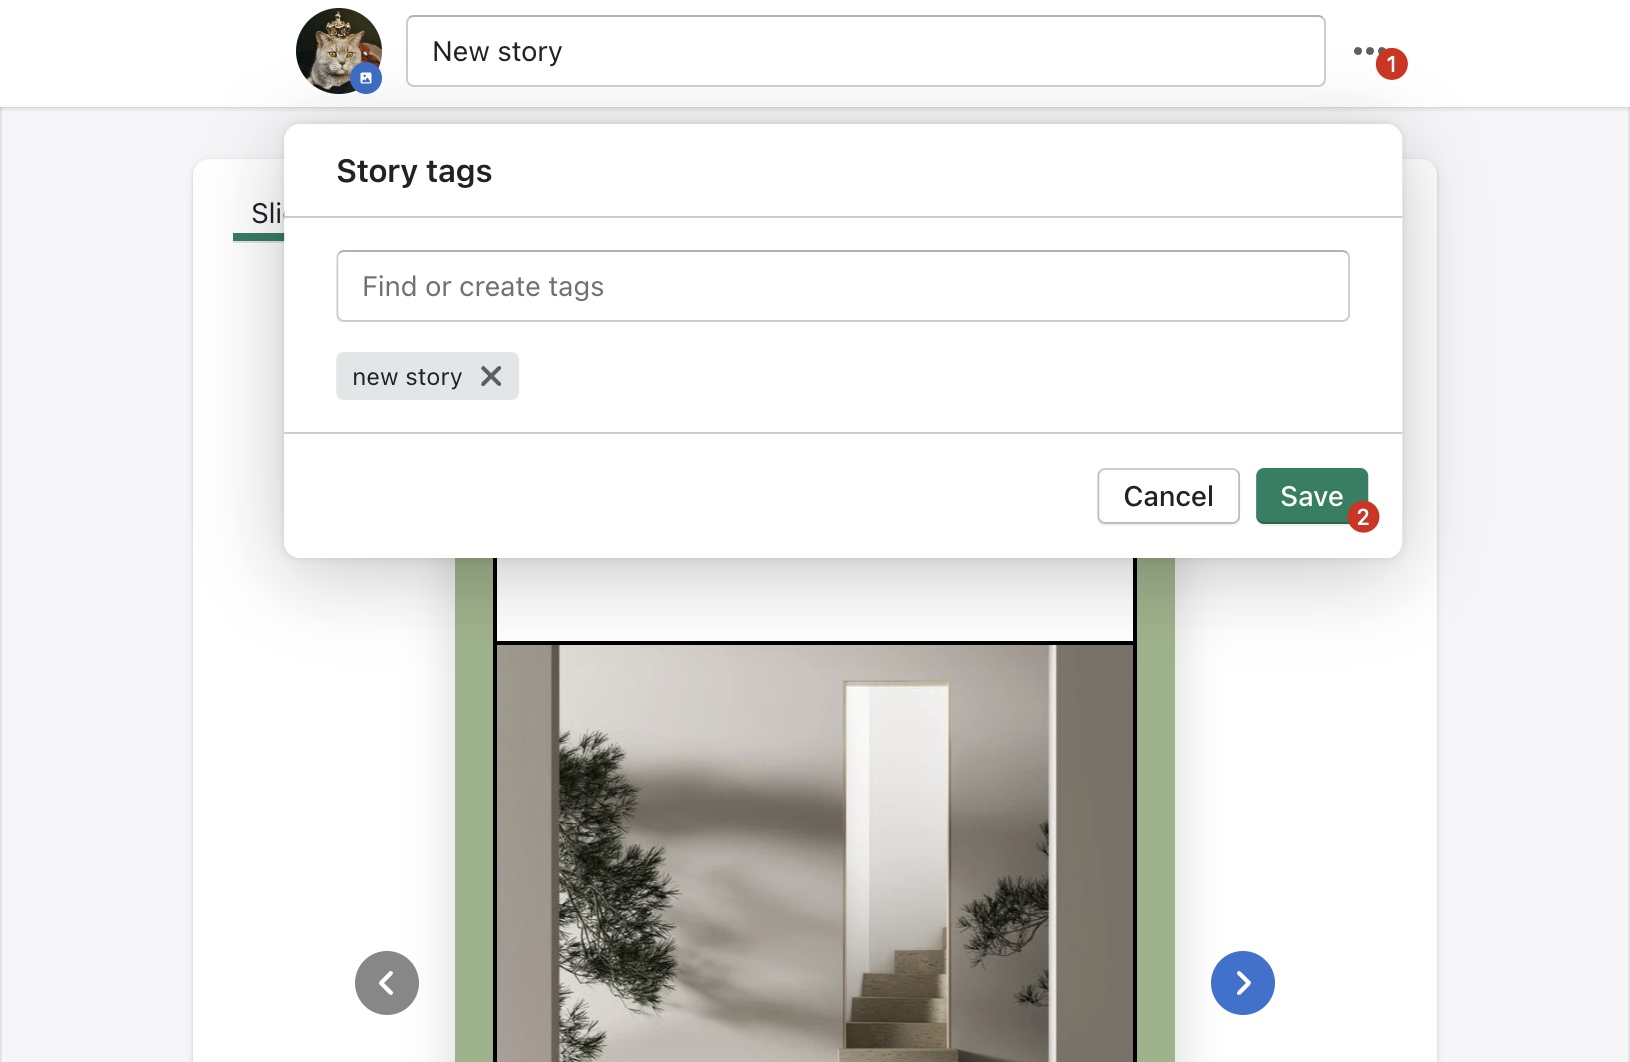
Hashtags can also be used to show multiple stories in a feed.
Add a story's name
Write in the name of the story in the box at the top. If you don't, the name of the story will be Default title.