Installation
Get XO Gallery up and running in your Shopify store in just a few minutes.
Step 1: Install the app
- Visit the XO Gallery app page on the Shopify App Store
- Click Get to add the app to your store
- Click Install app to complete the installation
Once installed, XO Gallery will appear in your Shopify admin under Apps.
Step 2: Enable XO Gallery scripts
Important
You must enable XO Gallery scripts for the app to work properly.
- Go to Online Store > Themes in your Shopify admin
- Click Customize on your active theme
- Click App embeds (usually at the bottom of the left sidebar)
- Find XO Gallery and toggle it ON
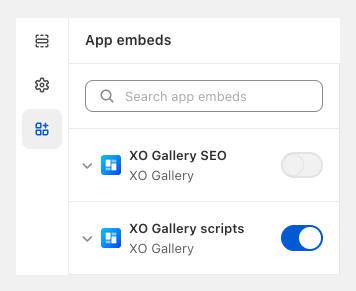
- Click Save to apply the changes
What gets added to your store
Theme files
XO Gallery doesn't add any files to your theme, keeping it clean and lightweight.
Assets
- Gallery Images: Uploaded to Content > Files in your Shopify admin
Old version of XO Gallery
- If you previously used an older version of XO Gallery, it may have created a theme named XO GALLERY ASSETS - DO NOT REMOVE or XO ASSETS - DO NOT REMOVE. This theme contains images uploaded before the new version was released.
- Deleting the theme will remove all your gallery images from your store. And you won't be able to recover them.
✅ You're all set! XO Gallery is now installed and ready to use. Next, learn how to create your first gallery.