Publishing options
Get your galleries live on your Shopify store with these flexible publishing methods.
Auto-publish to pages
The easiest way to add galleries to your store pages.
Create new page with gallery
- Find your gallery in the gallery list
- Click Publish
- Select New page
- Choose gallery position on the page
- Click Save
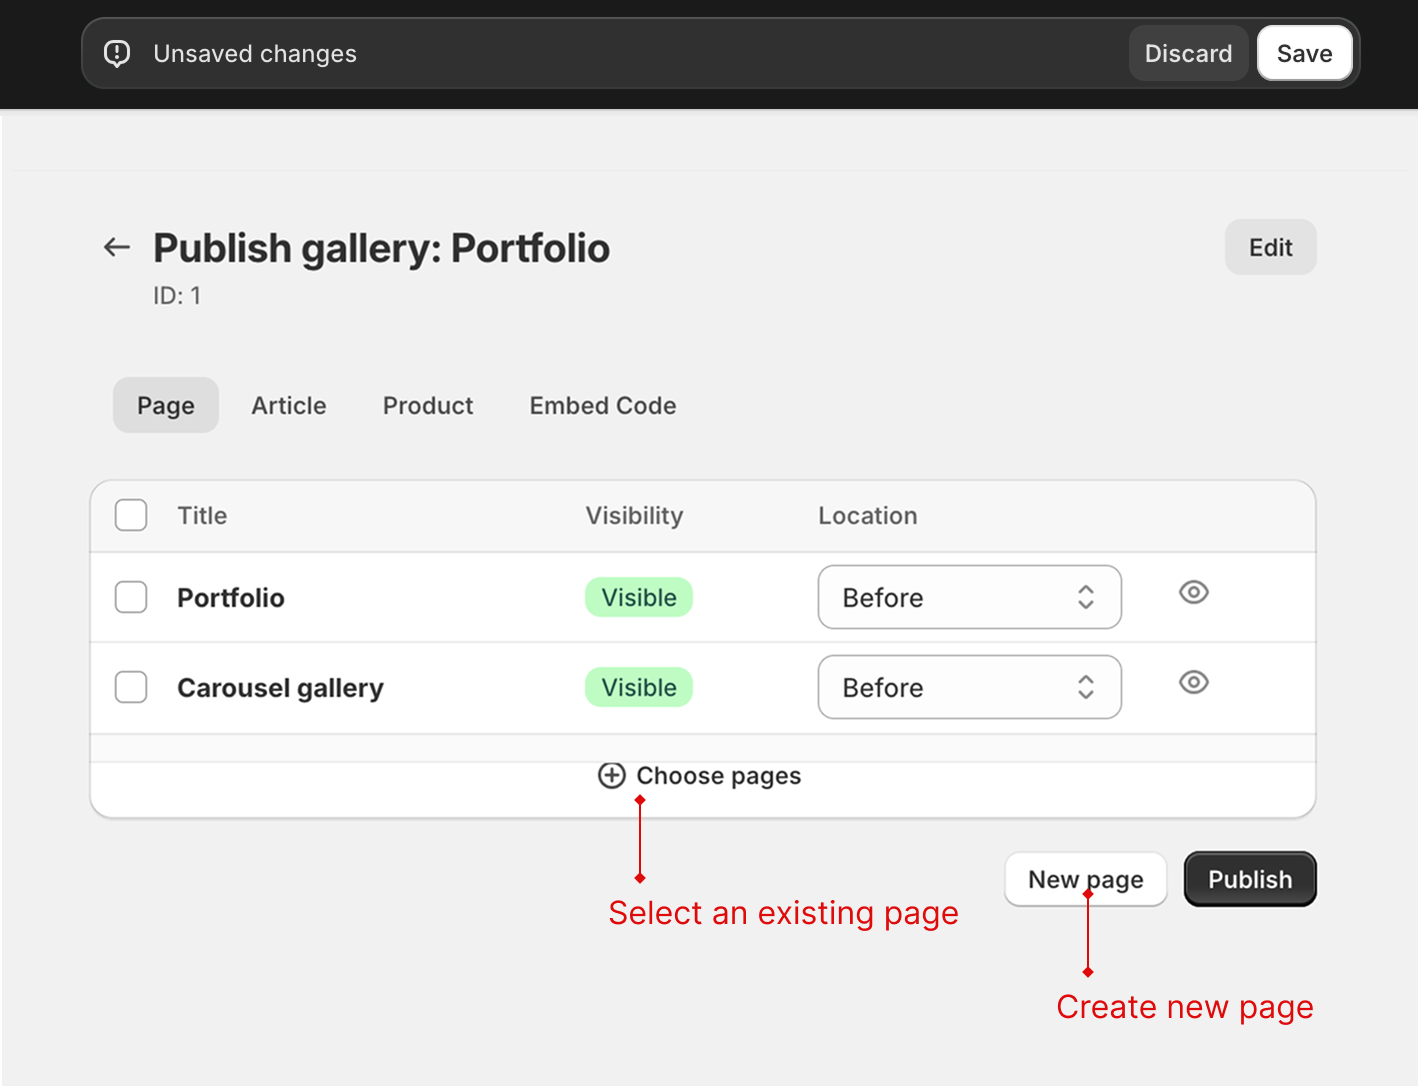
Add to existing page
- Click Publish on your gallery
- Click Choose pages
- Select an existing page
- Choose where to place the gallery
- Click Save
Add to homepage and other pages
Use Shopify's app block to add galleries anywhere.
Using theme sections
- Go to Online Store > Themes
- Click Customize on your active theme
- Navigate to the page you want to edit
- Click Add section
- Select XO Gallery
- Enter your gallery ID
- Click Save
Finding your gallery ID
Your gallery ID appears in the gallery list - it's the number you'll need for sections.
Embed code method
For maximum control over gallery placement.
Getting the embed code
- Click Publish on your gallery
- Select Embed code
- Click Copy code
Using embed code
- Go to Online Store > Pages (or Blog posts)
- Edit the page where you want the gallery
- Click Show HTML to switch to HTML view
- Paste the embed code where you want the gallery
- Save the page

Page templates (Advanced)
Create reusable page templates with galleries built-in (Check the video from 1:00)
Create gallery page template
- Go to Online Store > Themes
- Click Customize
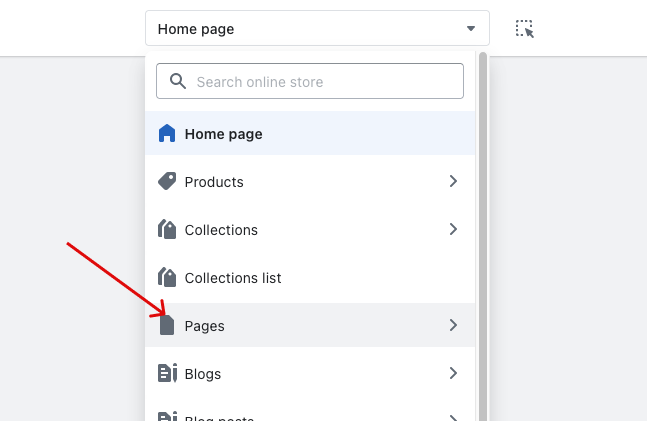
- Open the template dropdown at the top and choose Pages
- Click + Create template
- Name your template (e.g., "Gallery Page")
- Choose a base template
- Click Create template
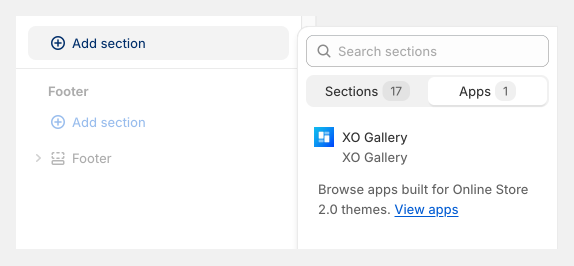
Add gallery to template
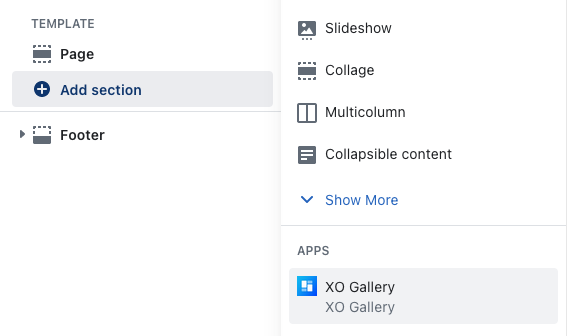
- Click Add section
- Click Apps
- Select XO Gallery
- Configure your gallery settings
- Click Save
Apply template to pages
- Go to Online Store > Pages
- Edit the page you want to use the template
- In Template, select your gallery template
- Click Save
Remove galleries from pages
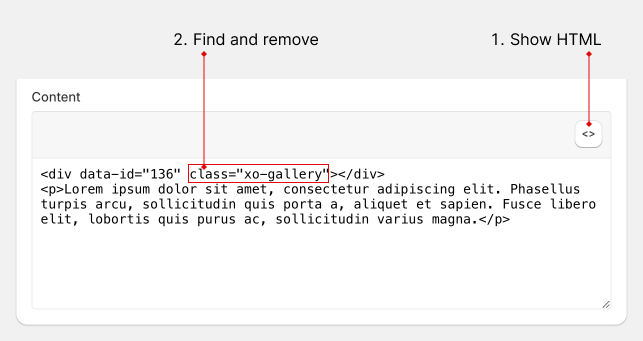
Remove auto-published galleries
- Go to Online Store > Pages
- Edit the page with the gallery
- Click Show HTML
- Find and delete the code with
class="xo-gallery" - Save the page
Remove section galleries
- Go to Online Store > Themes
- Click Customize
- Find the XO Gallery section
- Click the section and select Remove
- Click Save
Use metafield - Dynamic source
1. Create metafield
In your Shopify admin, go to Settings > Custom data. We will add new metafield to Page (You can add it to other parts)
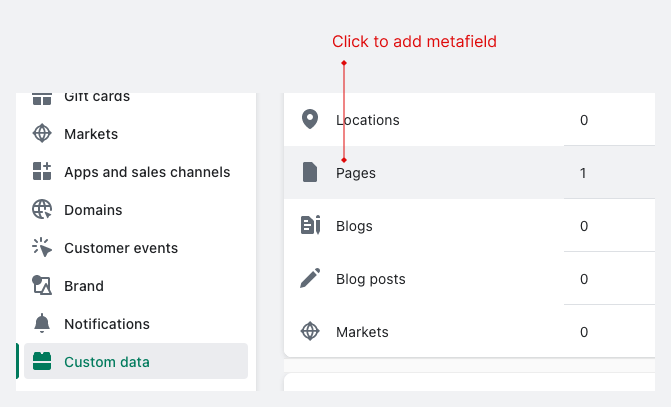
Then click Add definition to add new metafield definition. Follow this instruction:
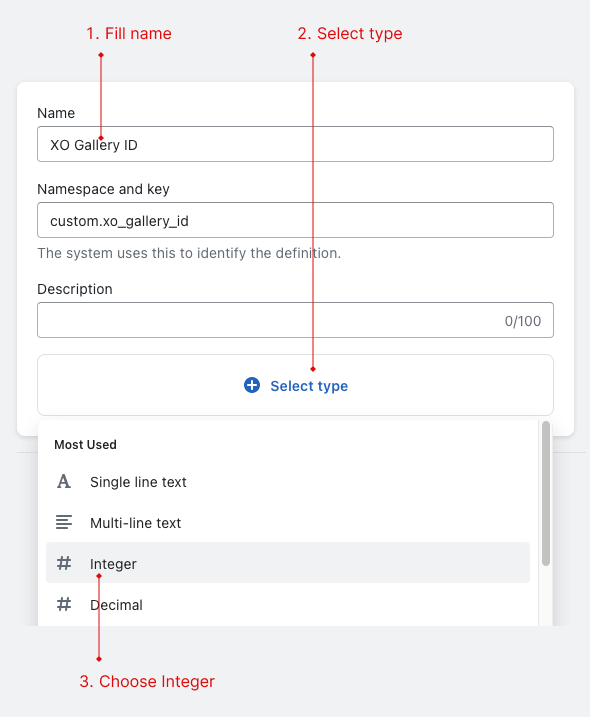
- Fill metafield name
- Click "Select type"
- Choose Integer
- Click
Save
2. Add app block
Go to your theme customize, choose page (if you add metafield to another part, you should choose the corresponding template)
Click Add section then choose XO Gallery
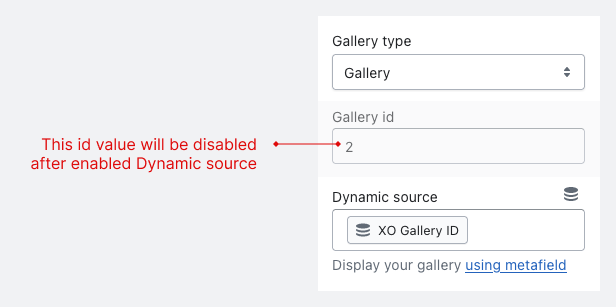
3. Connect dynamic source
In the XO Gallery app block, click "Insert dynamic source" icon

Then choose XO Gallery ID (metafield name that you fill when create new definition)
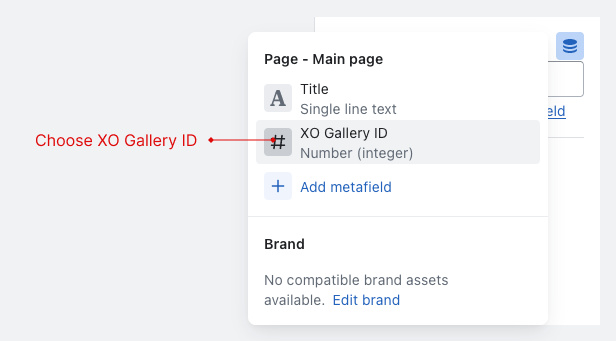
The Gallery id here will be ignore
4. Fill gallery id in your page
Edit your page (that using the template) and fill your id

When adding a new page, you will not see the metafield card. It will appear after you save the page.
Add to product
You can add different galleries to different products.
Use metafield
It is easier to manage with metafield.
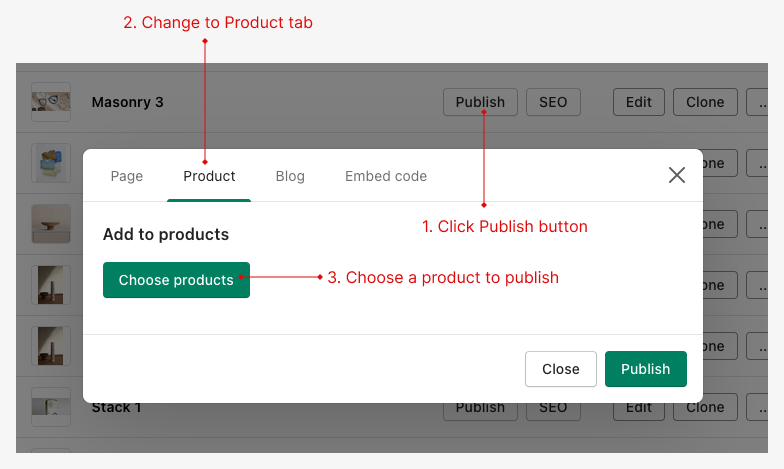
Use app publish feature
You can use XO Gallery product section in your theme.
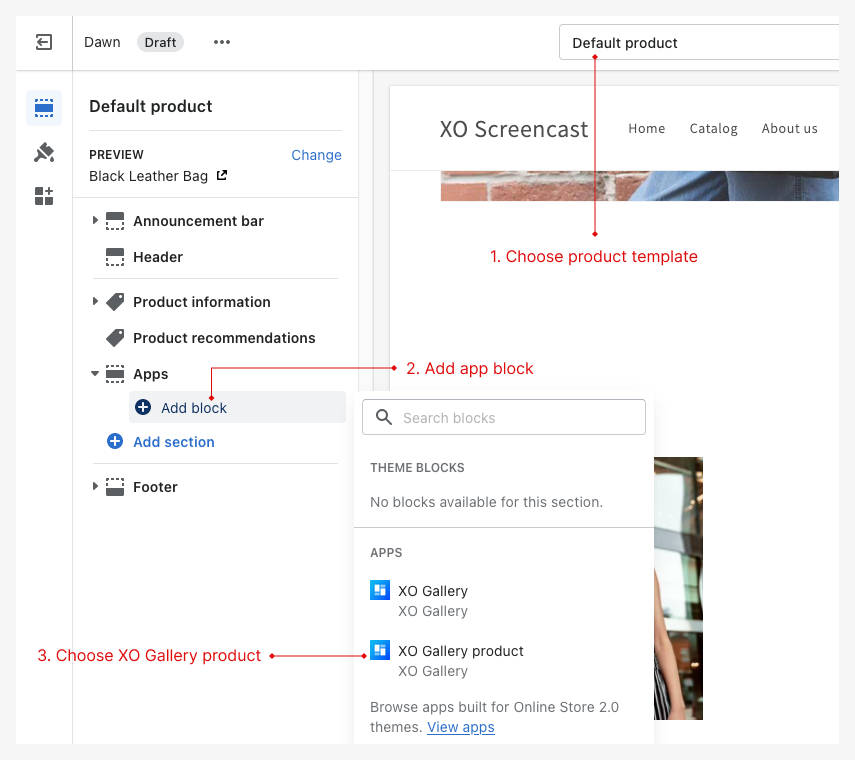
After assign section, use publish feature in the app.
Publishing tips
- For homepages: Use sections for easy management
- For product pages: Embed code gives precise control
- For blog posts: Embed code works great in content
- For multiple similar pages: Create page templates
Next, learn about basic customization options.